NEXT-GEN AAA ABANDONED BUILDING GENERATOR FREE (EA)
A downloadable asset pack
NEXT-GEN AAA ABANDONED BUILDING GENERATOR (EARLY ACCESS) 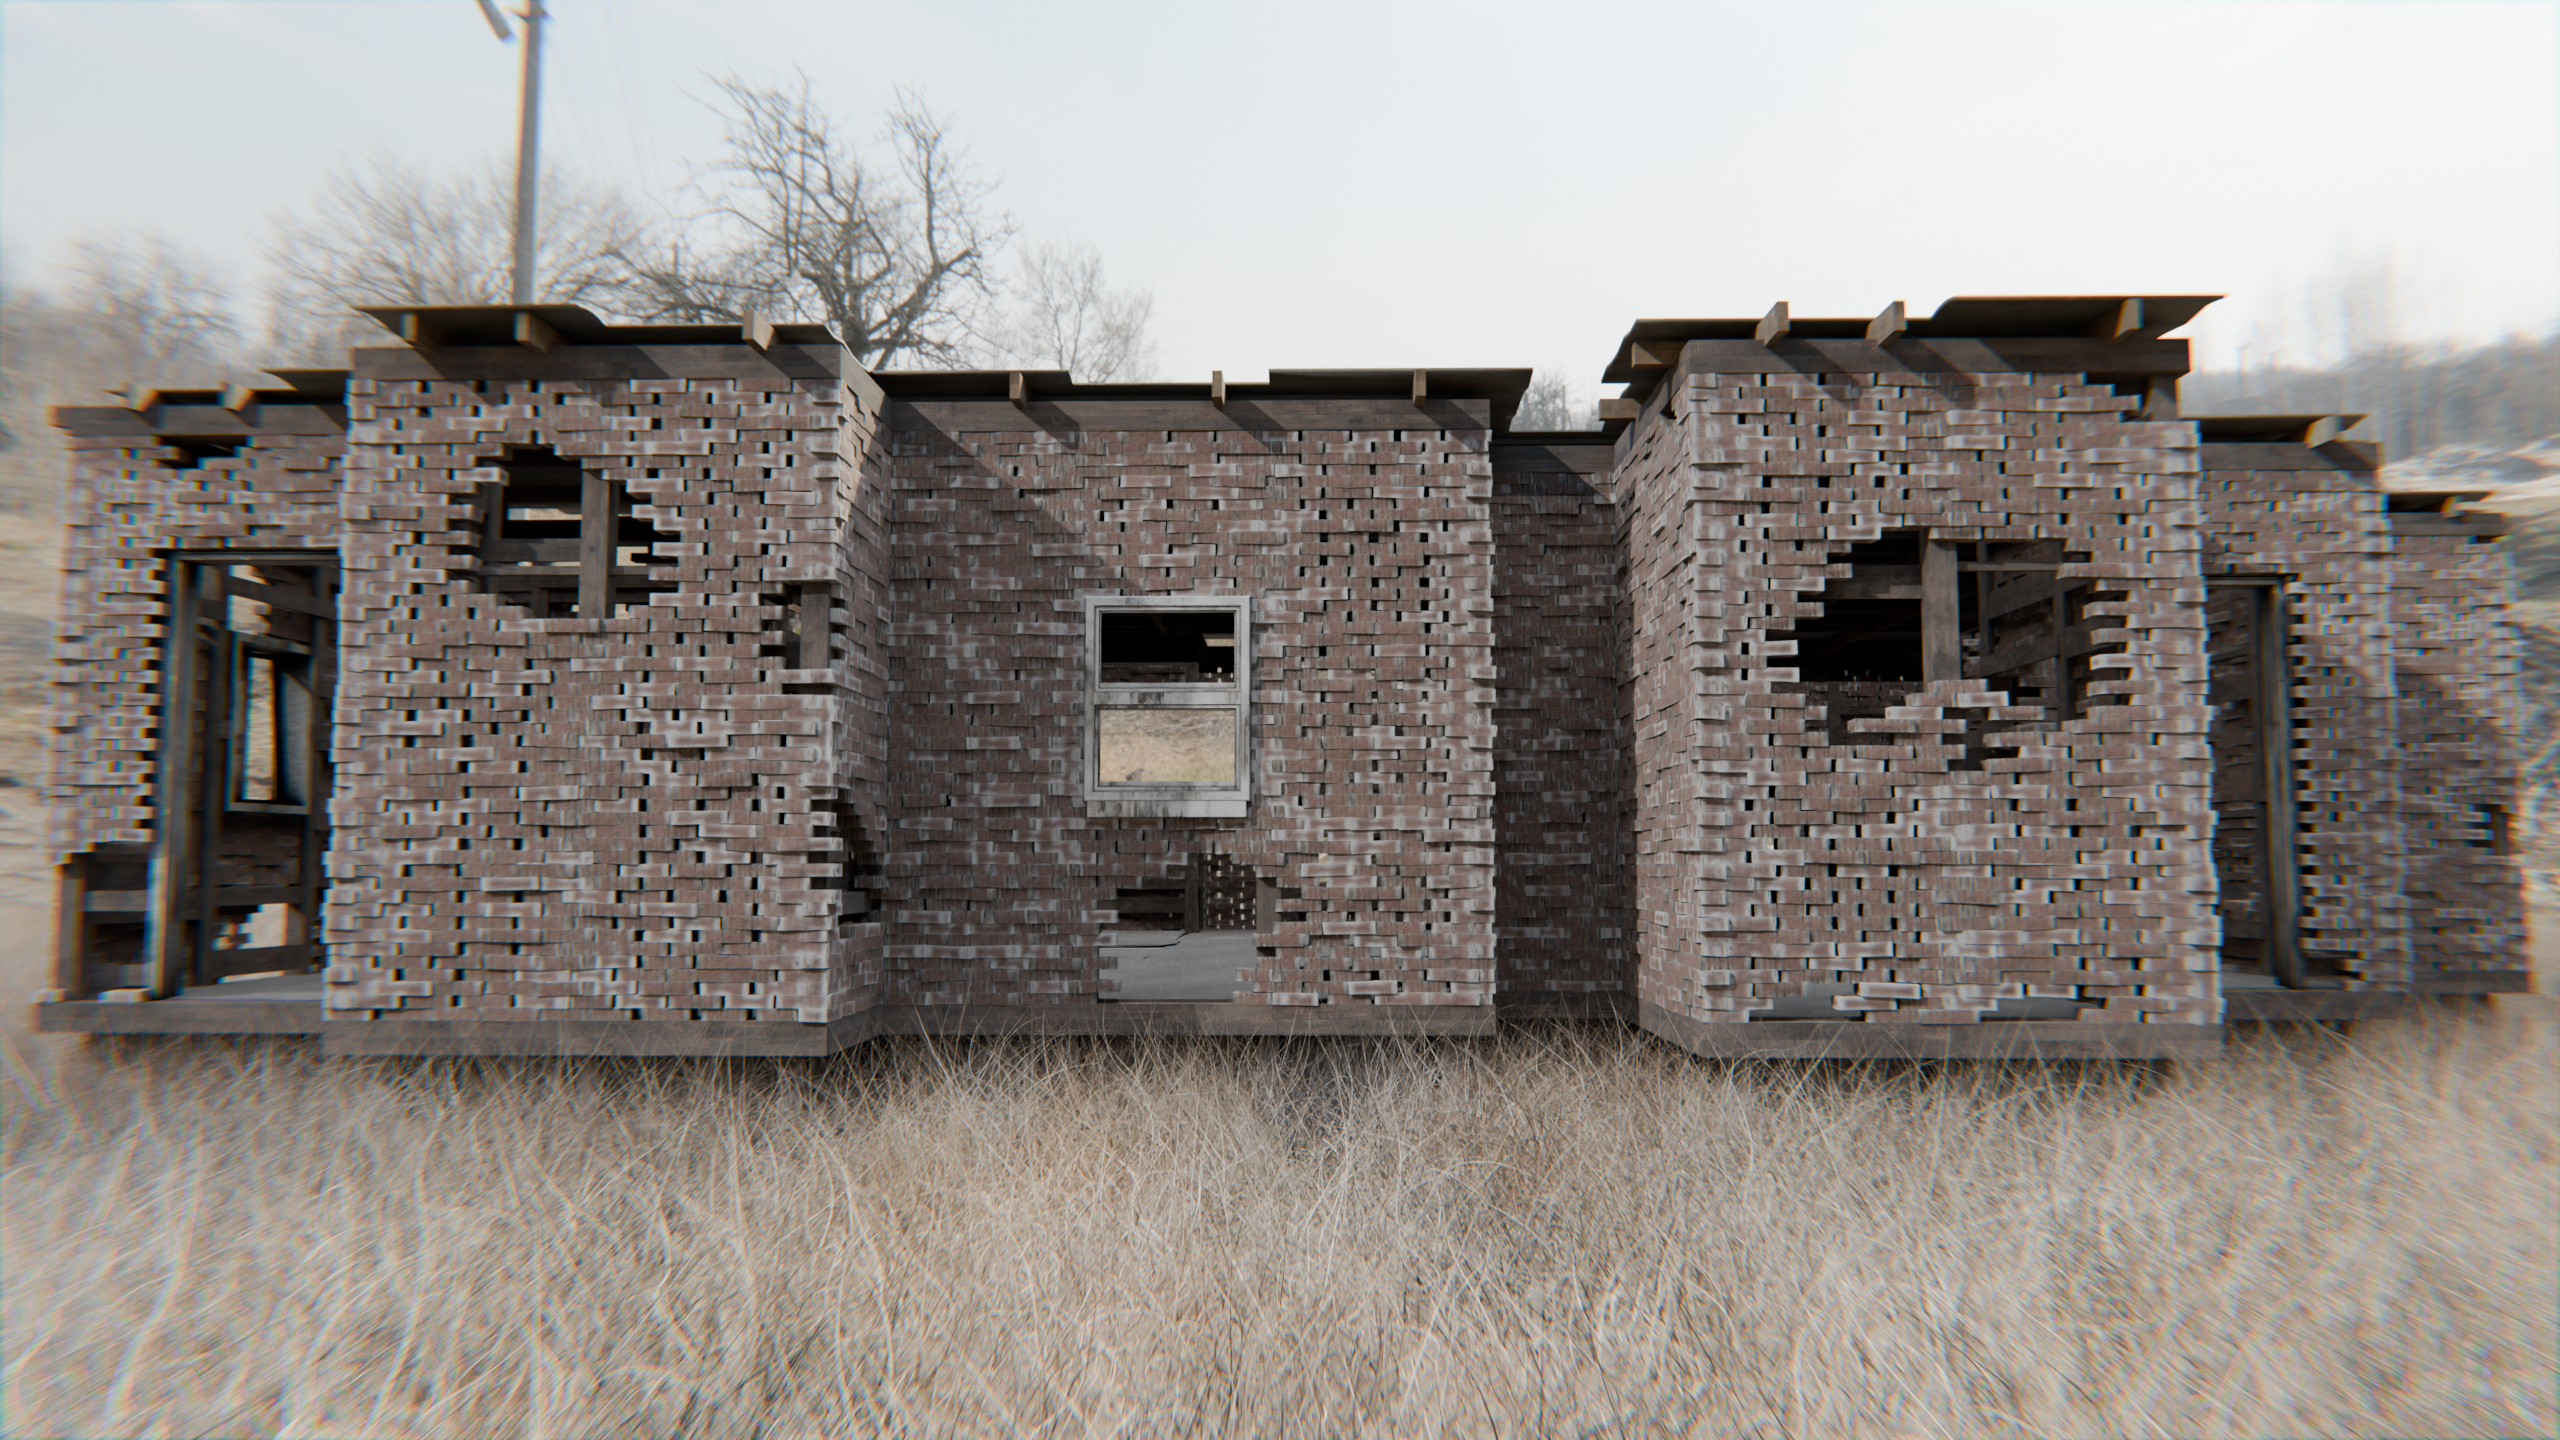
IMPORTANT!. To be able to use this asset for game development an advanced knowledge of blender3d software, texture baking and exporting models into your game engine of choice is required to get up and running, for anything else only inside of blender cycles it is as simple as drag and drop.
Built from the ground up using blender3d software and gimp, featuring state of the art 3D modelling technologies and techniques to bring to the market an asset like never before, similar to the type of technologies used by AAA game studios such as Ubisoft's "Assassin's Creed" series (but not in-house) just the core systems to generate and process mass buildings with ease.
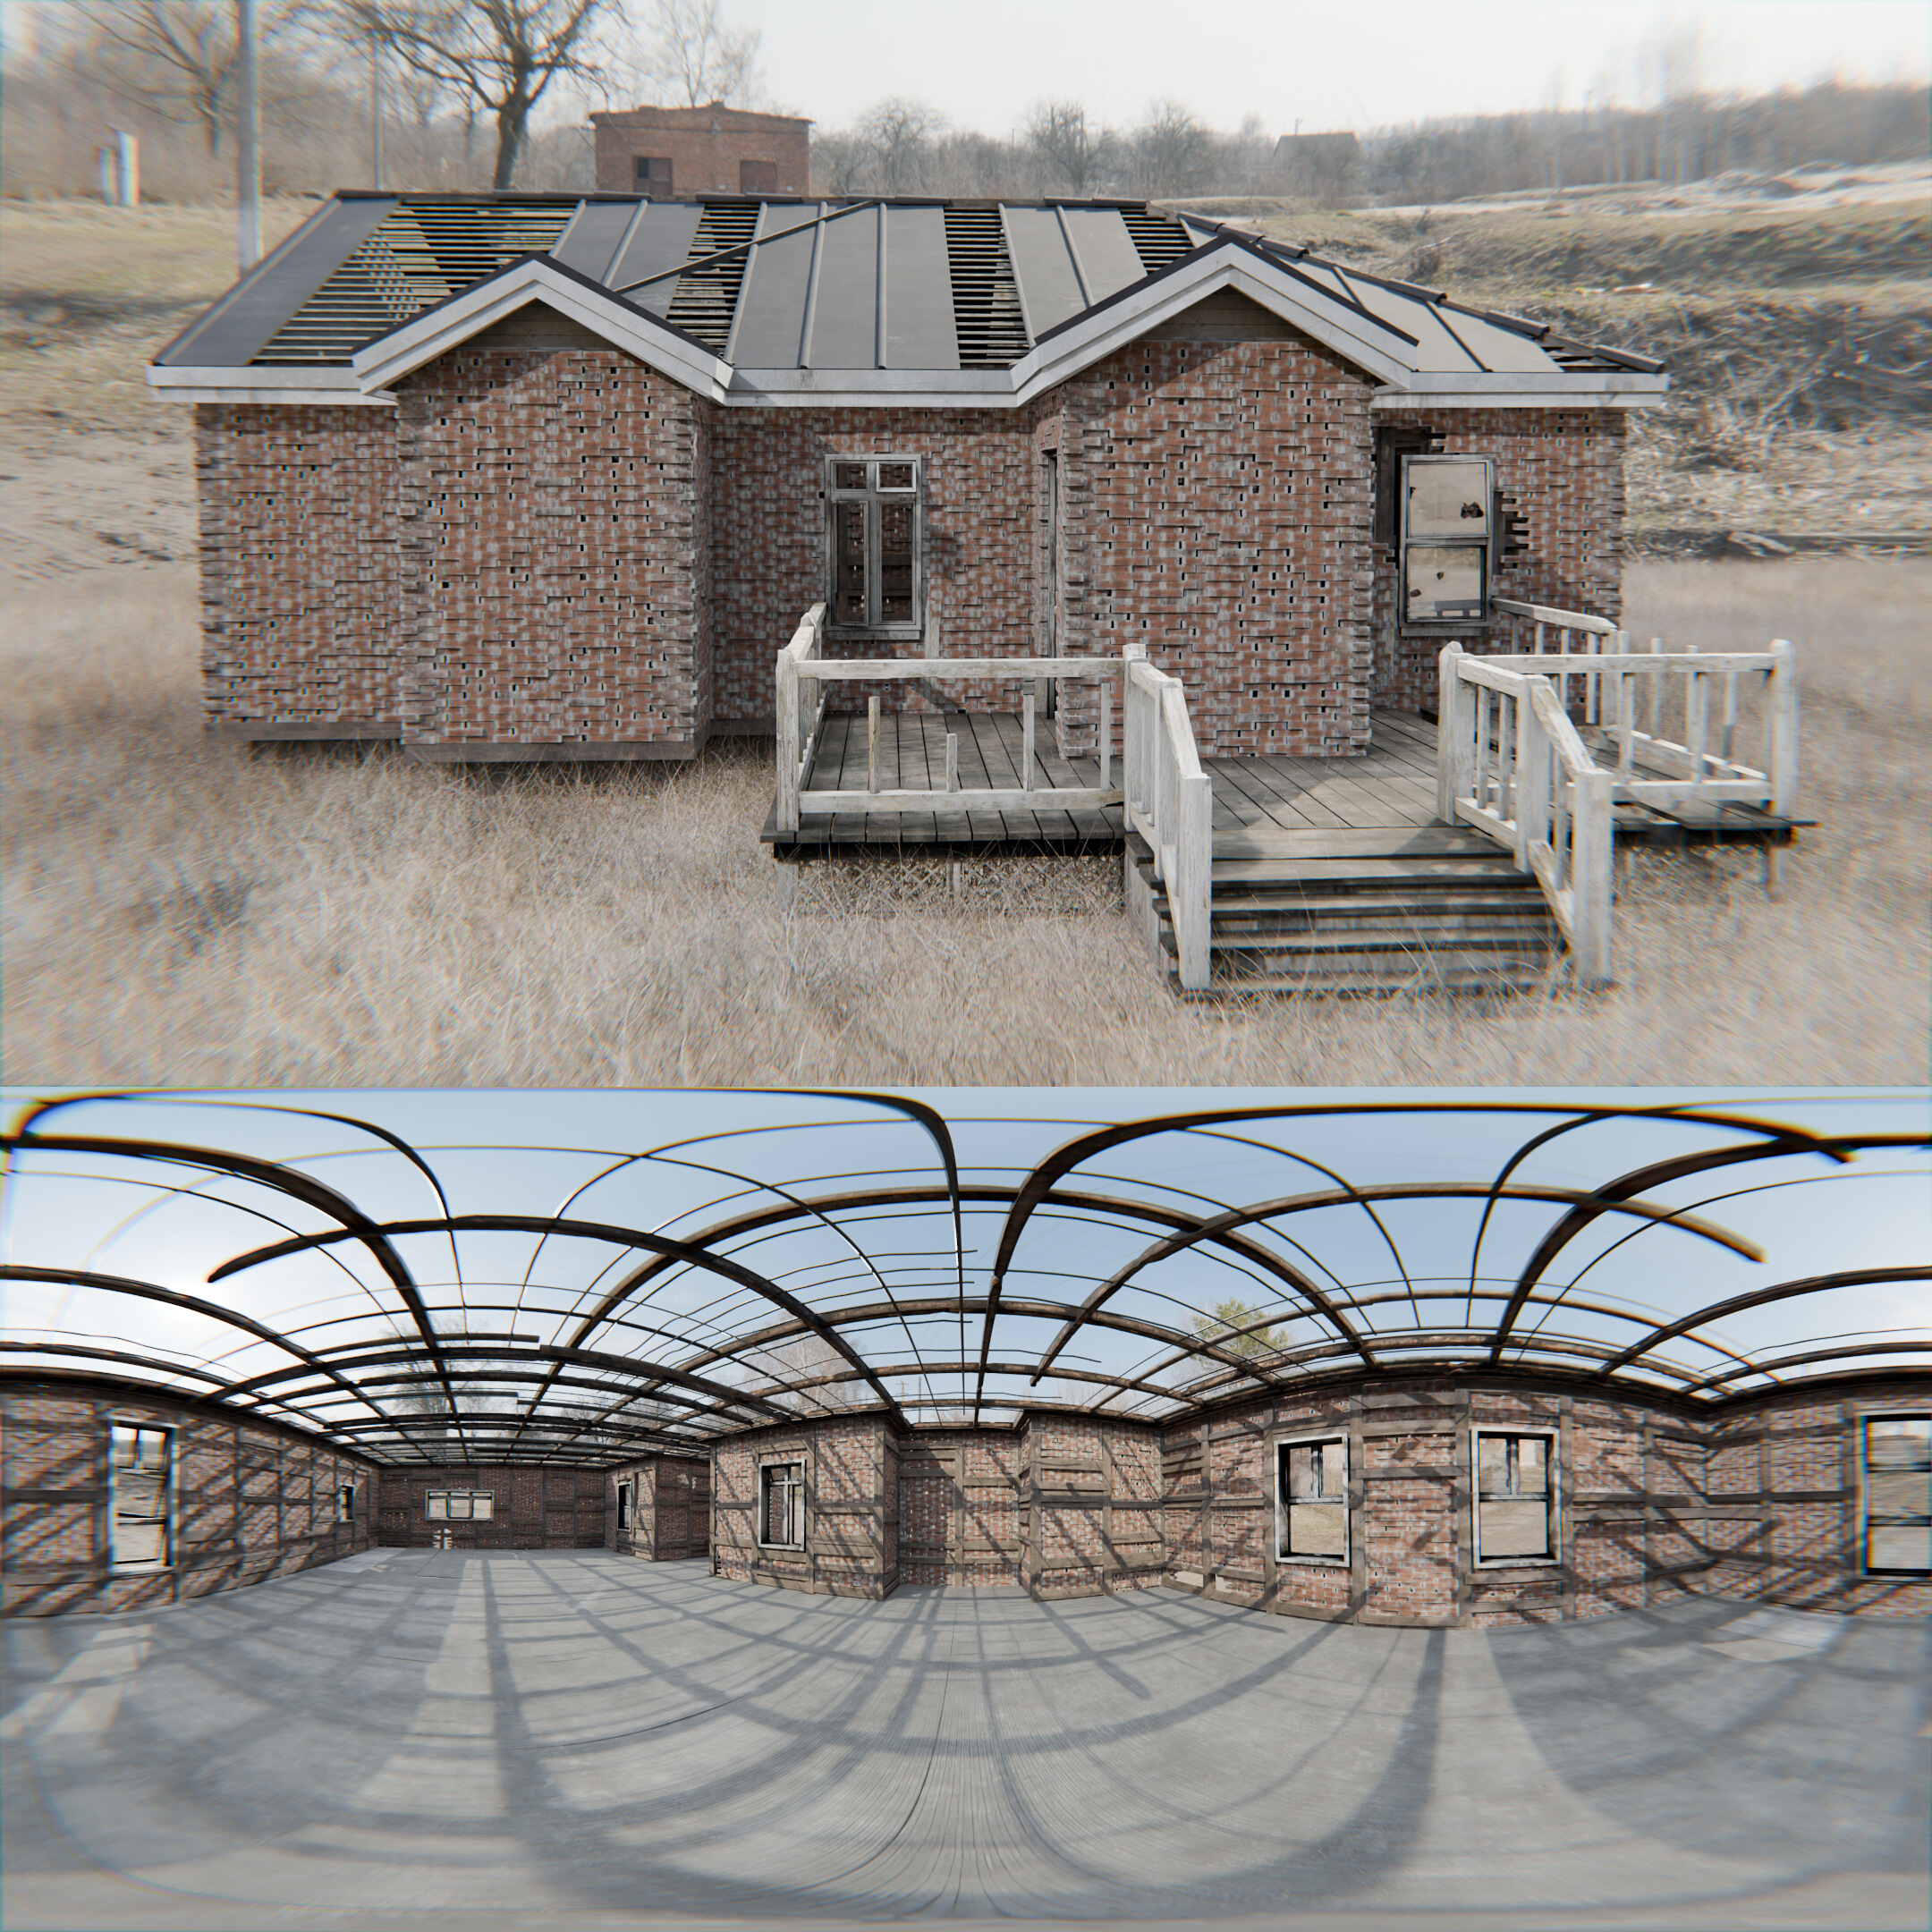
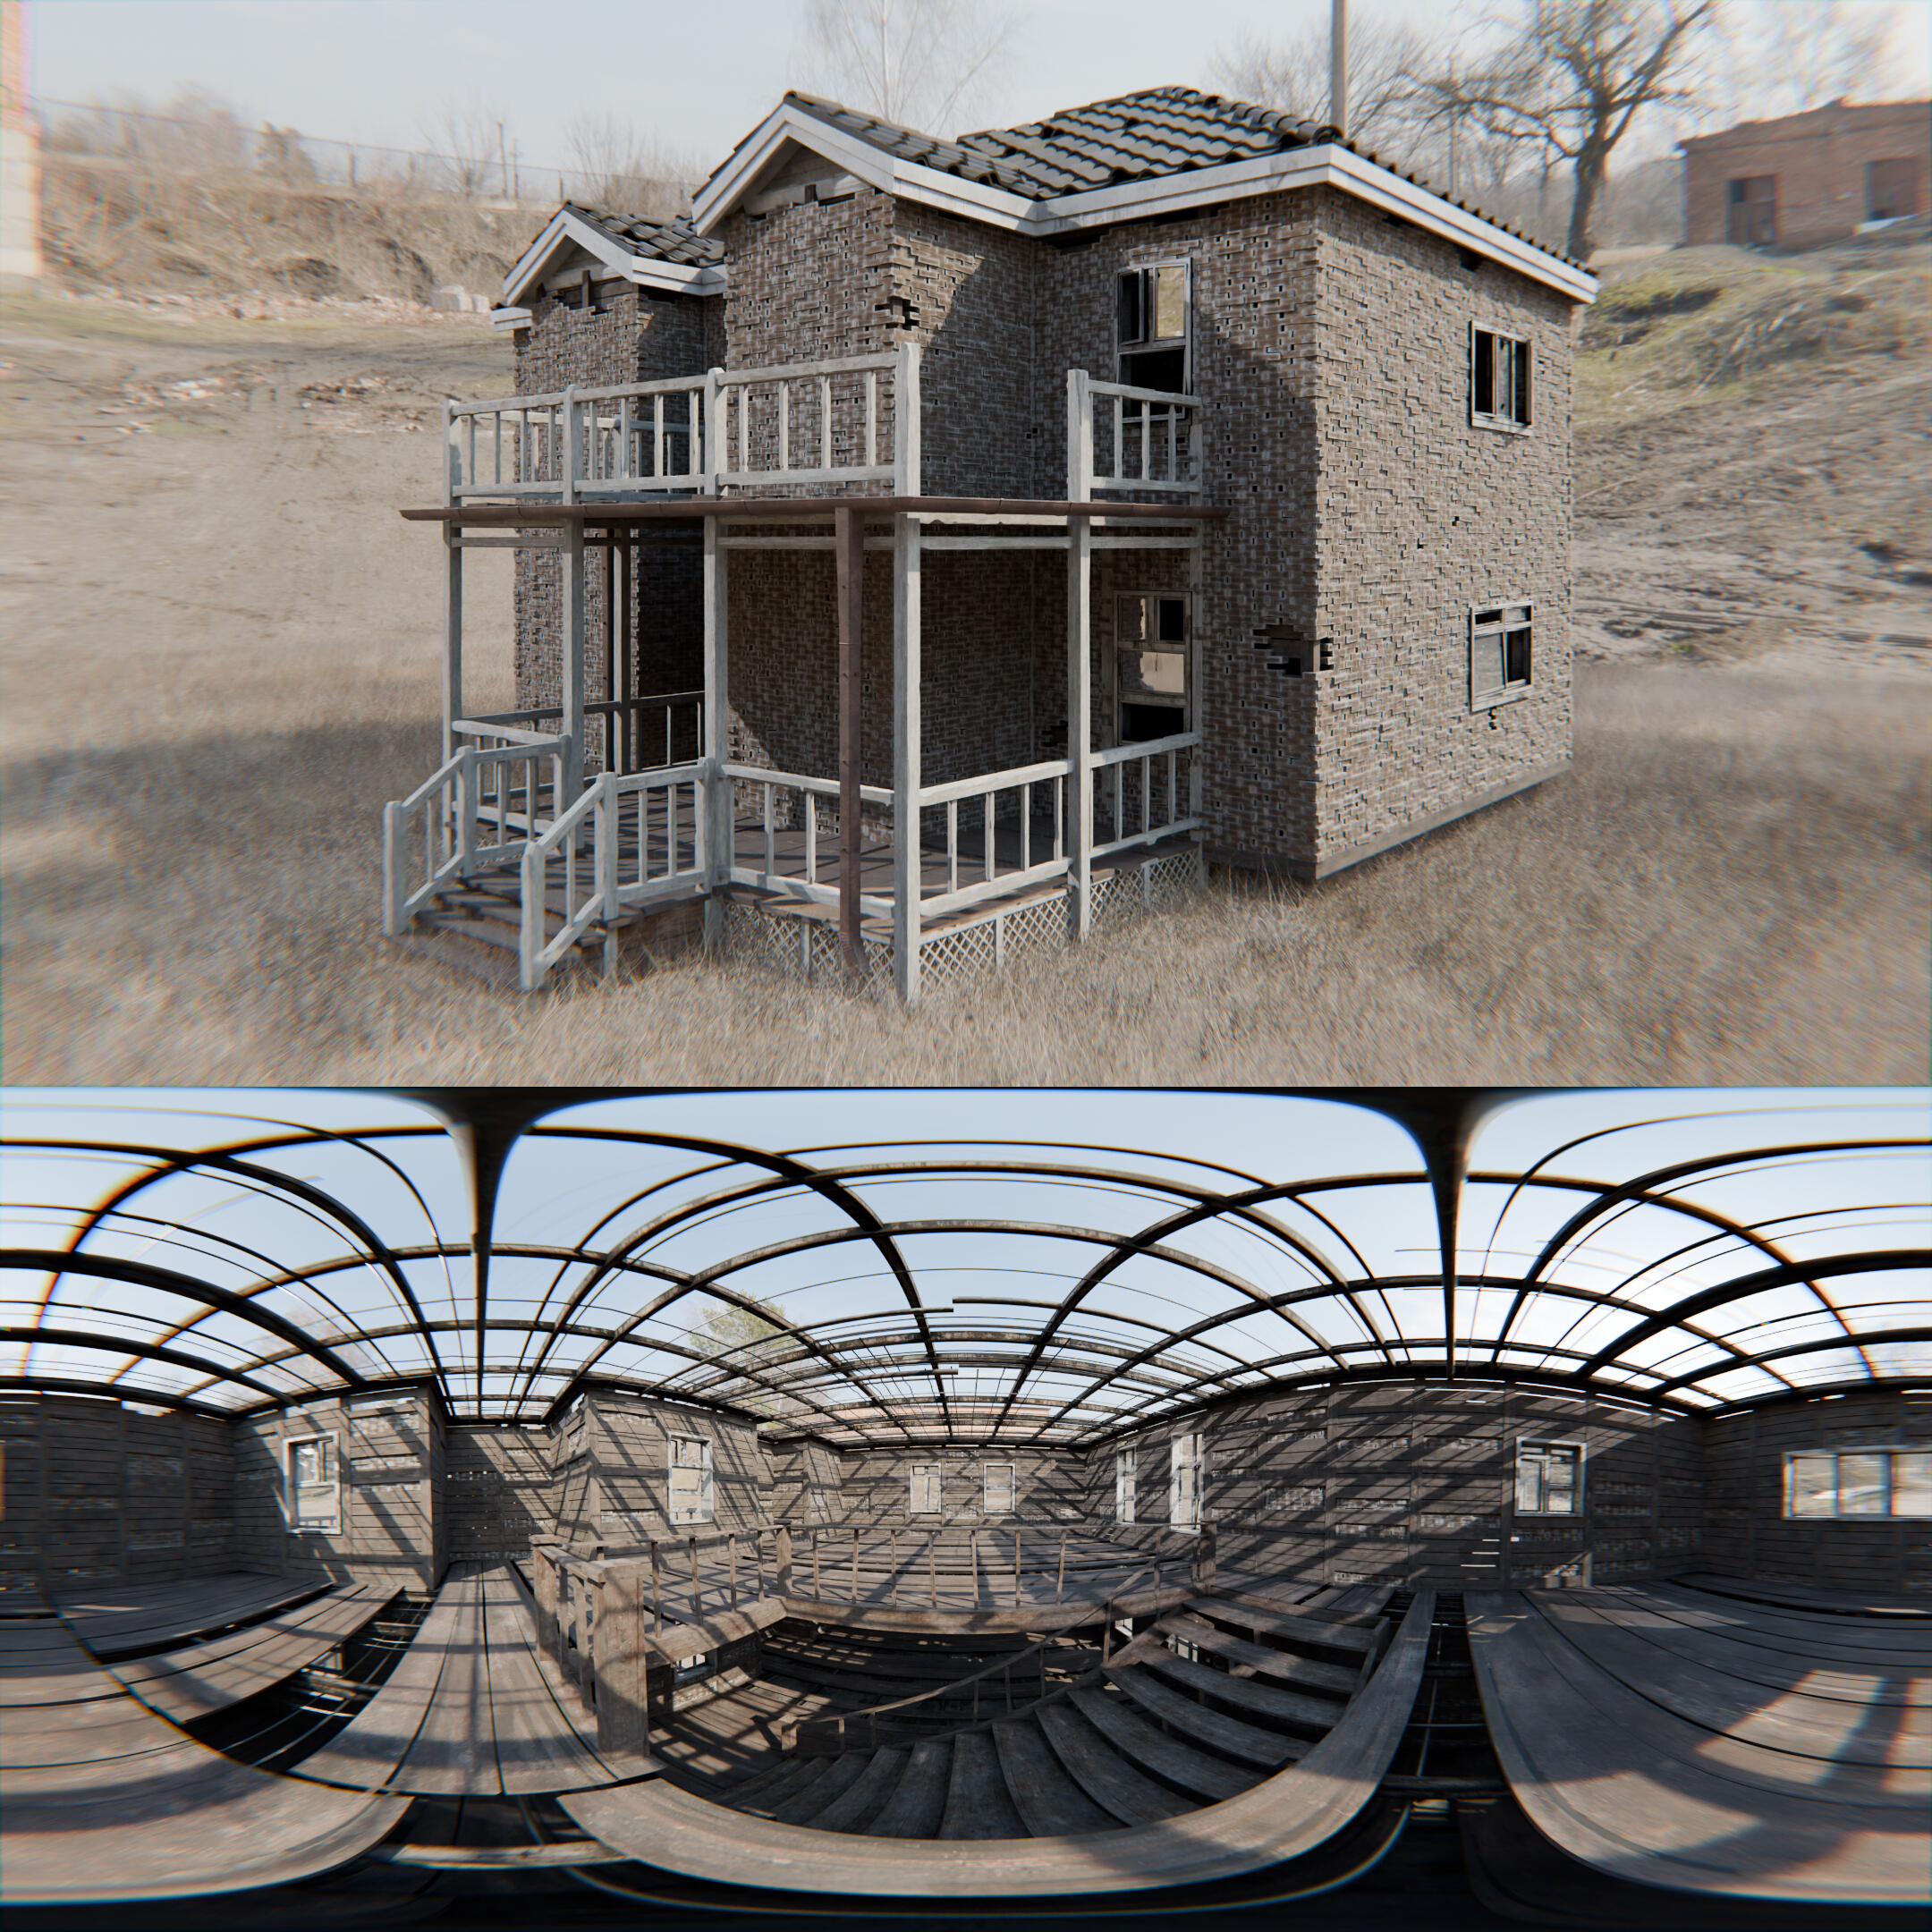
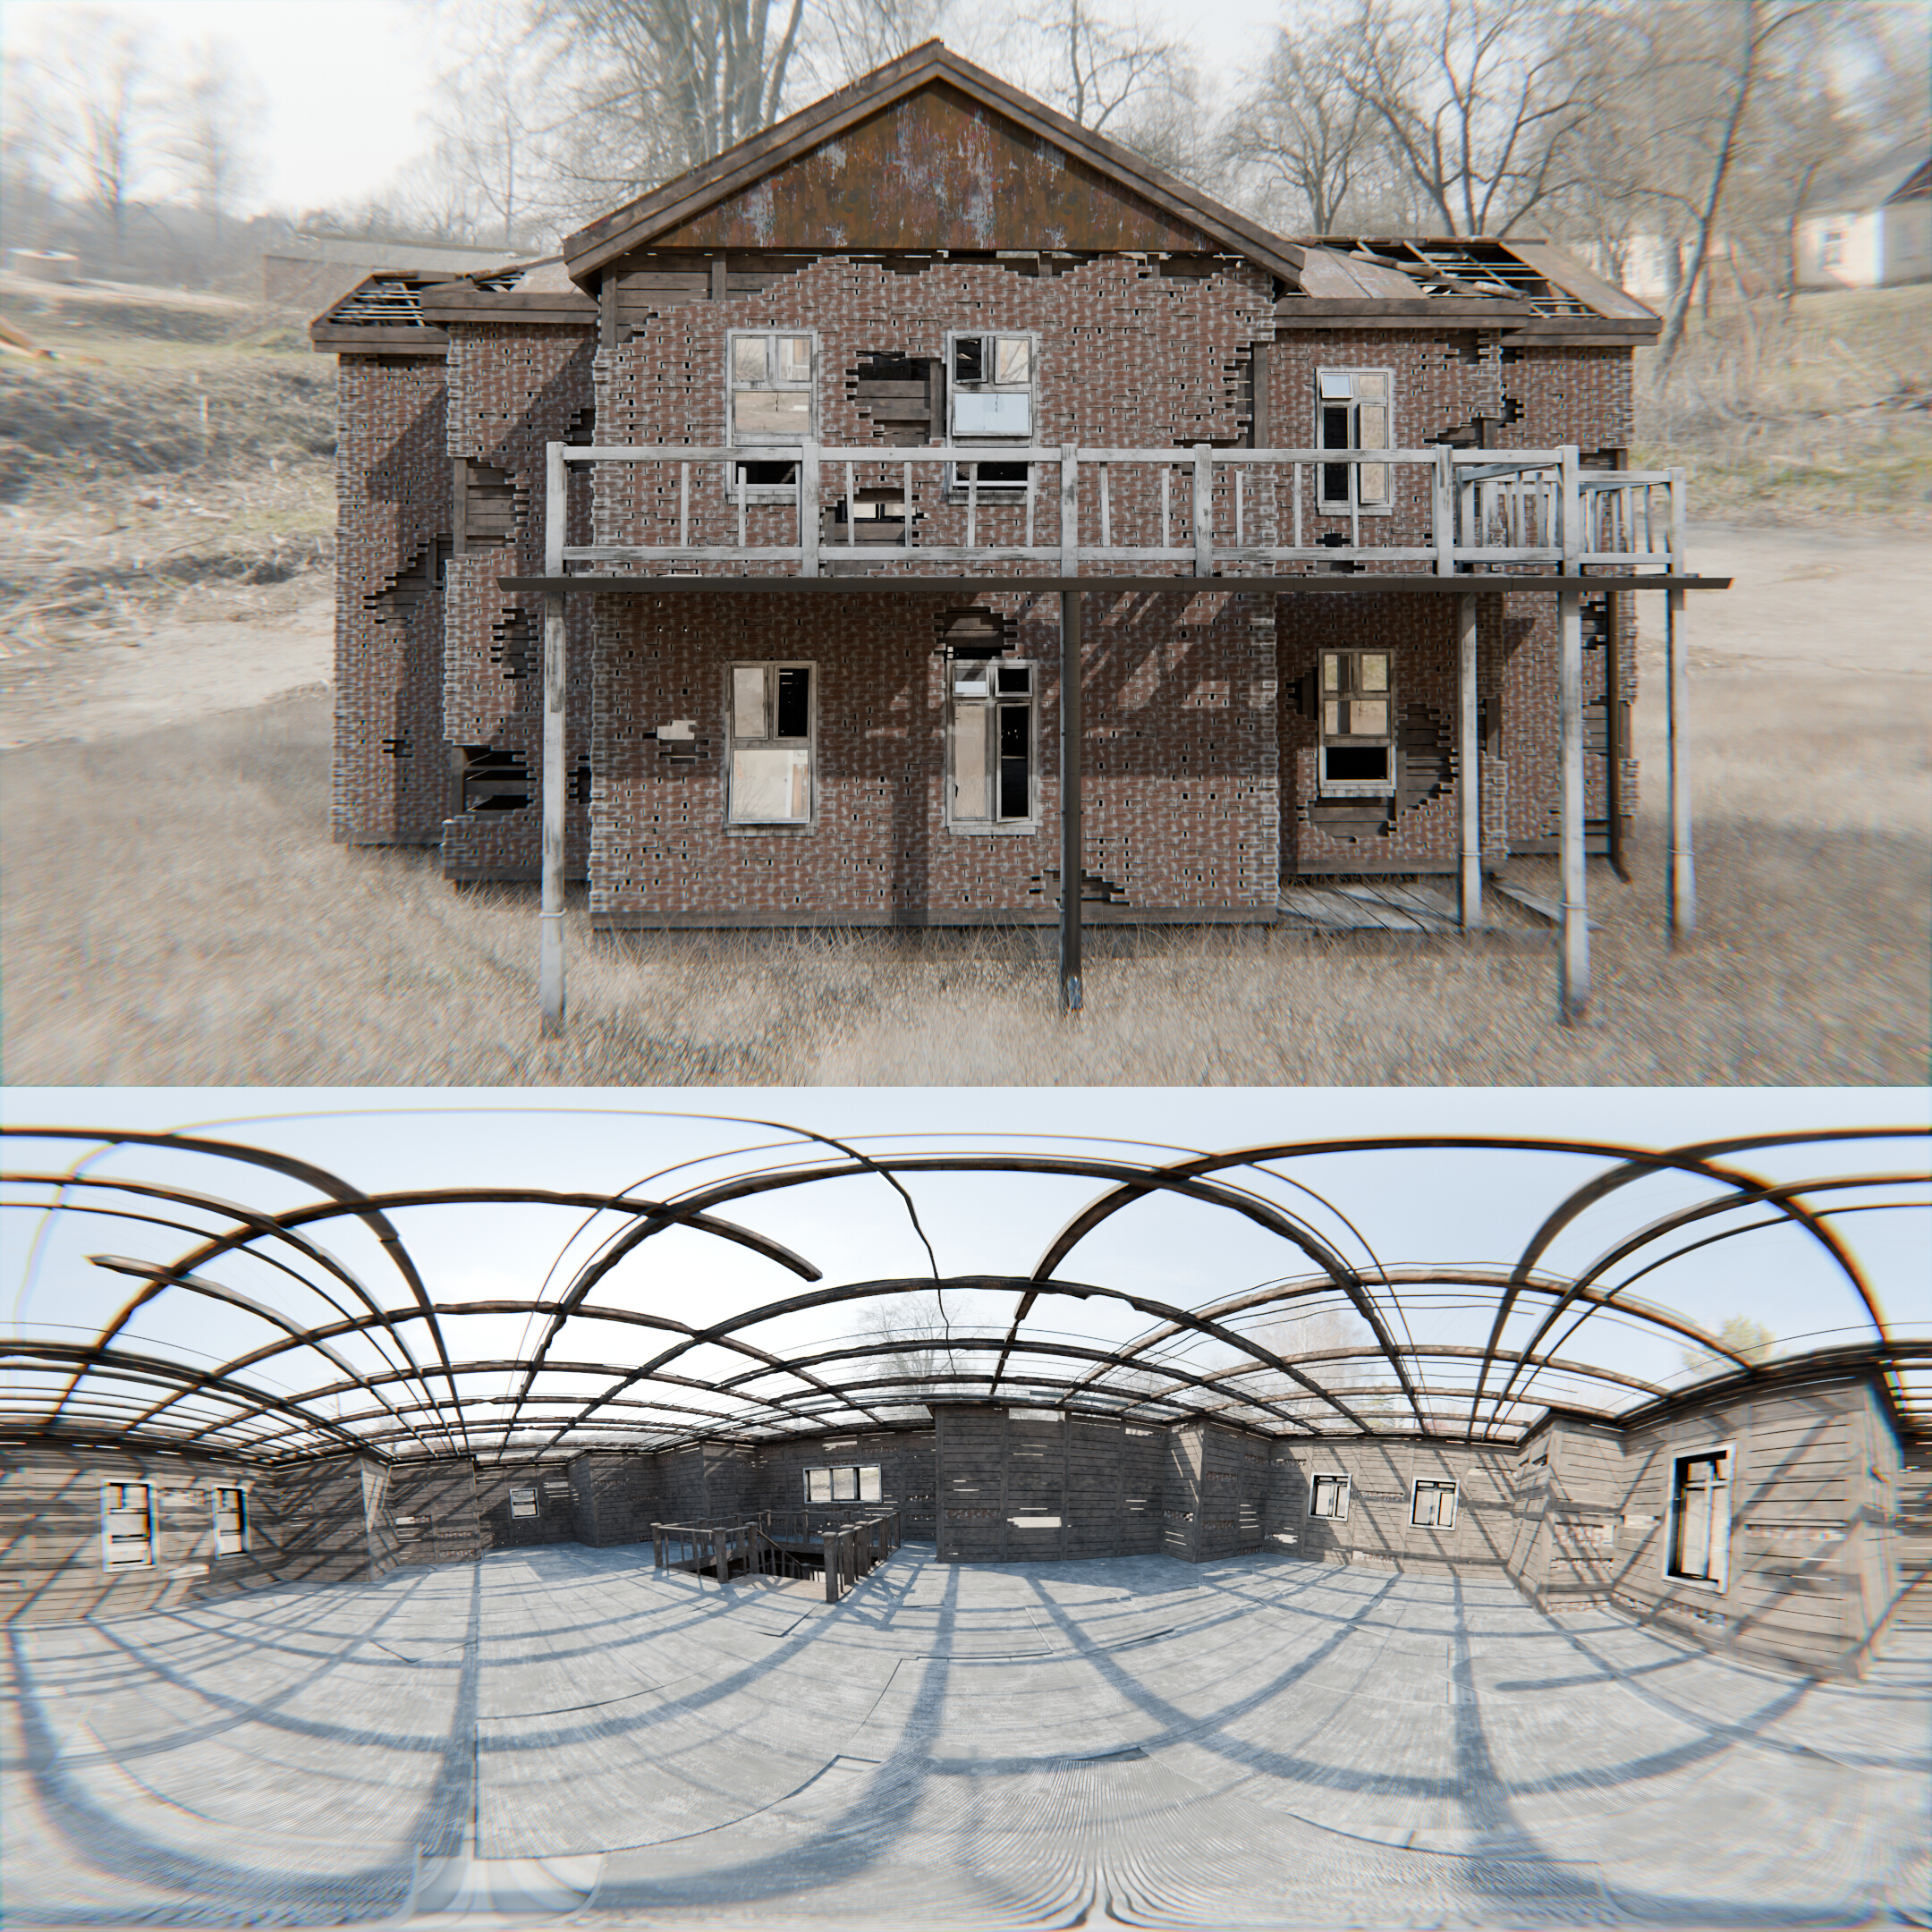
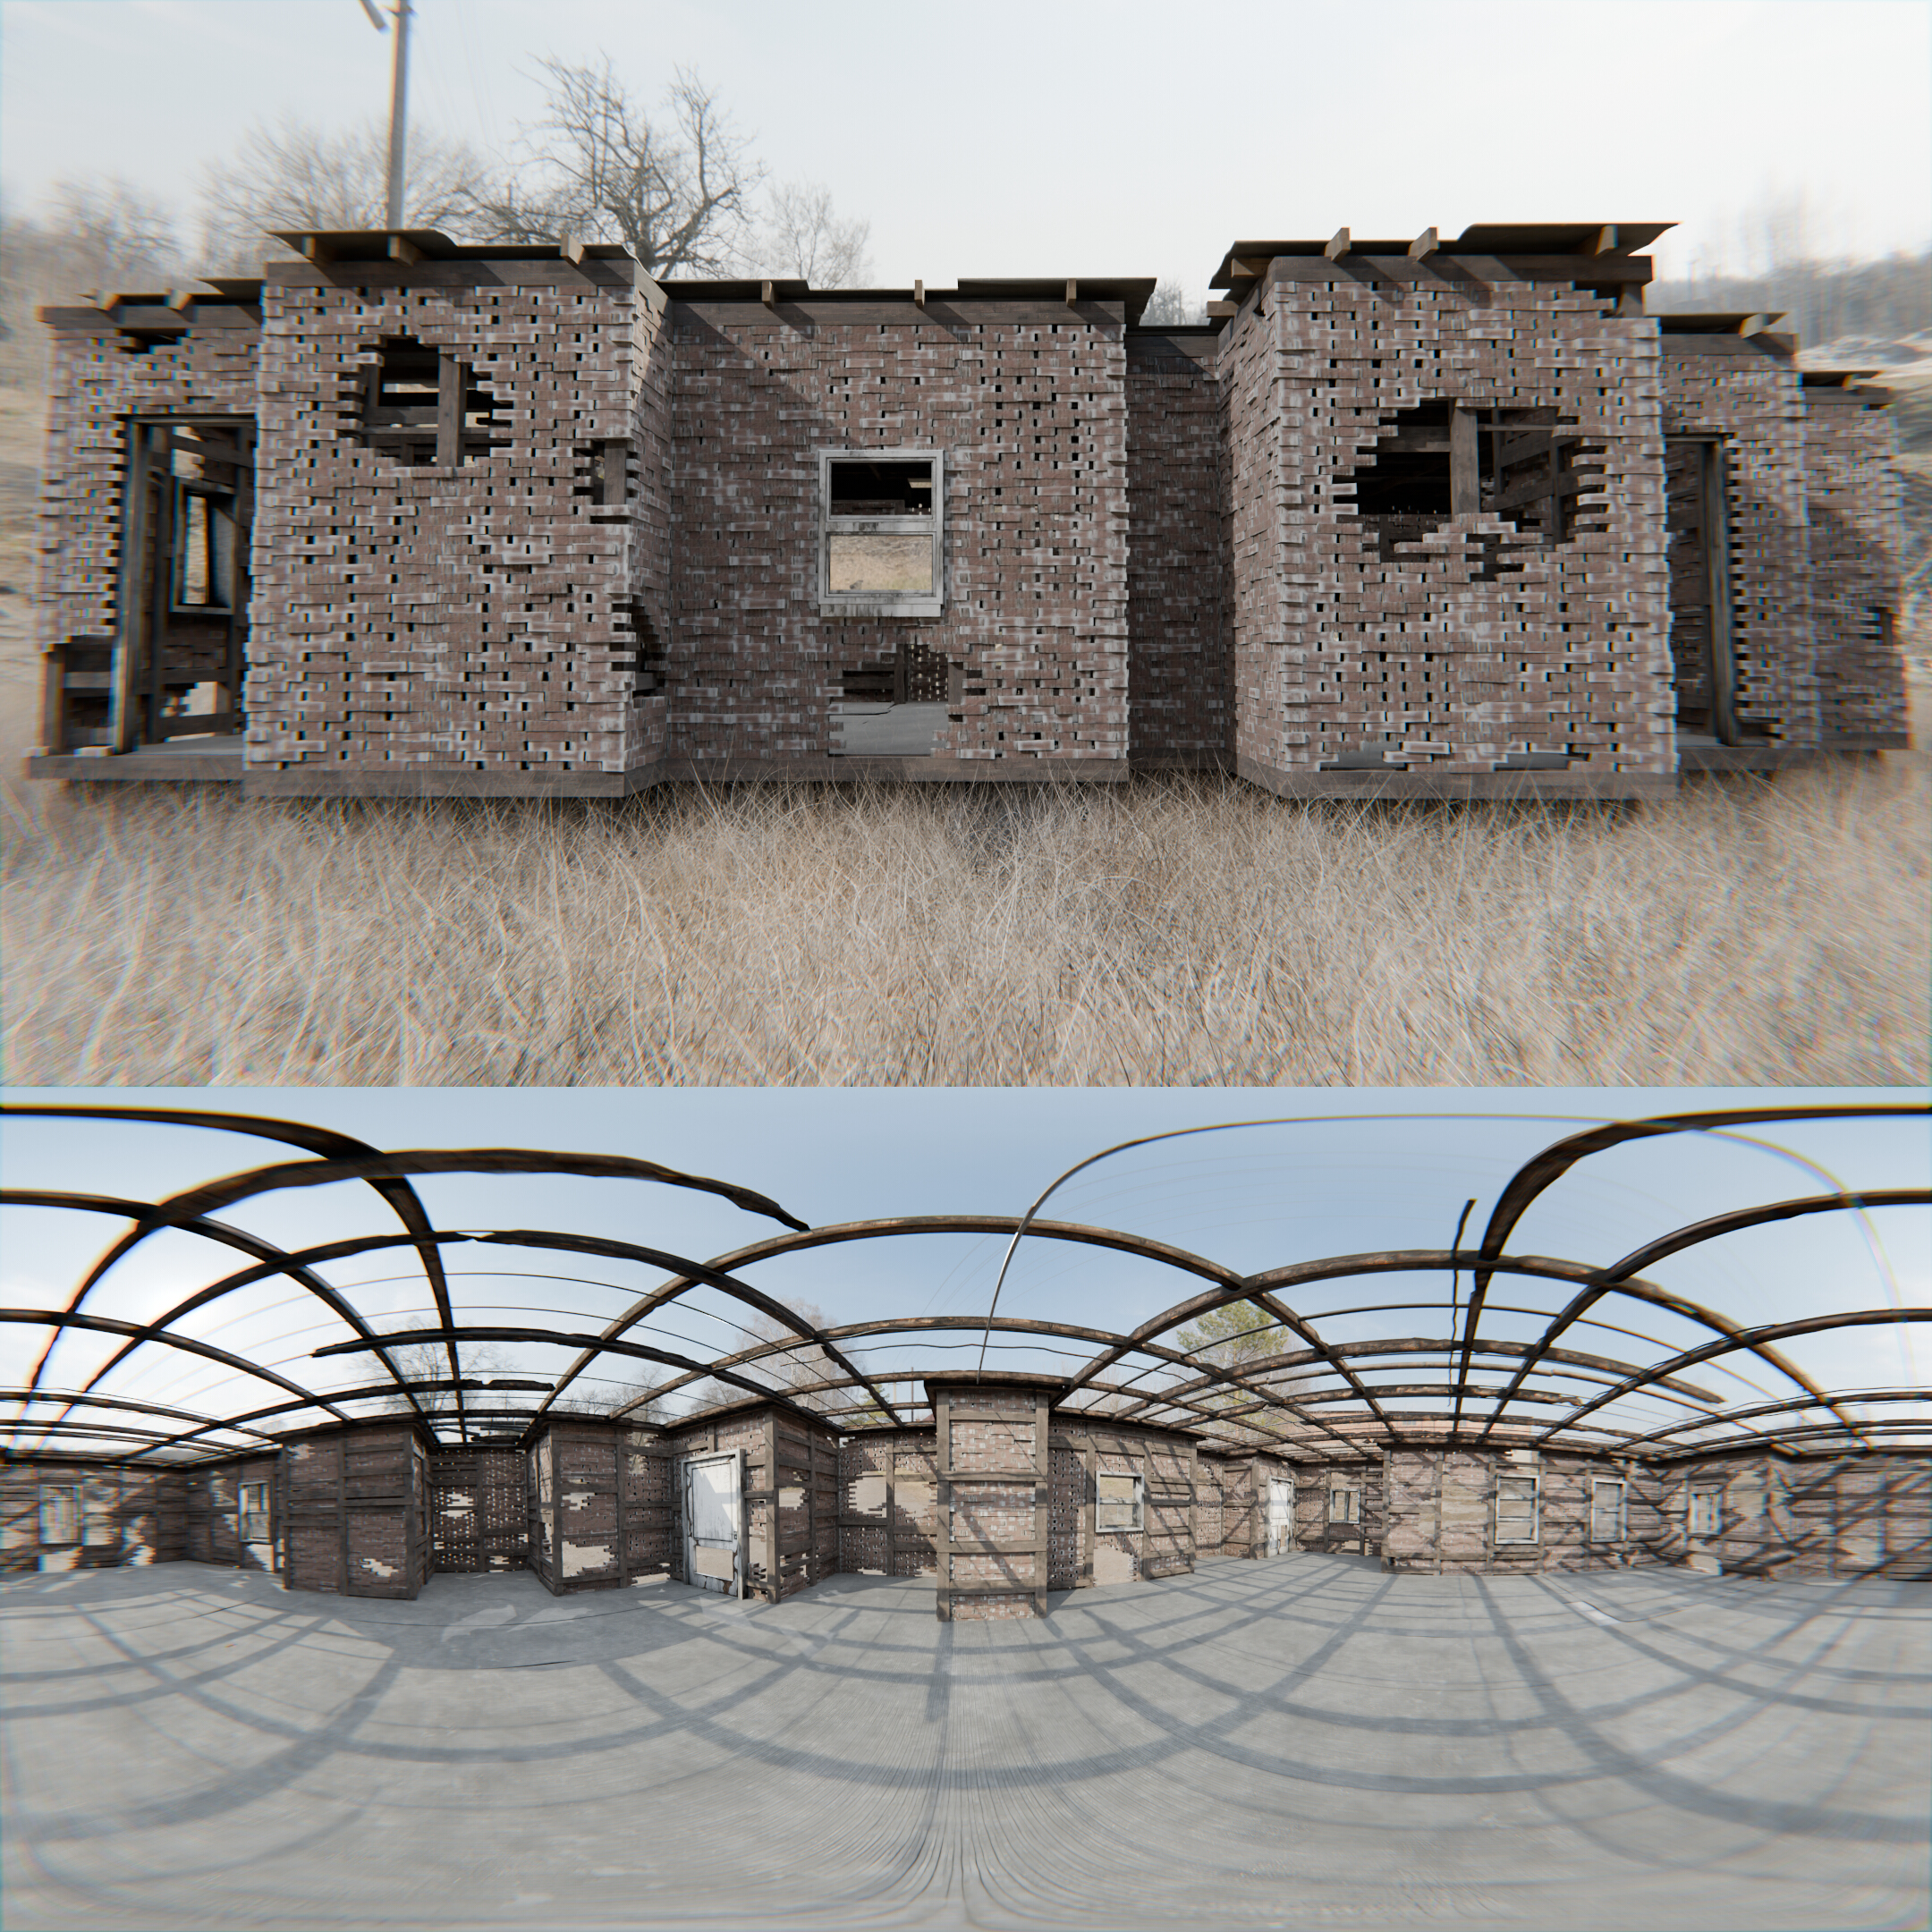
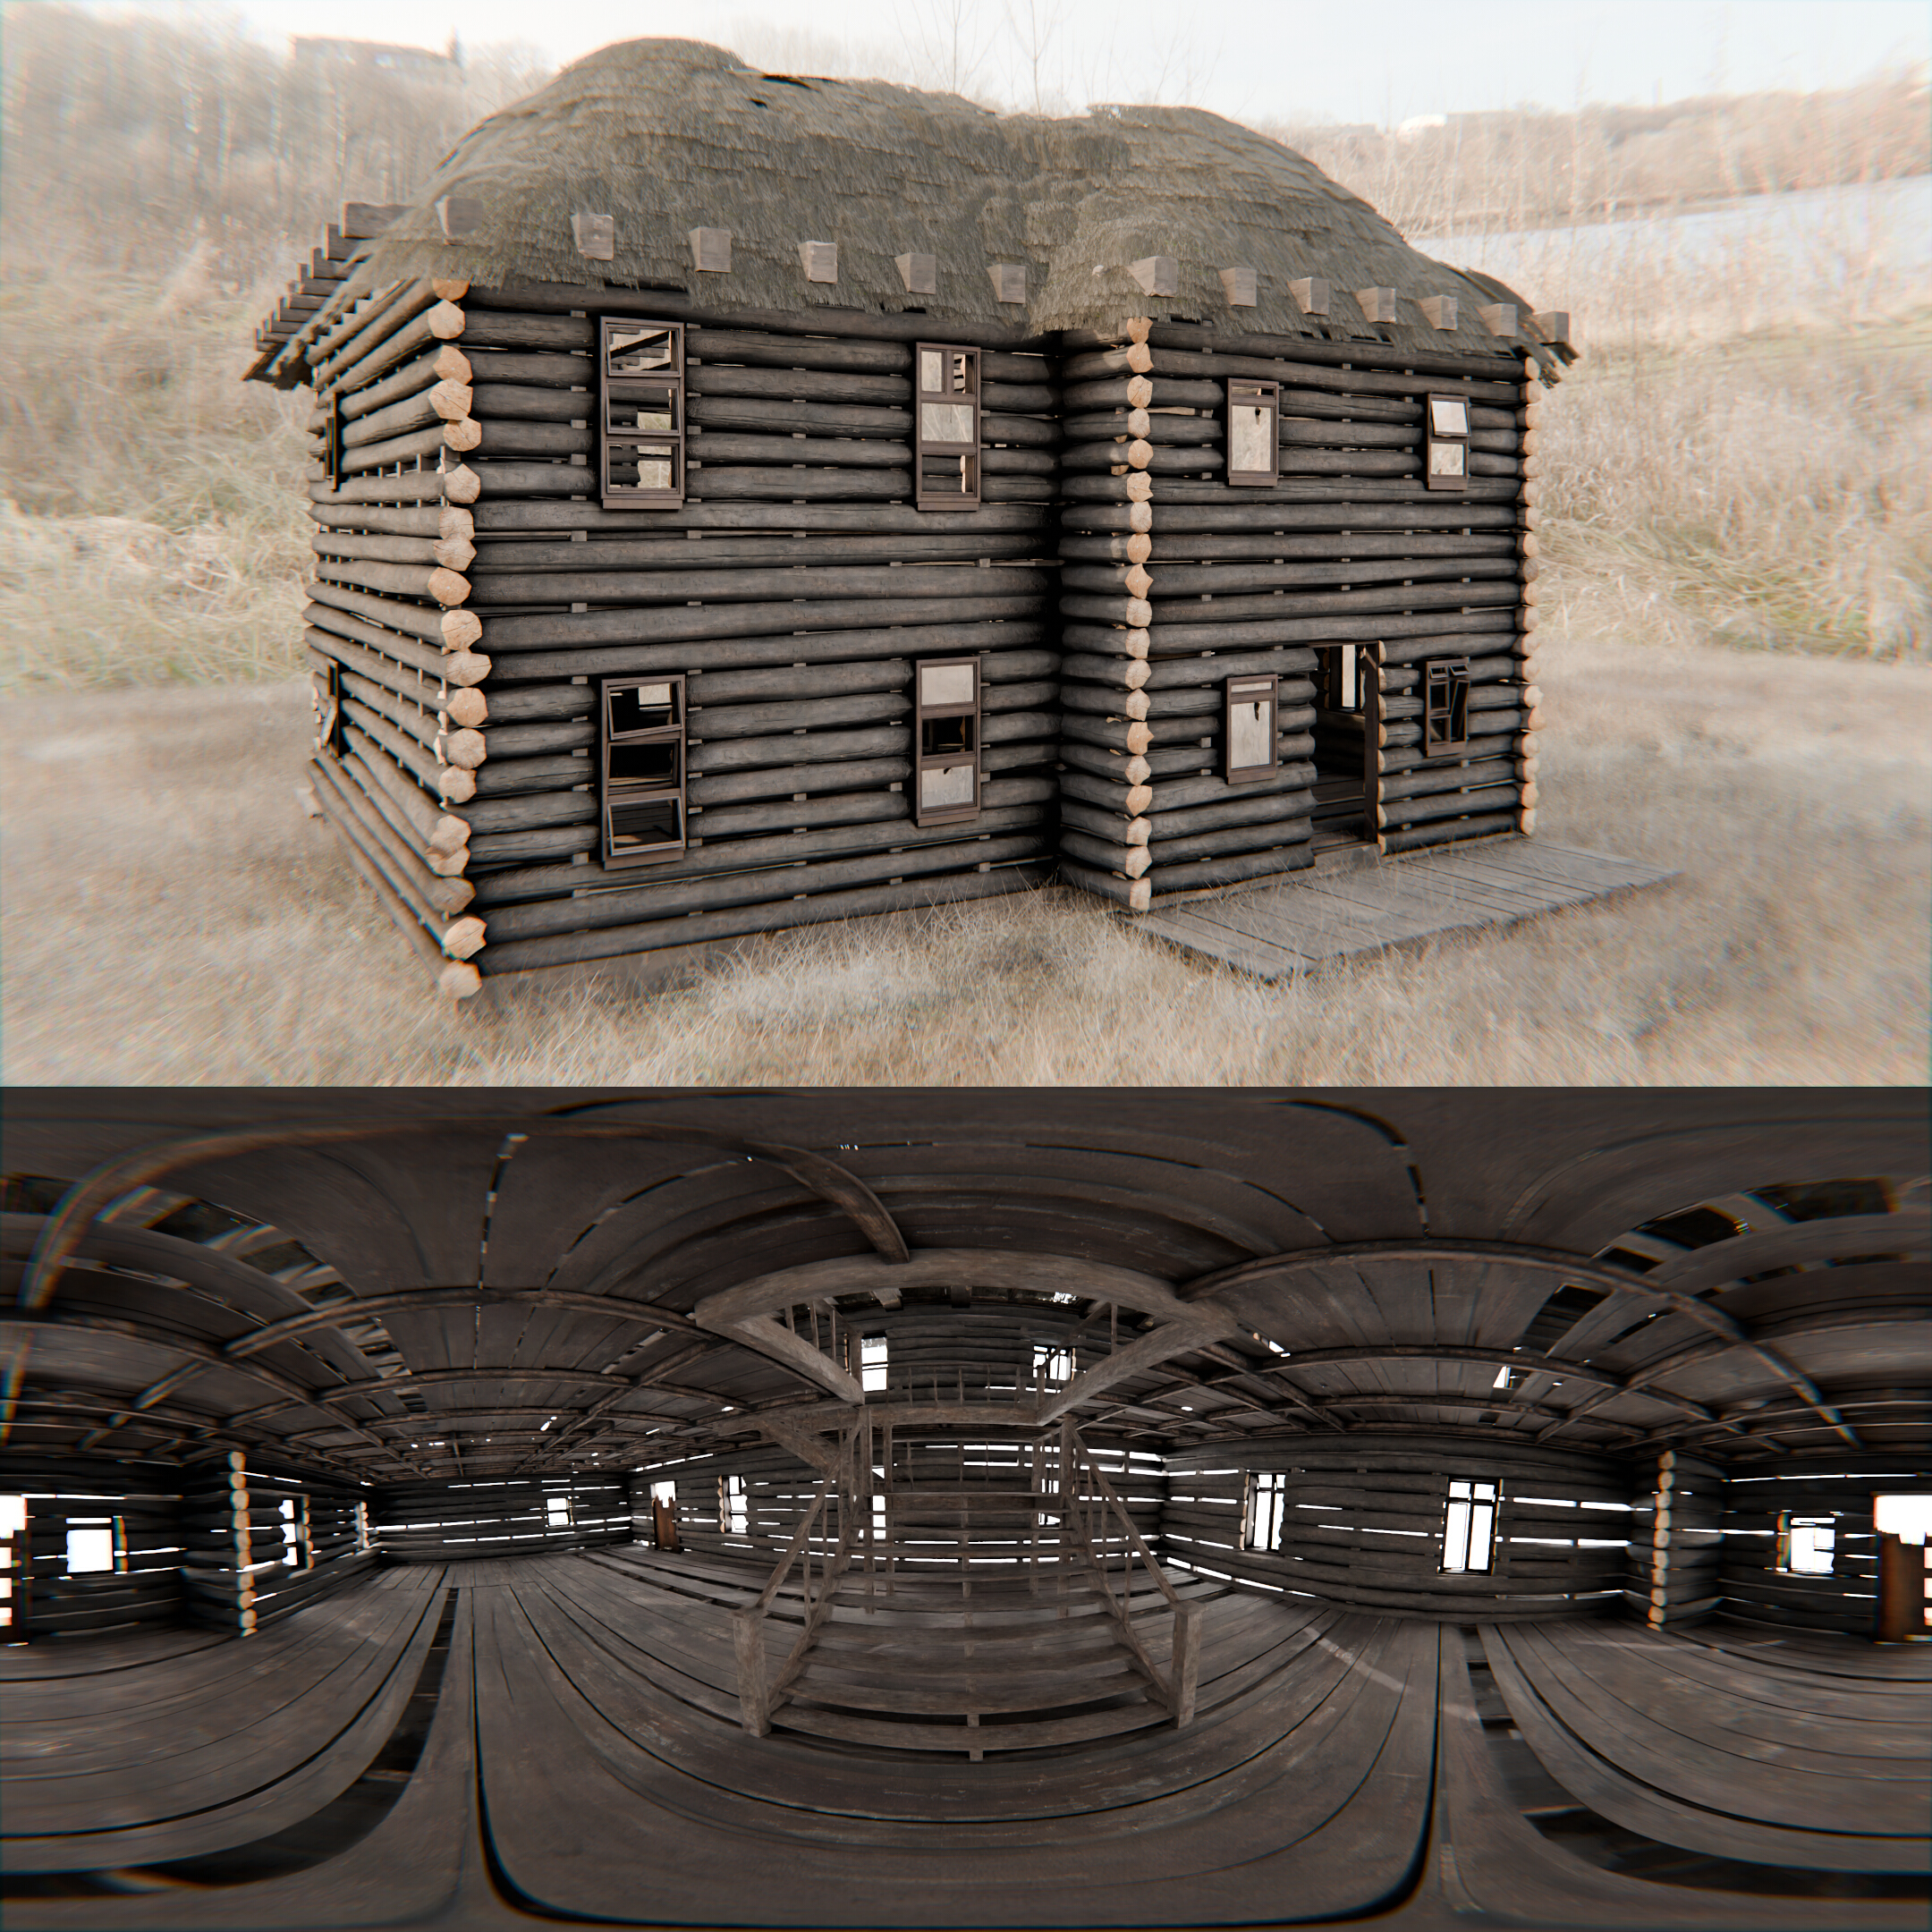
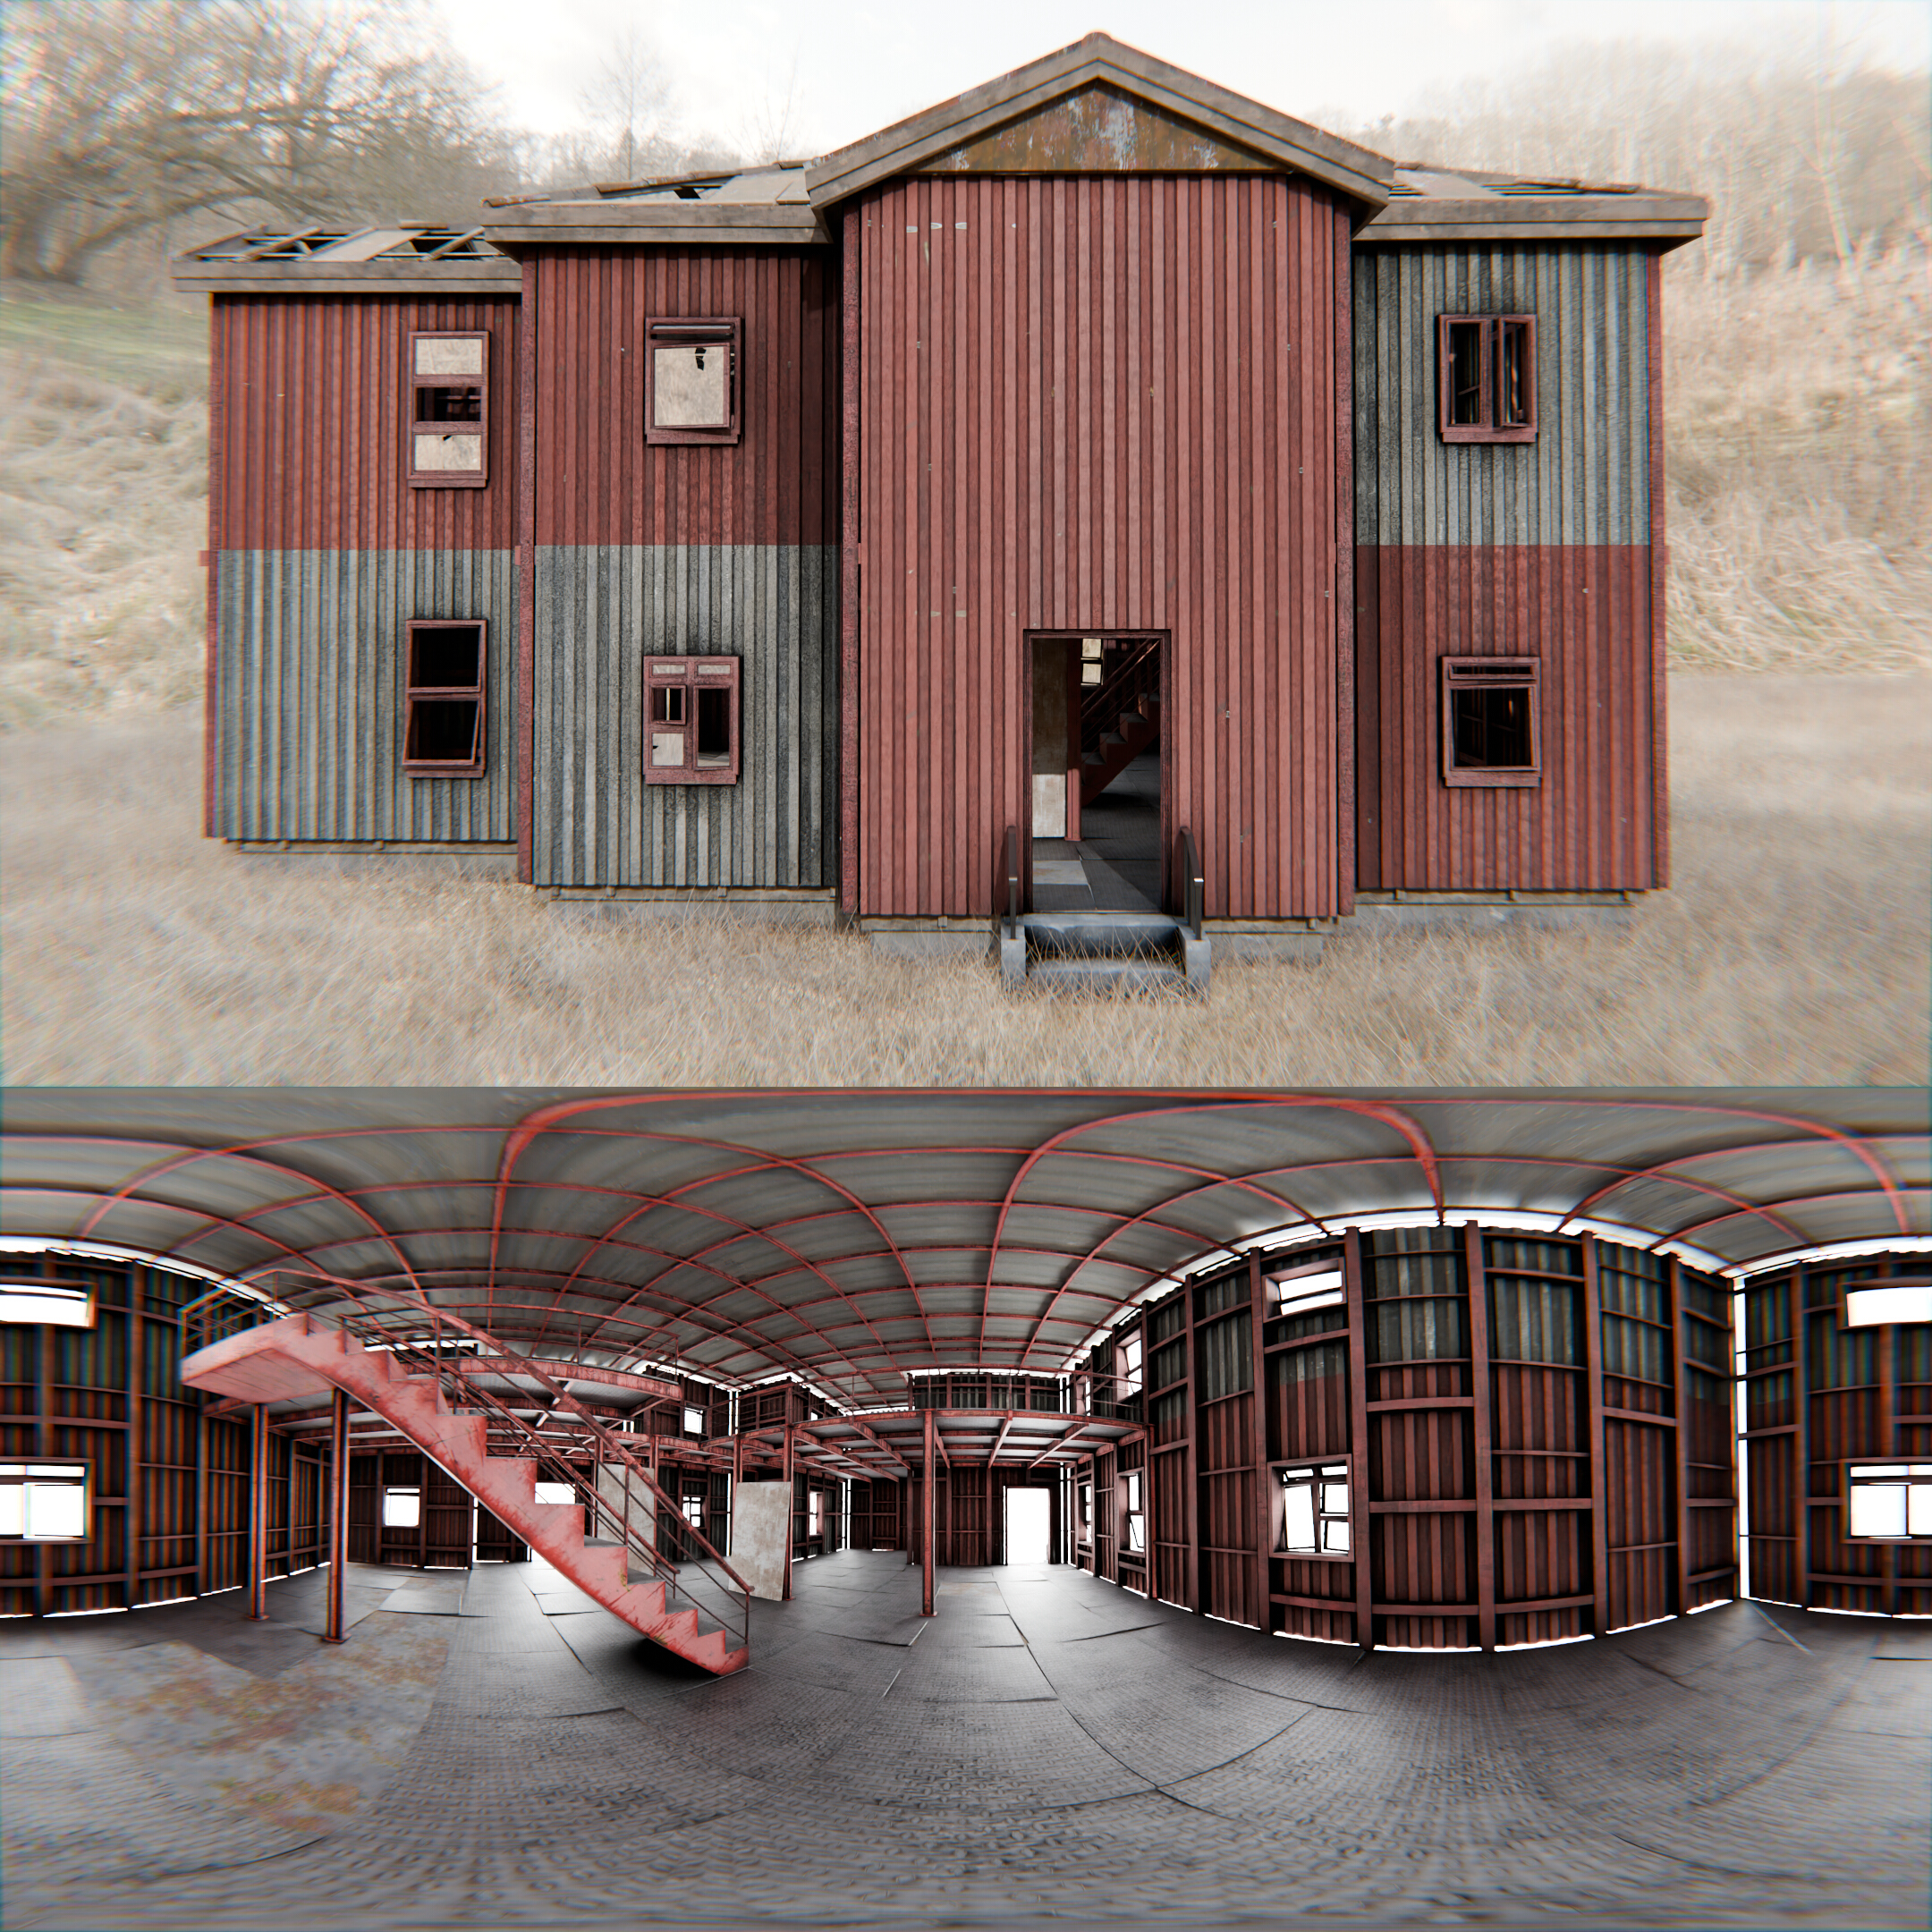
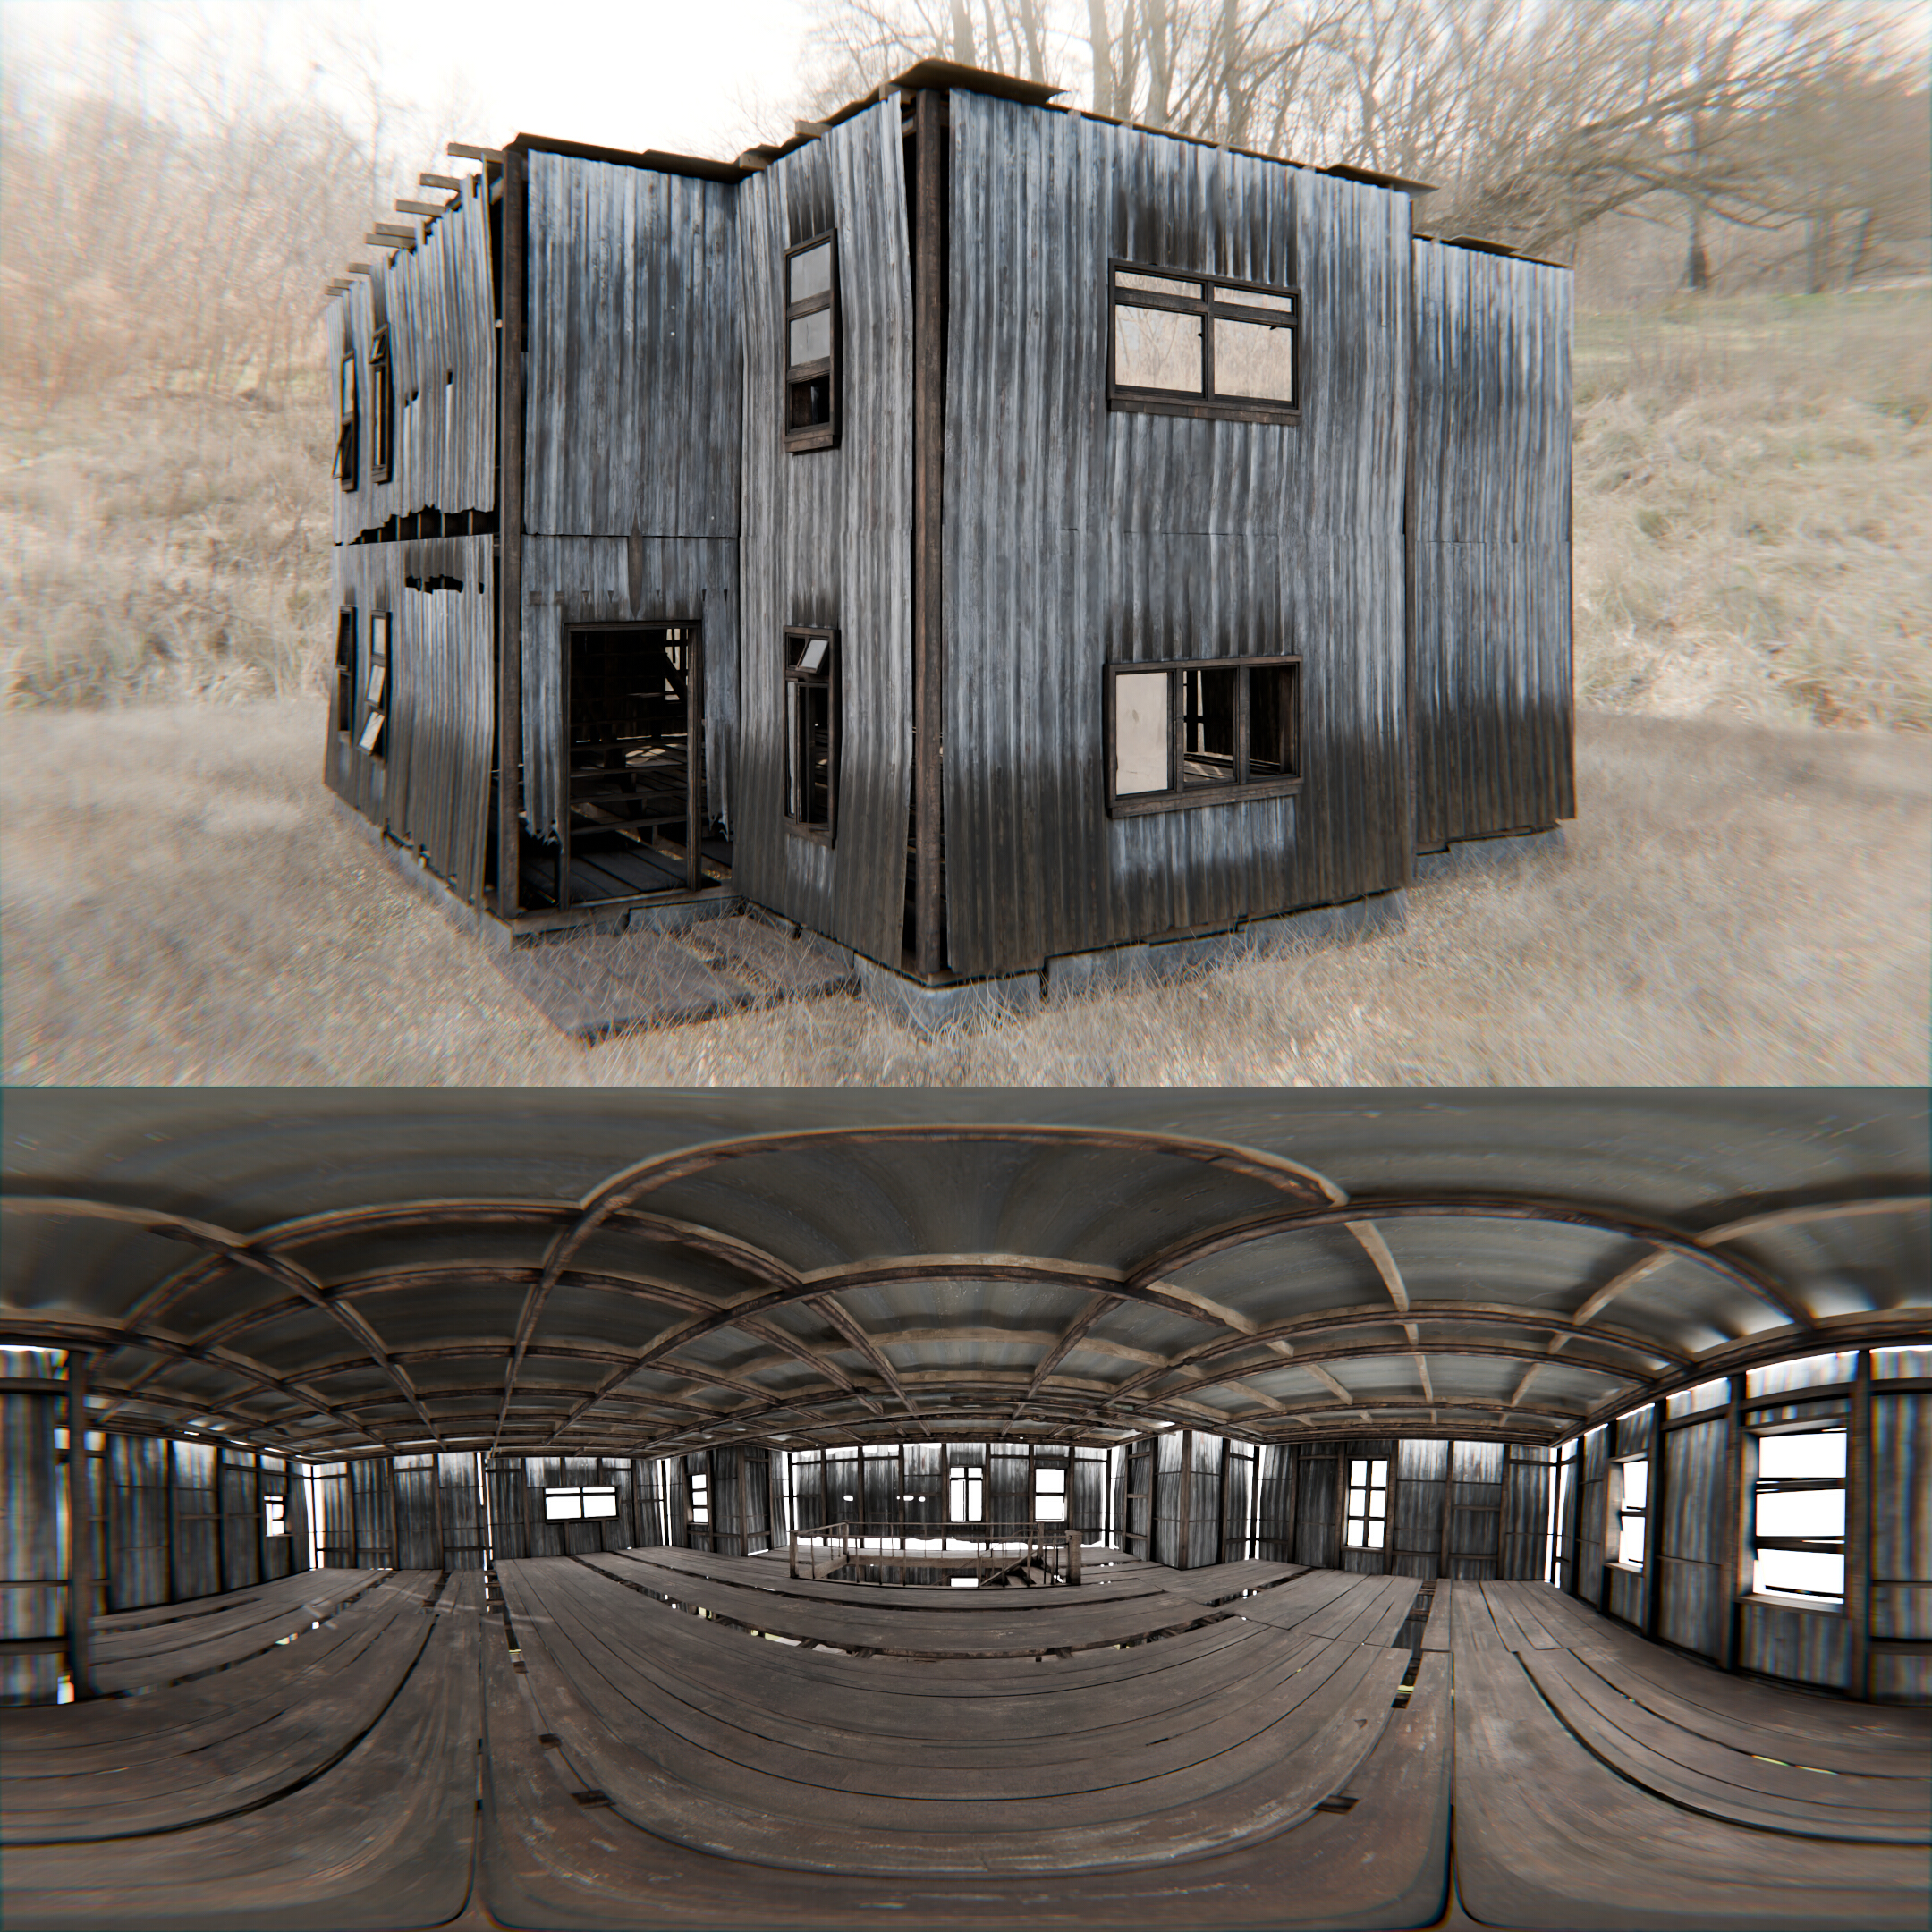
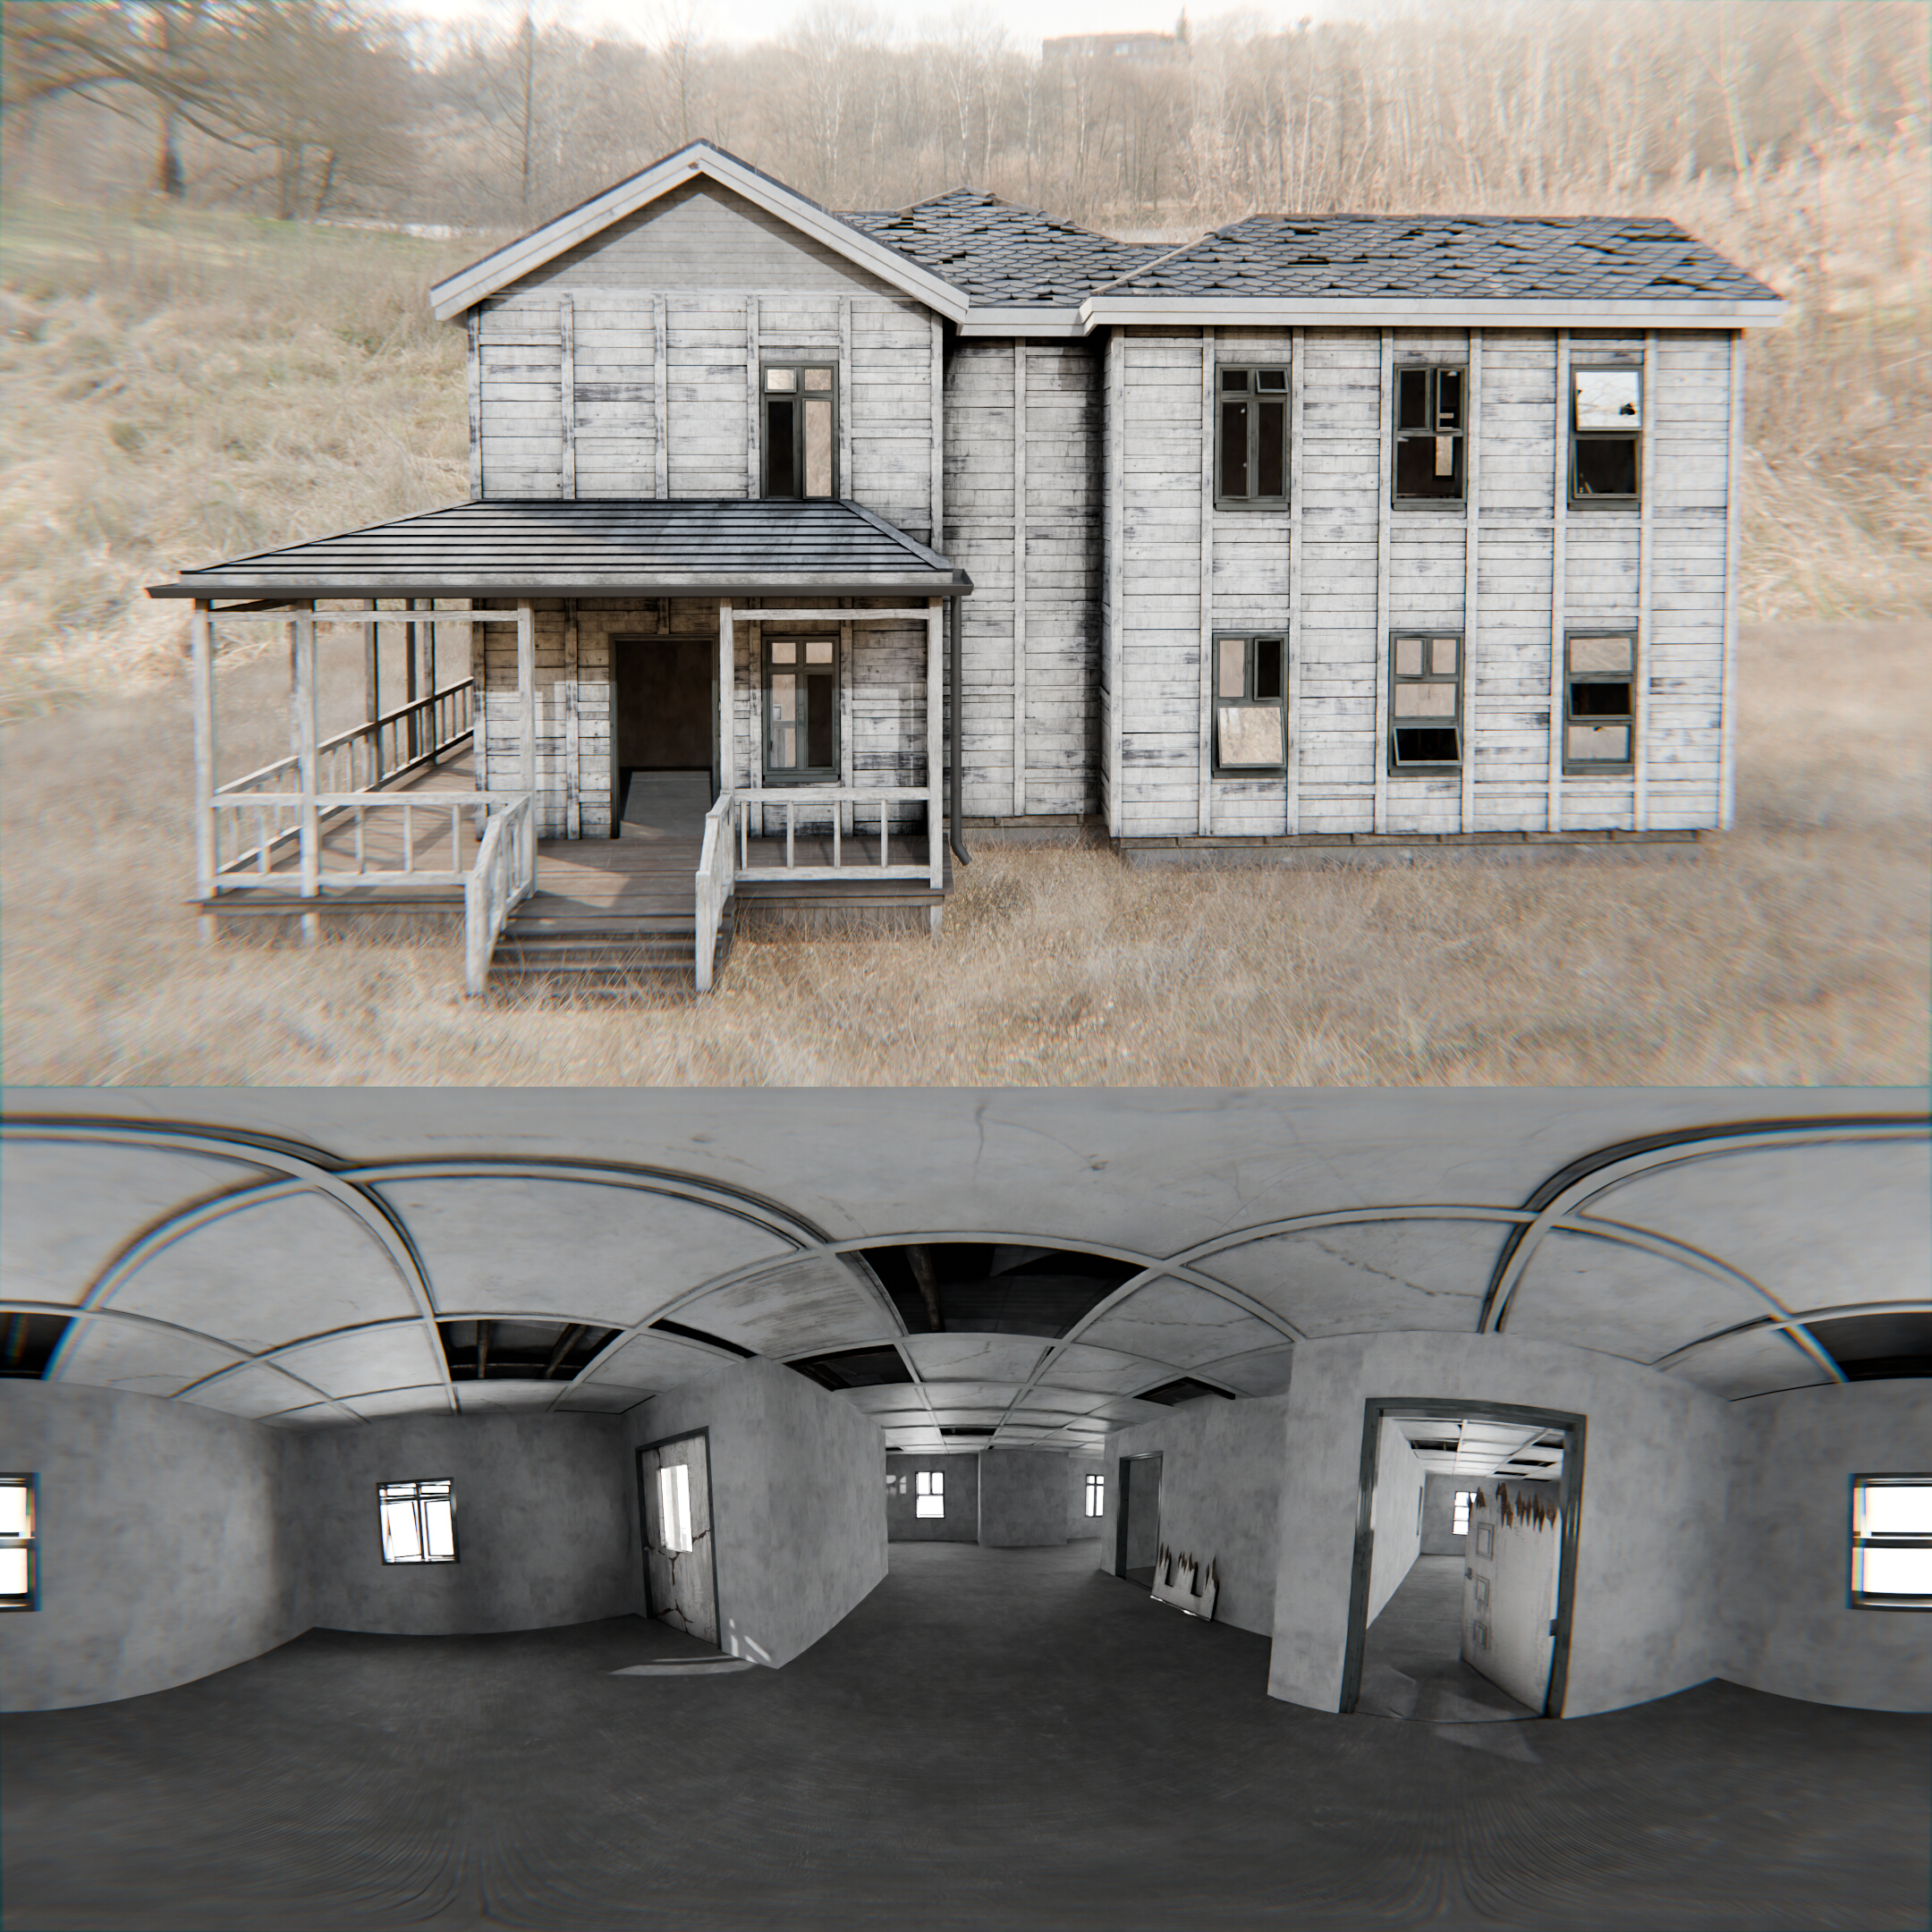
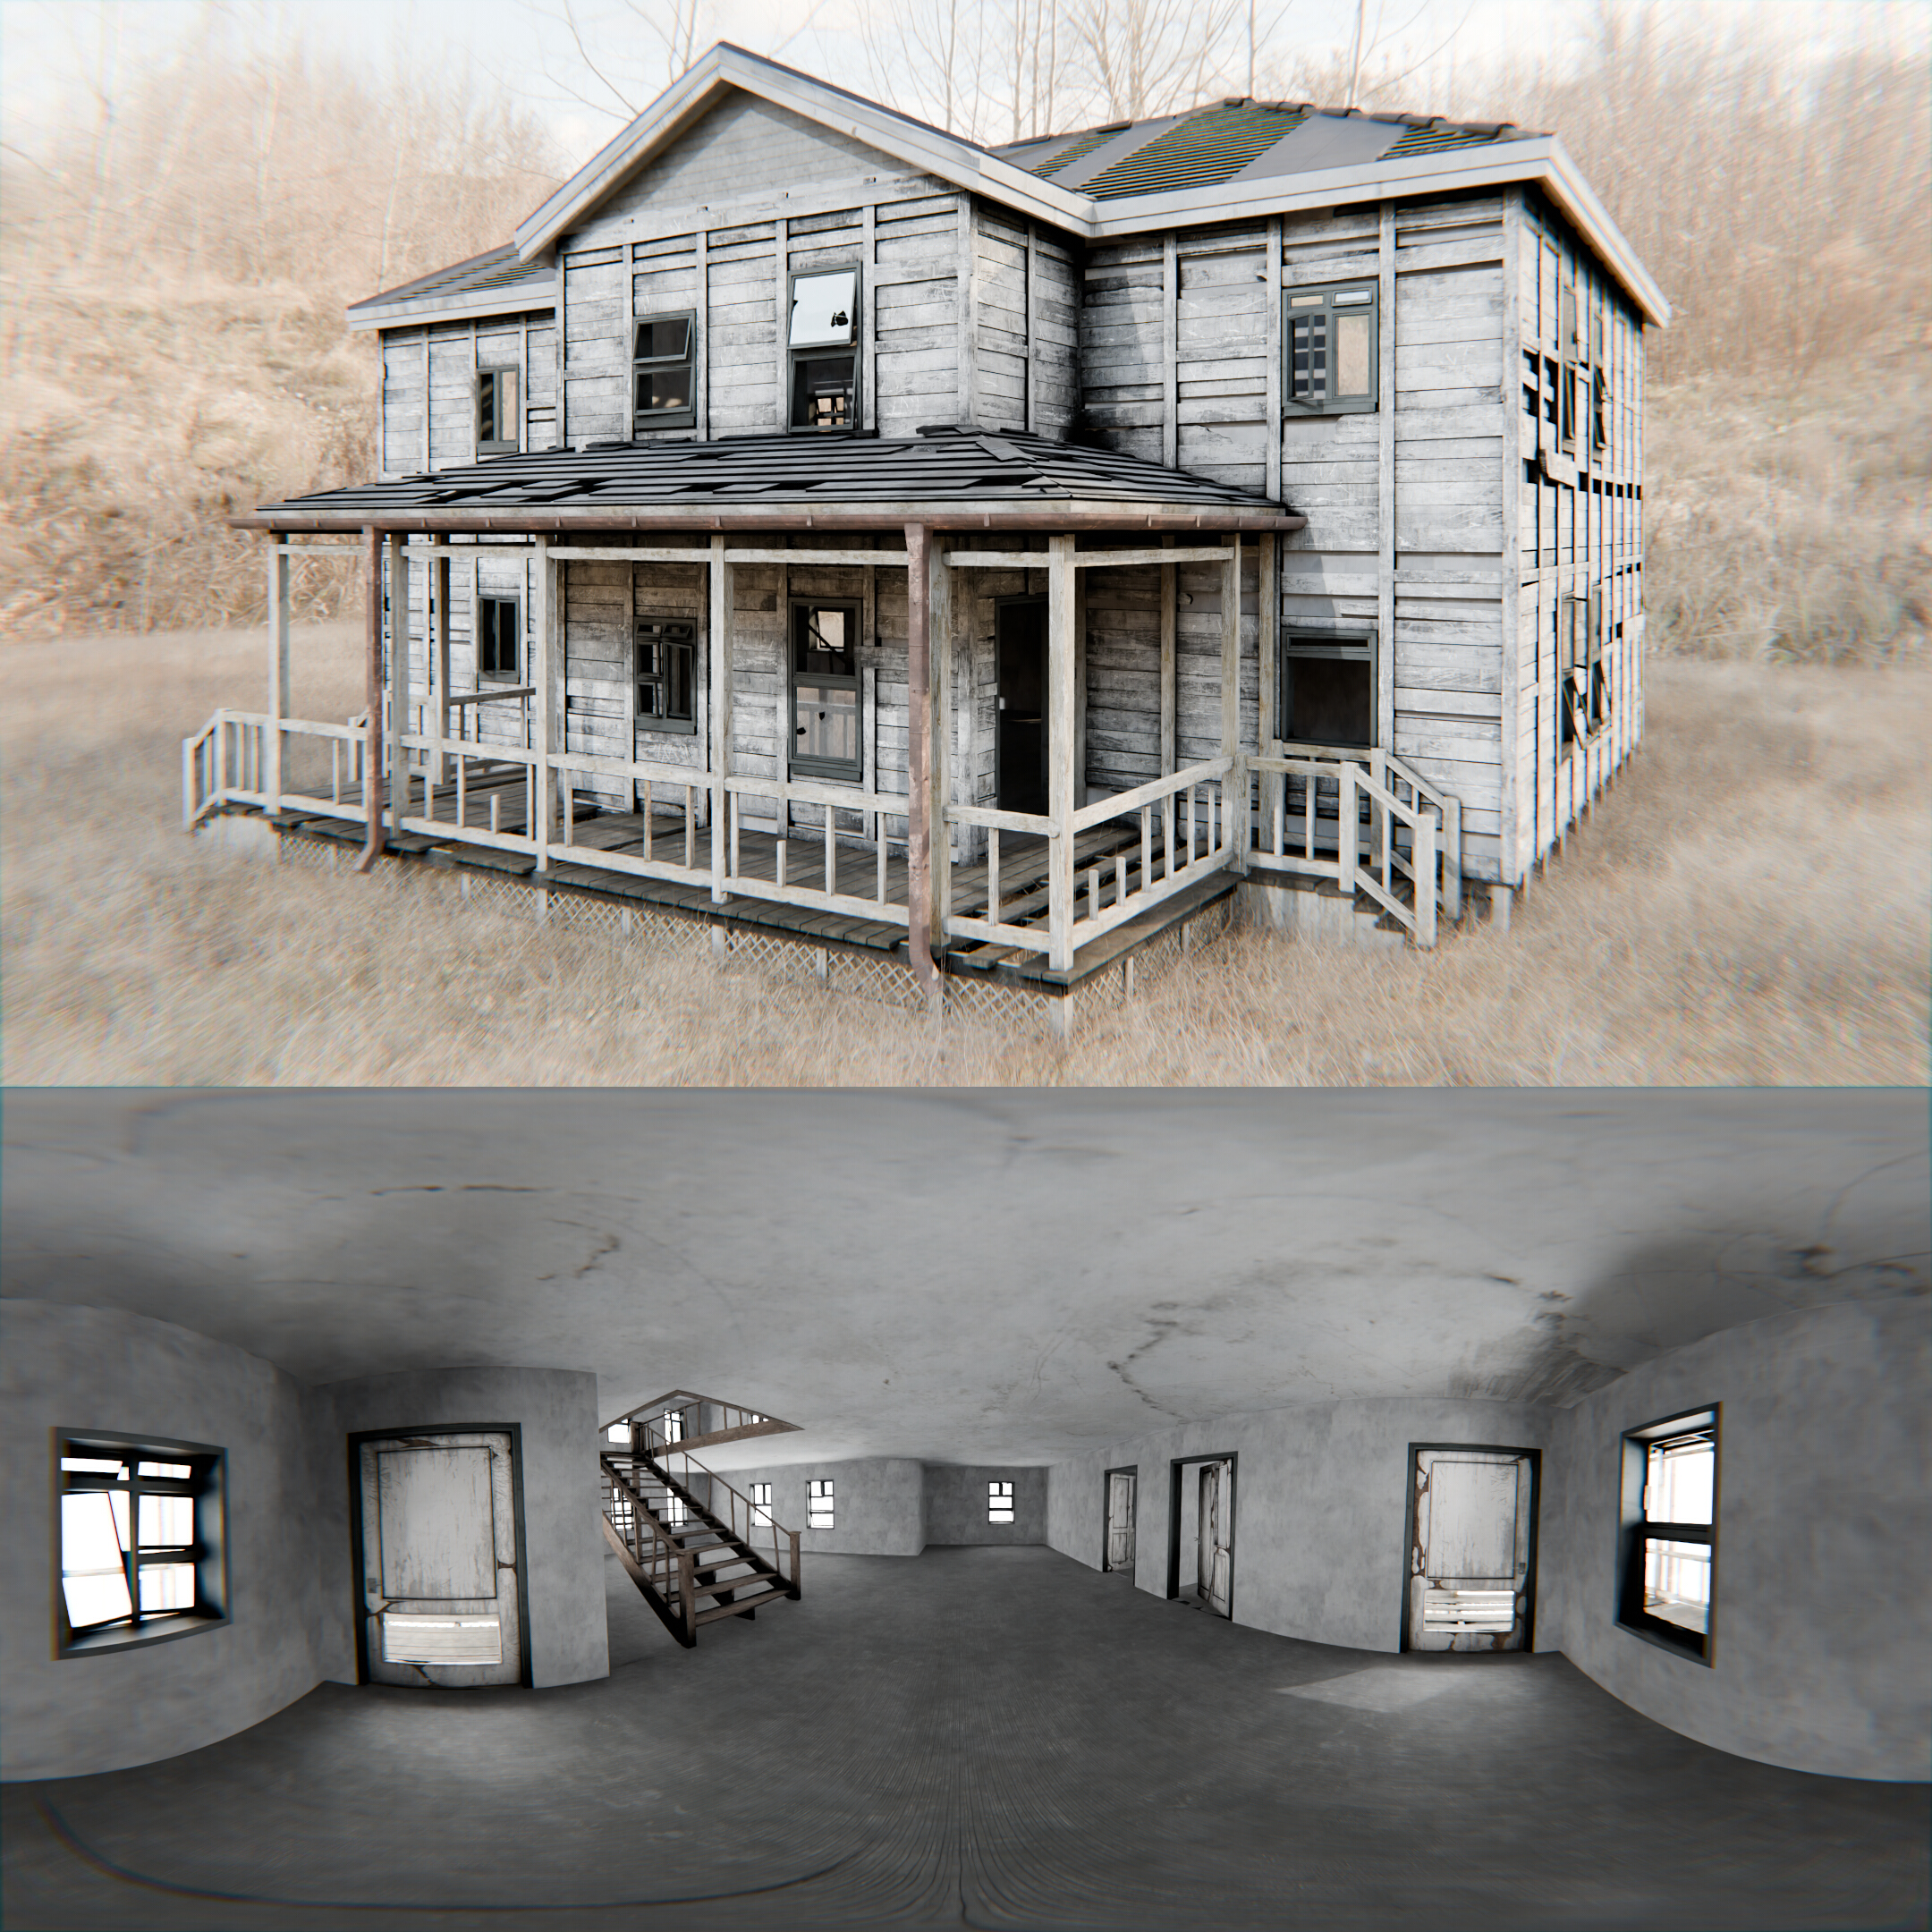
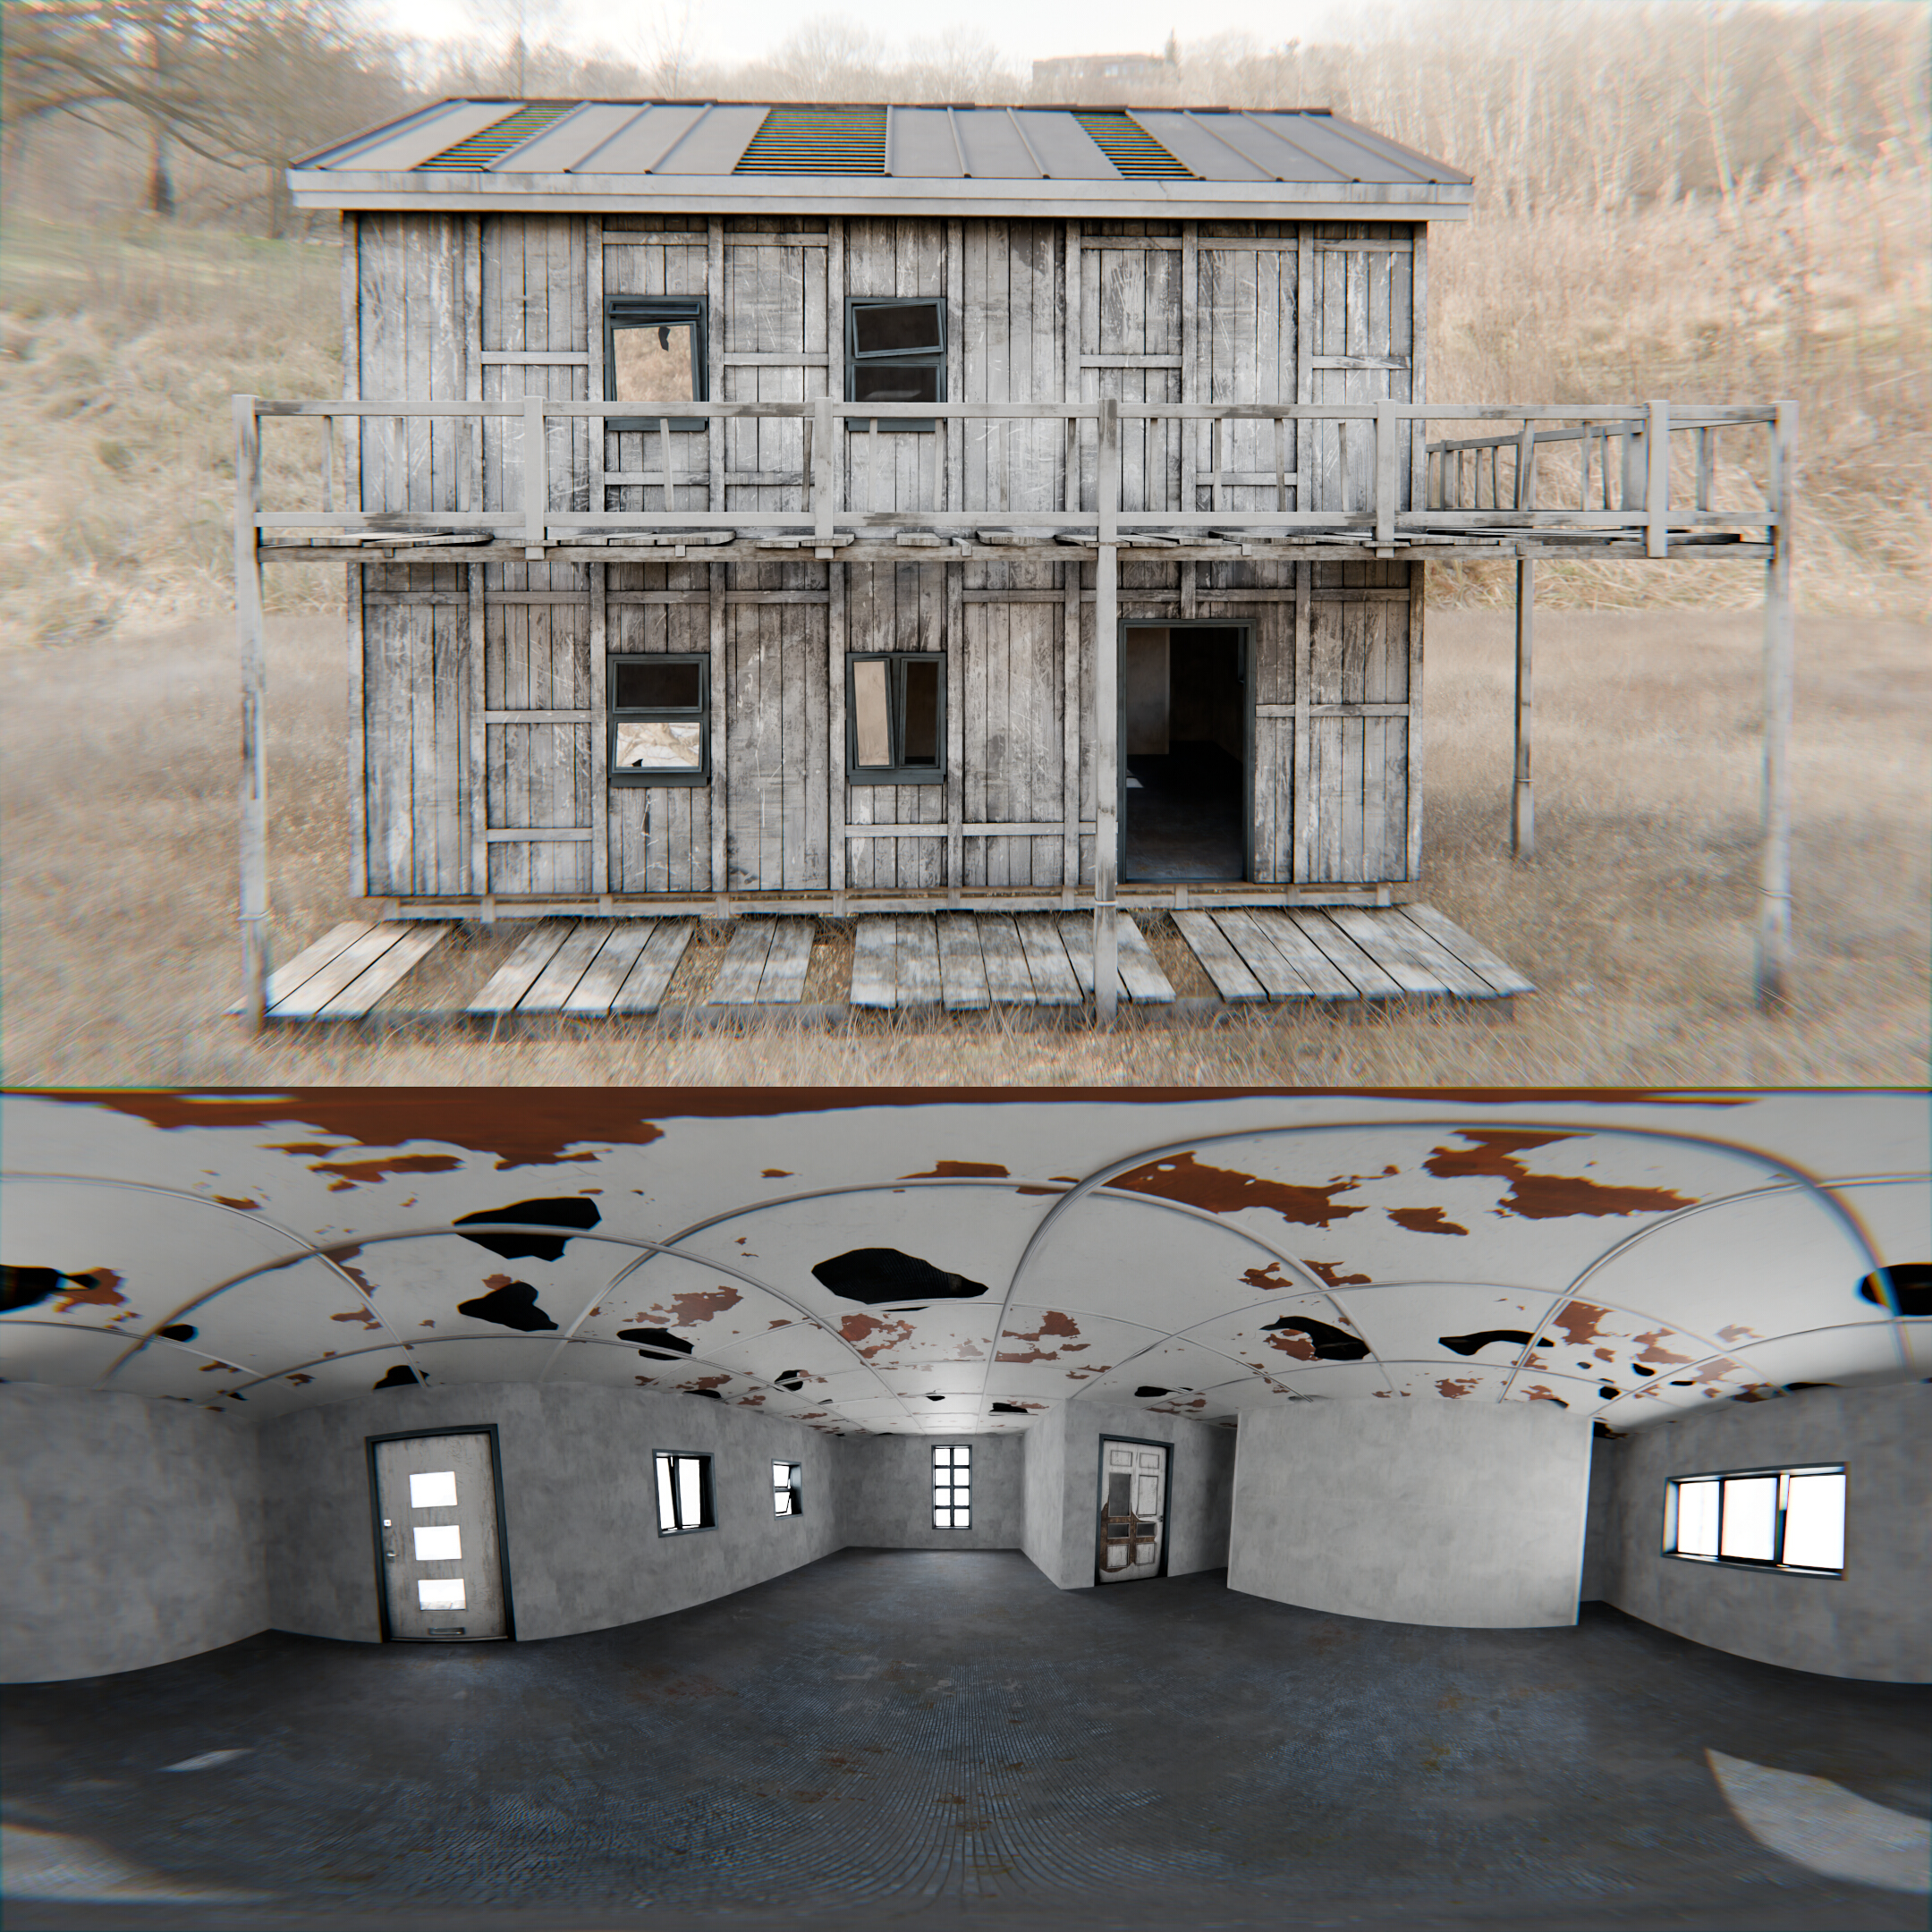
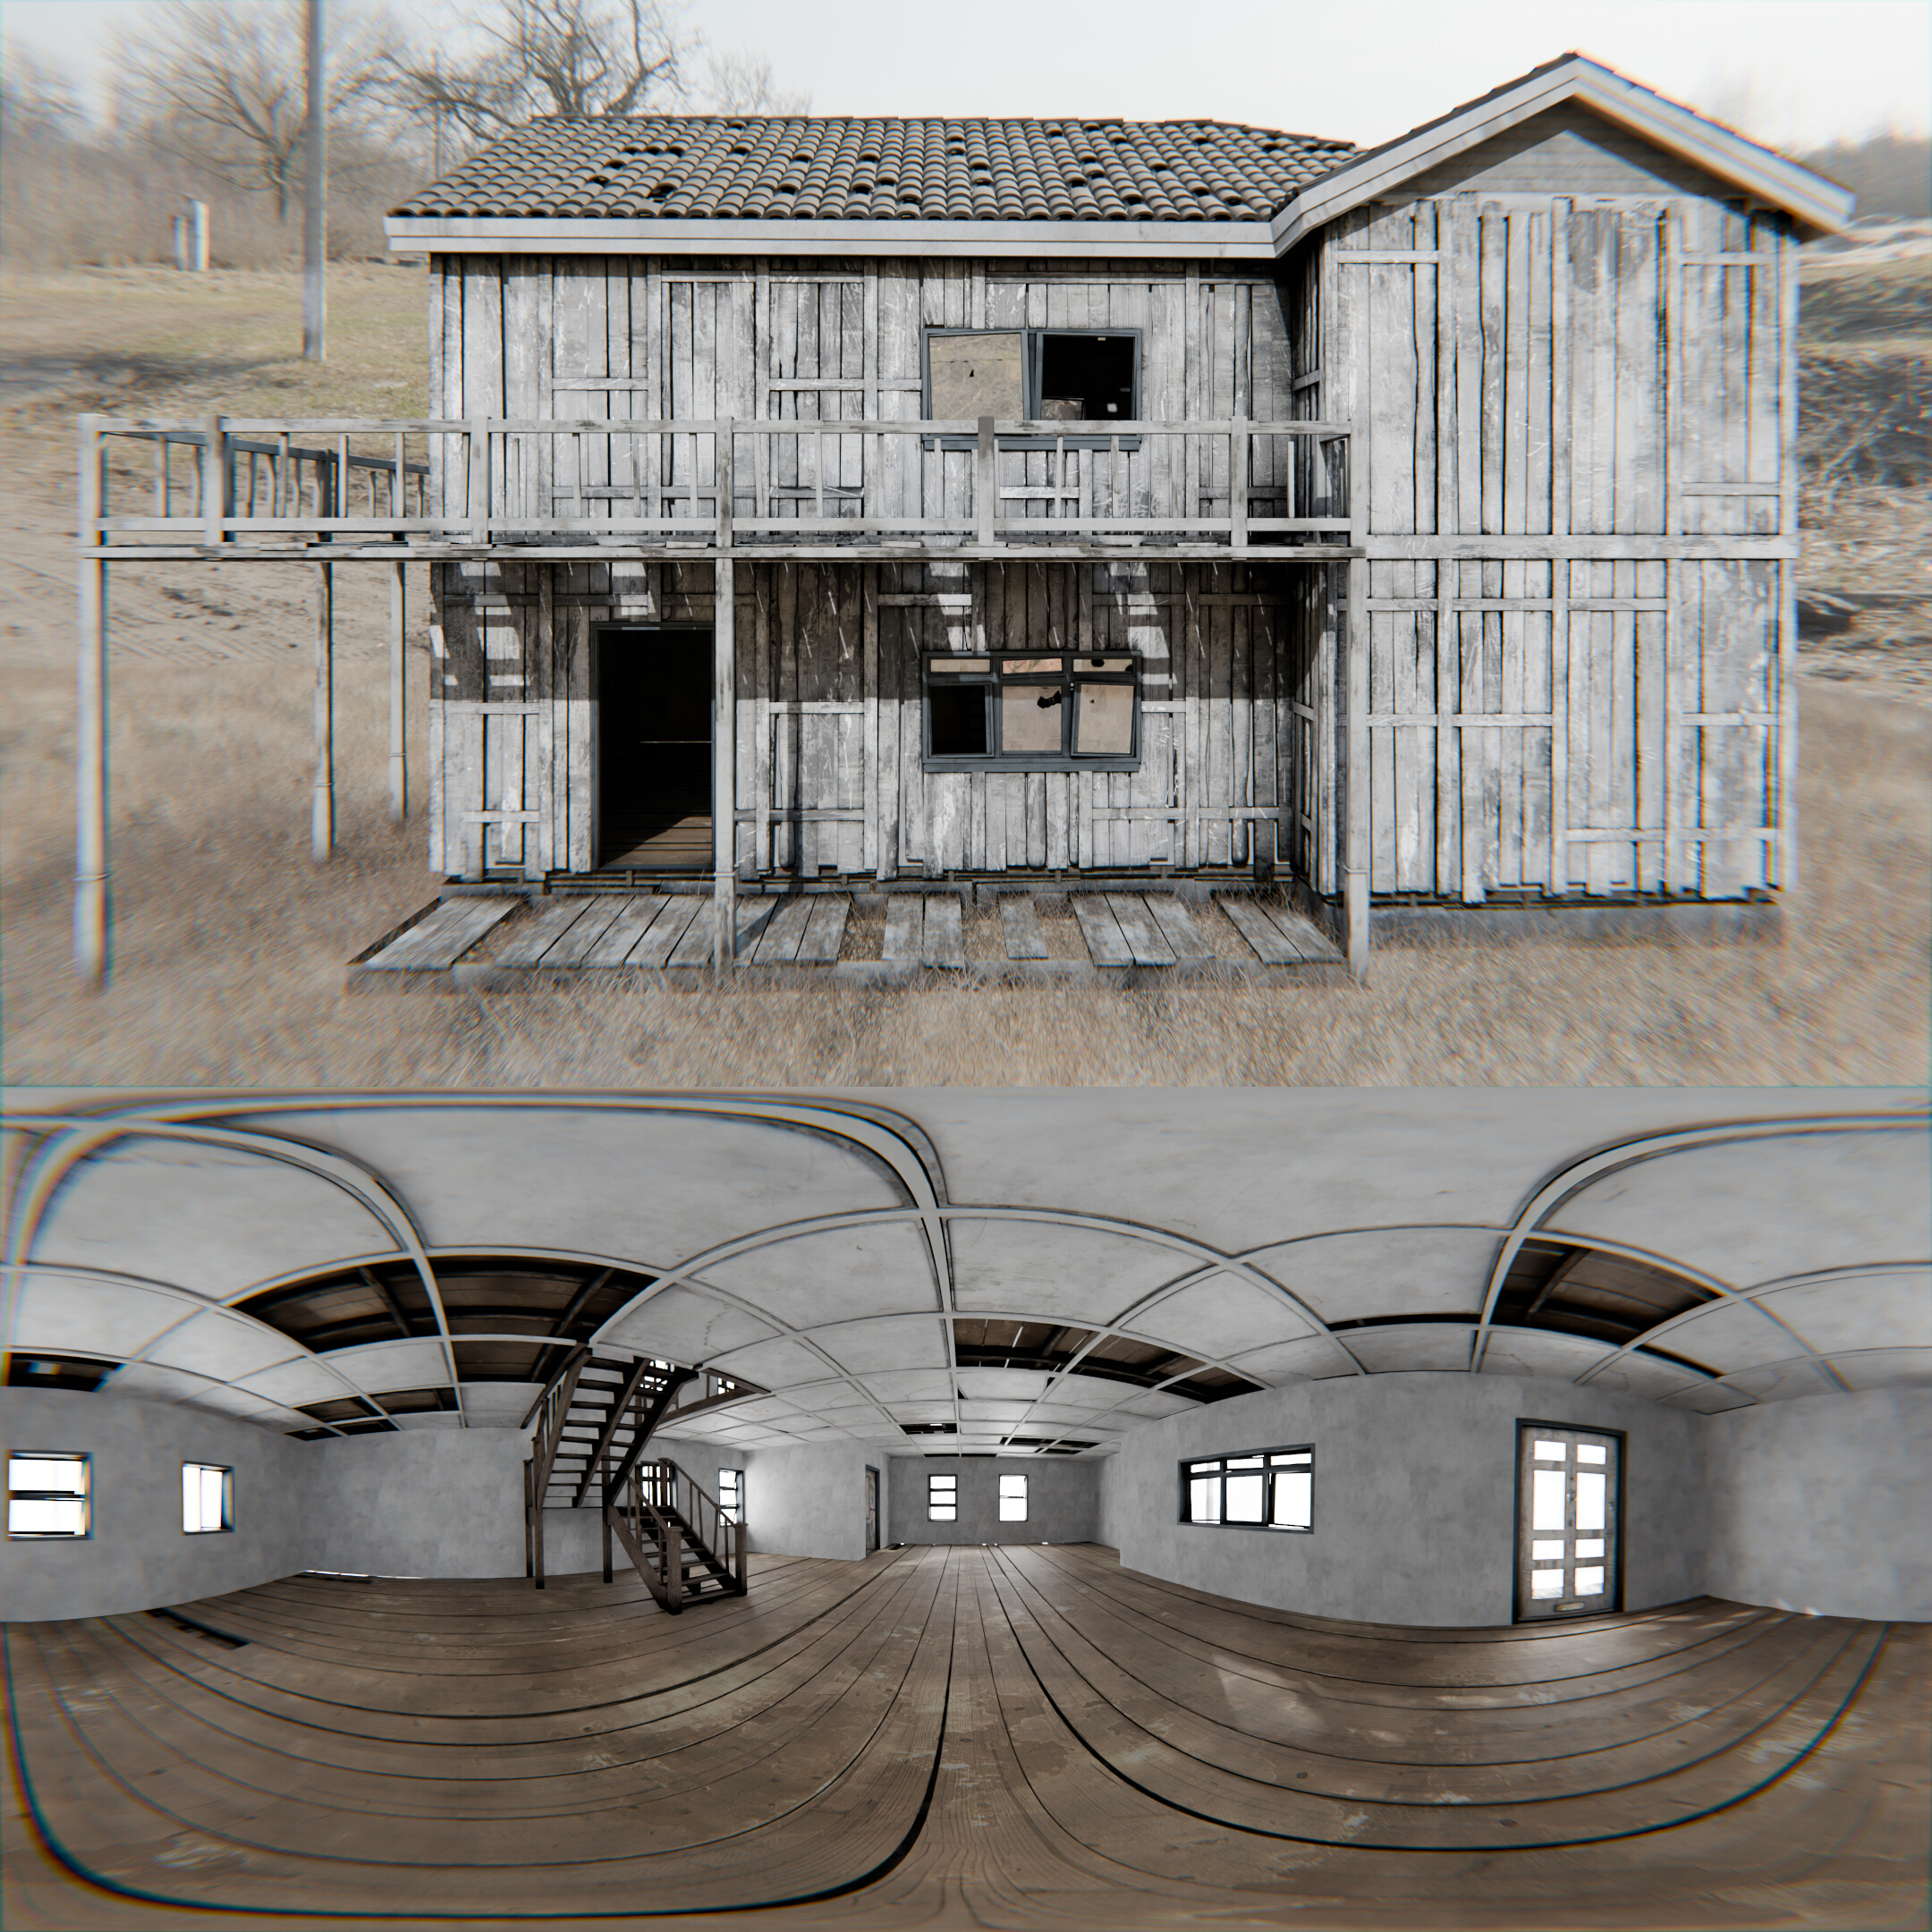
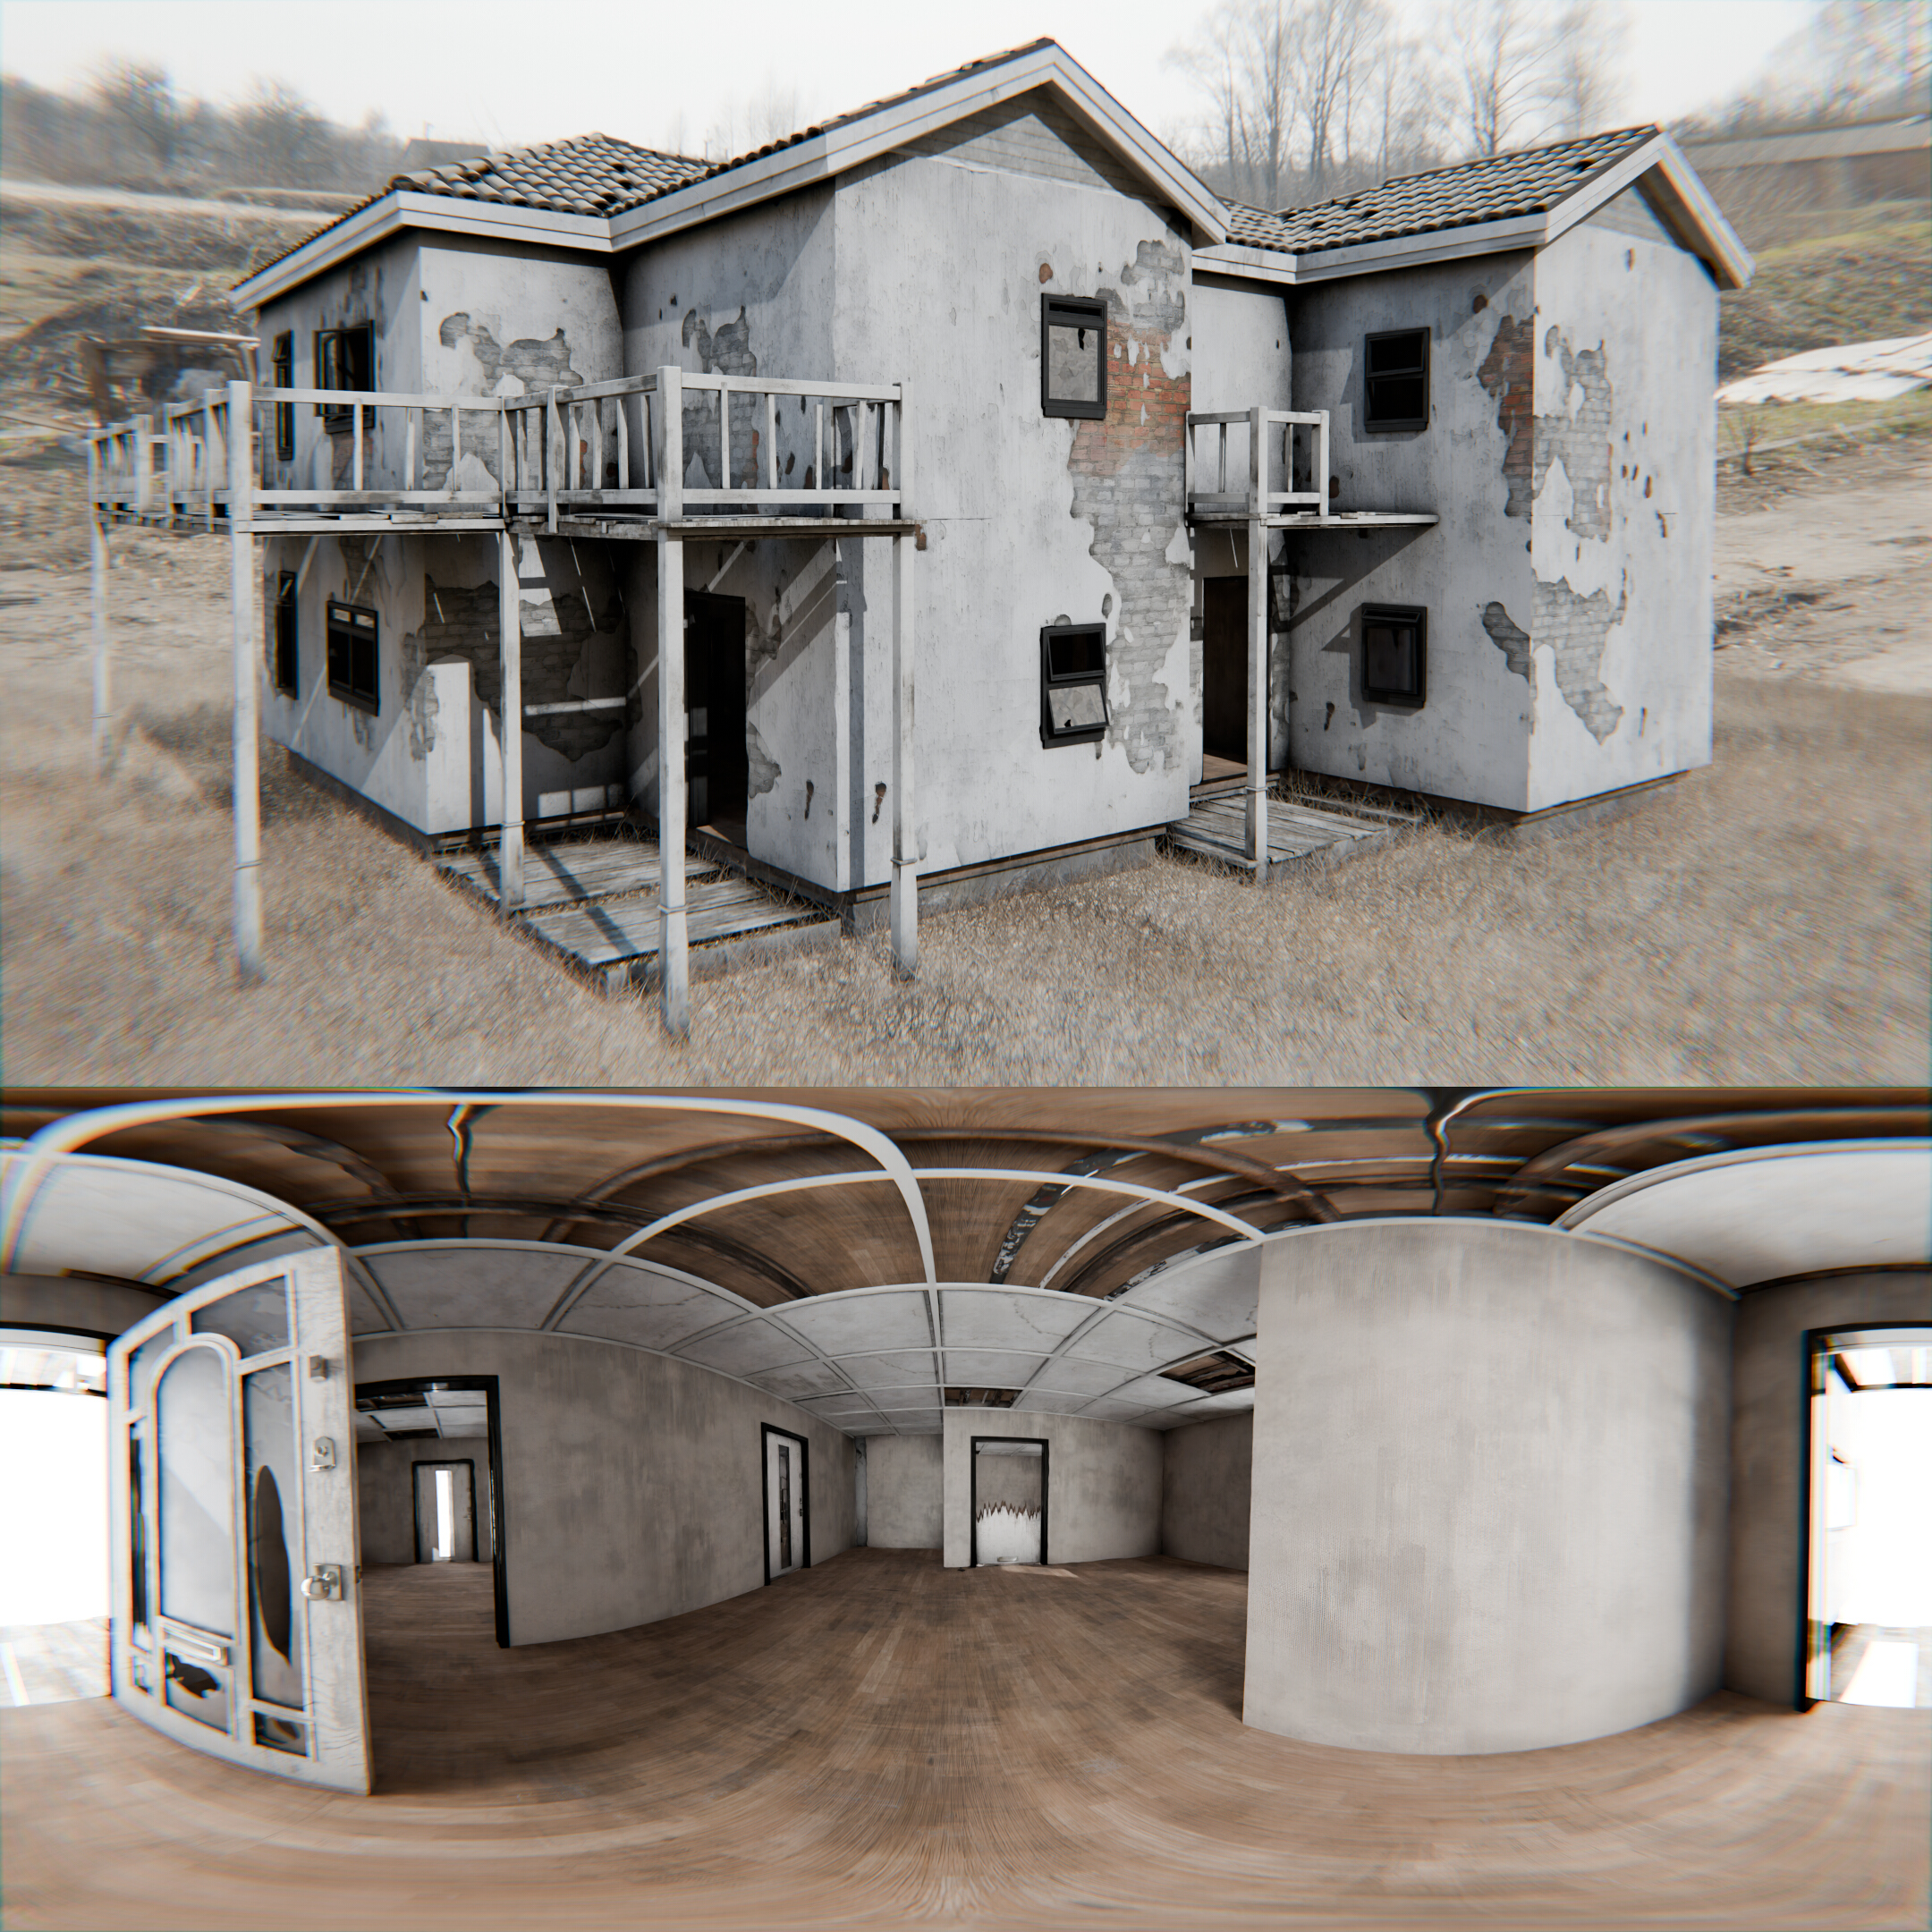
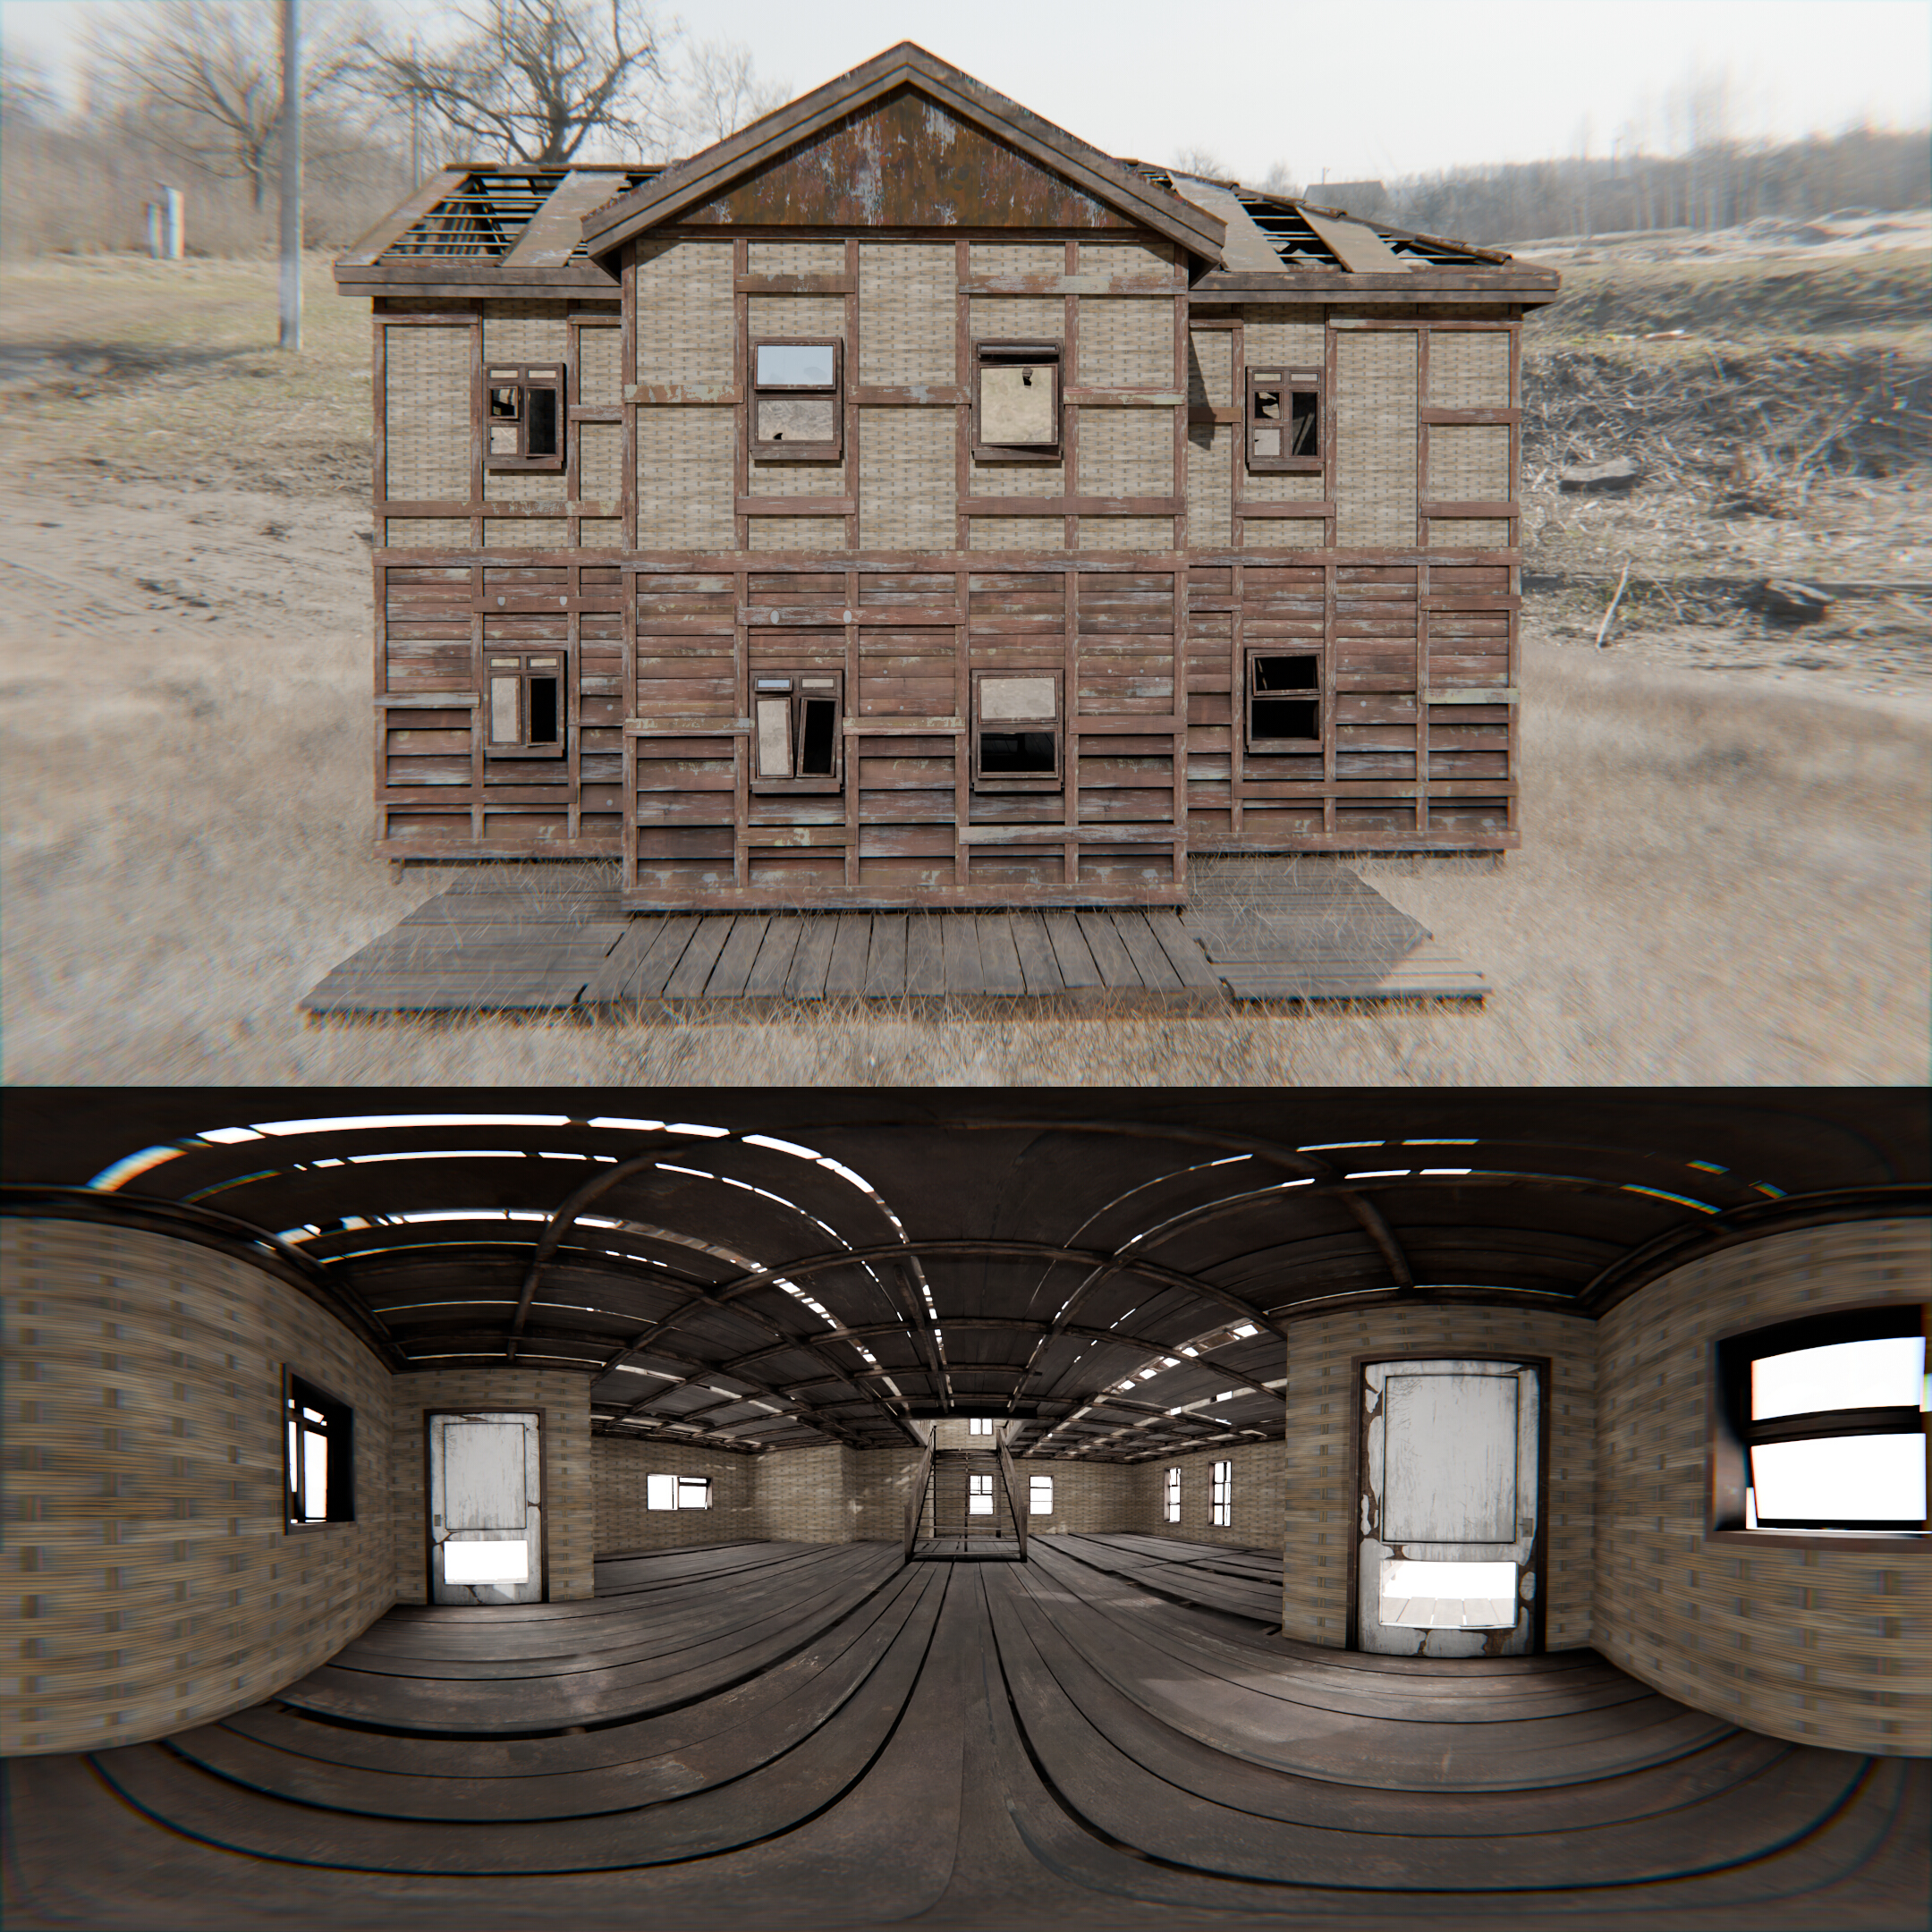
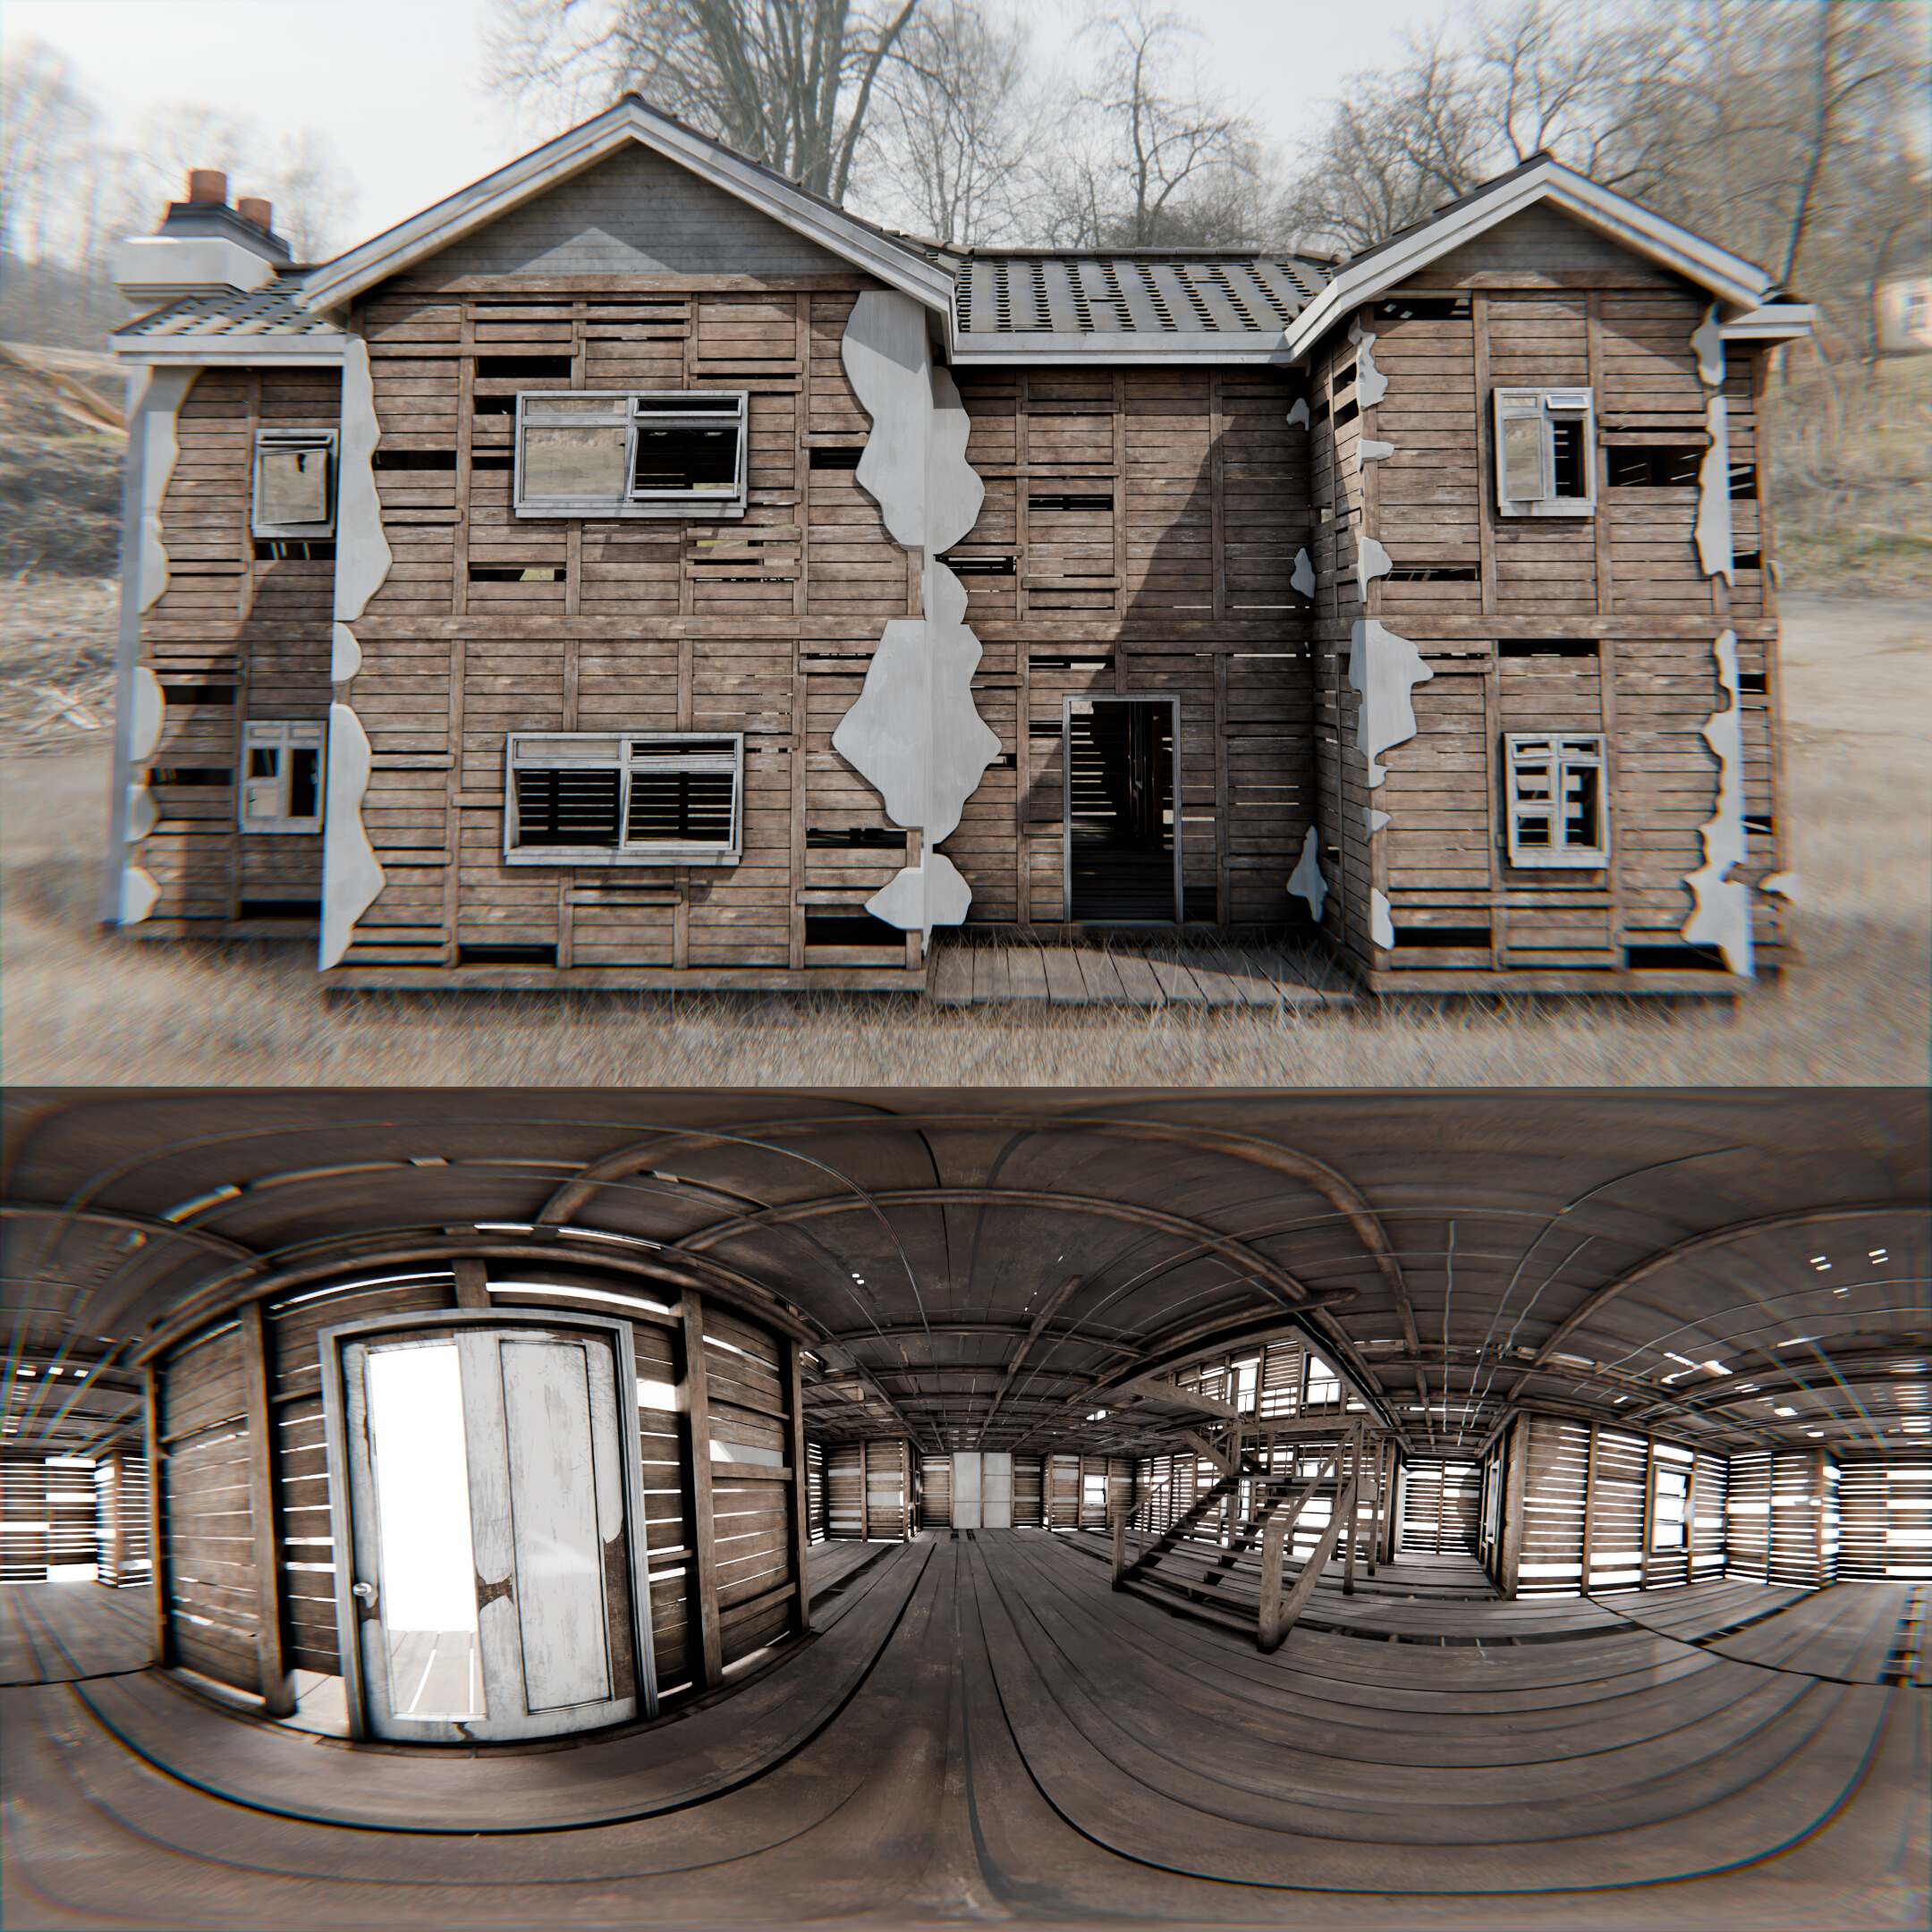
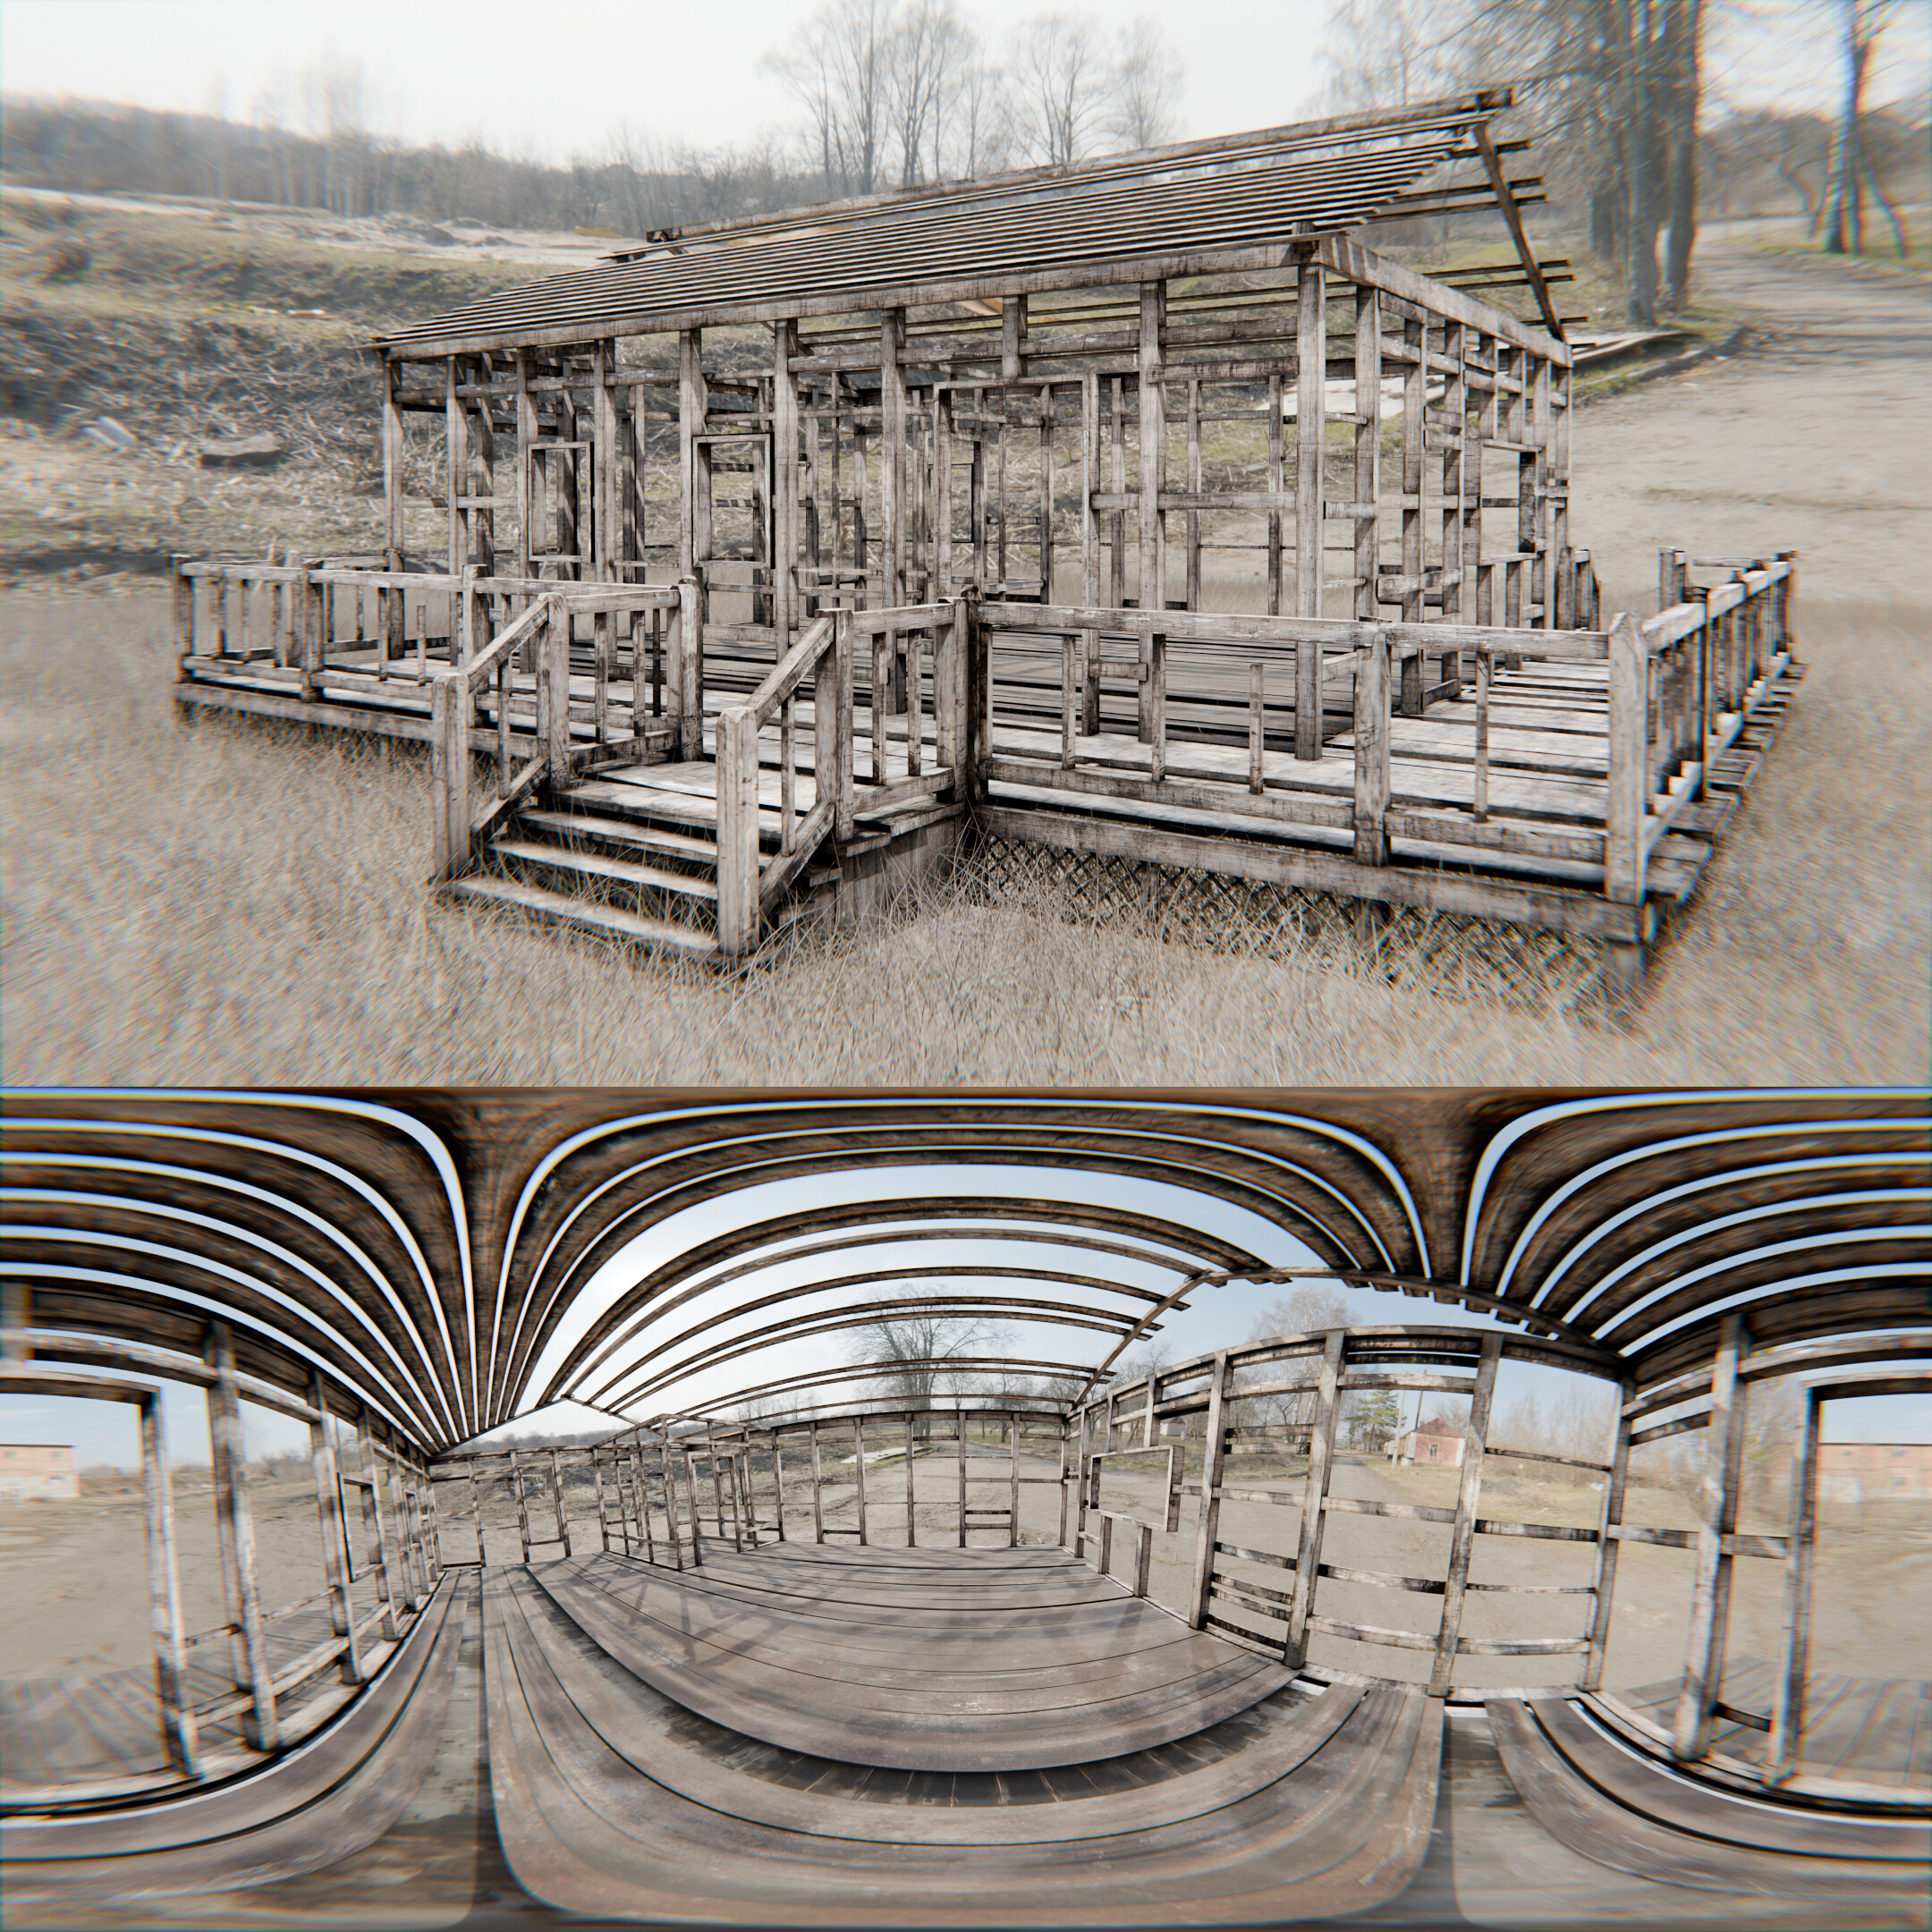
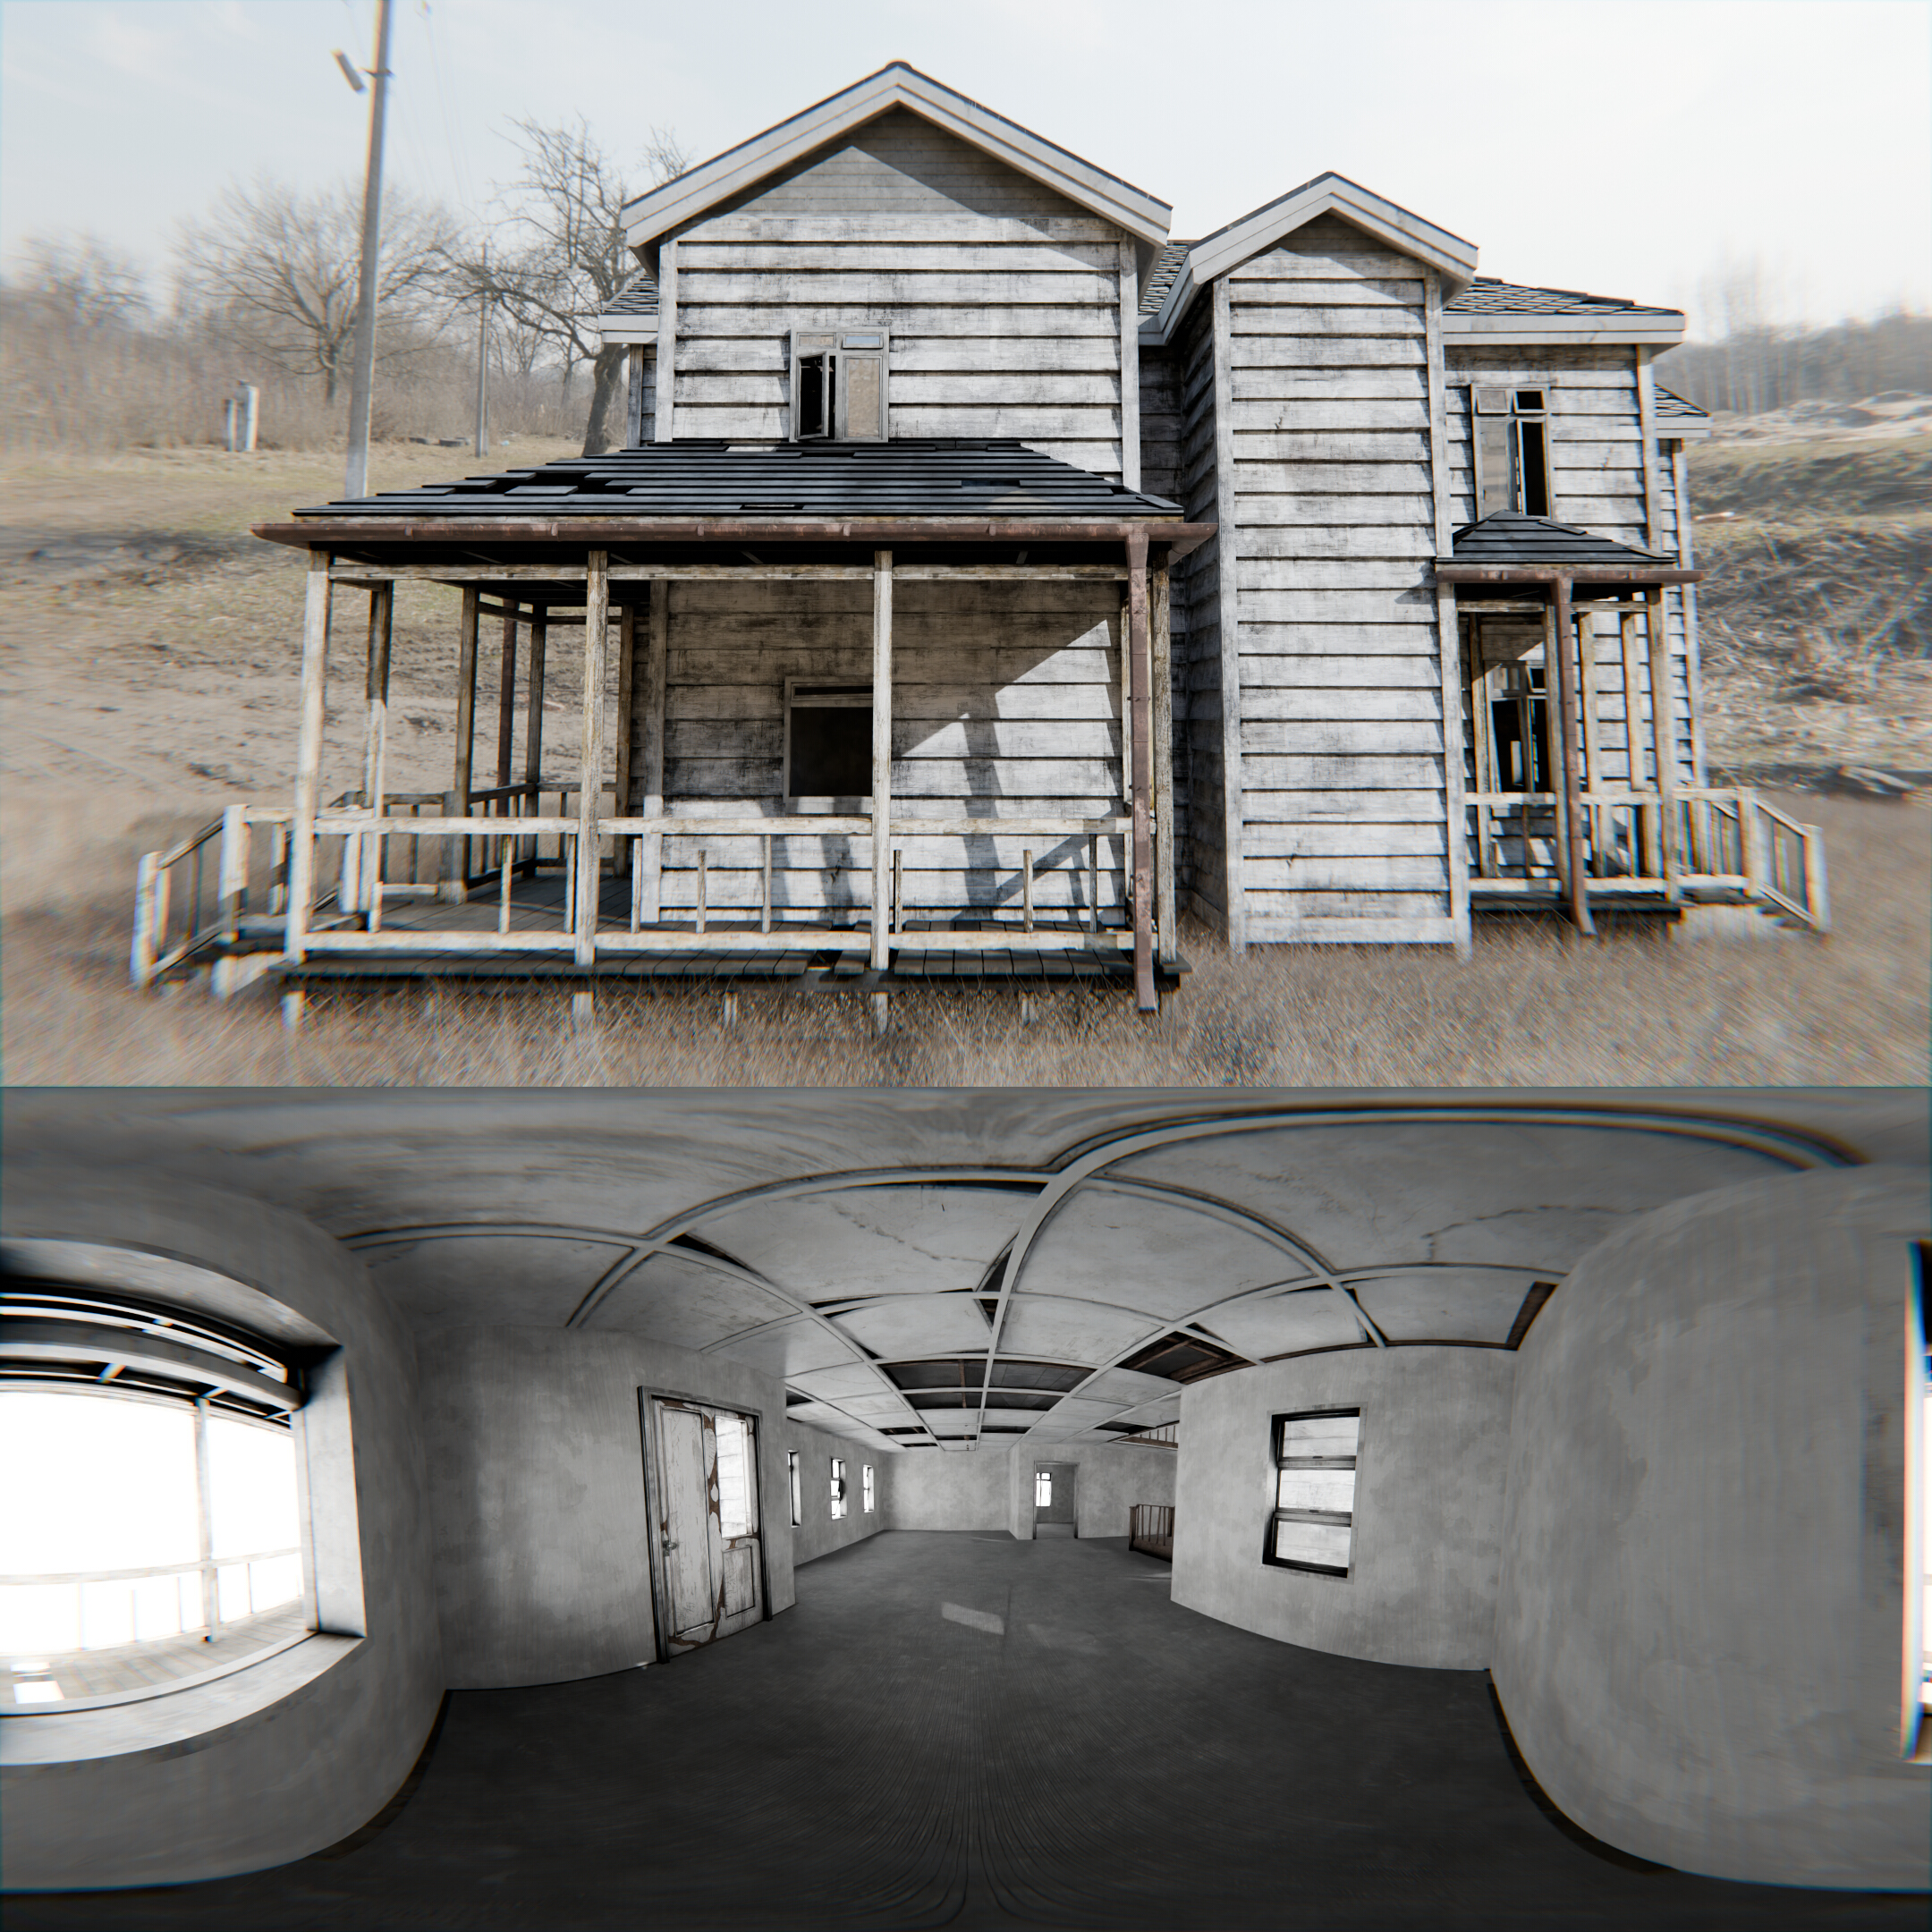
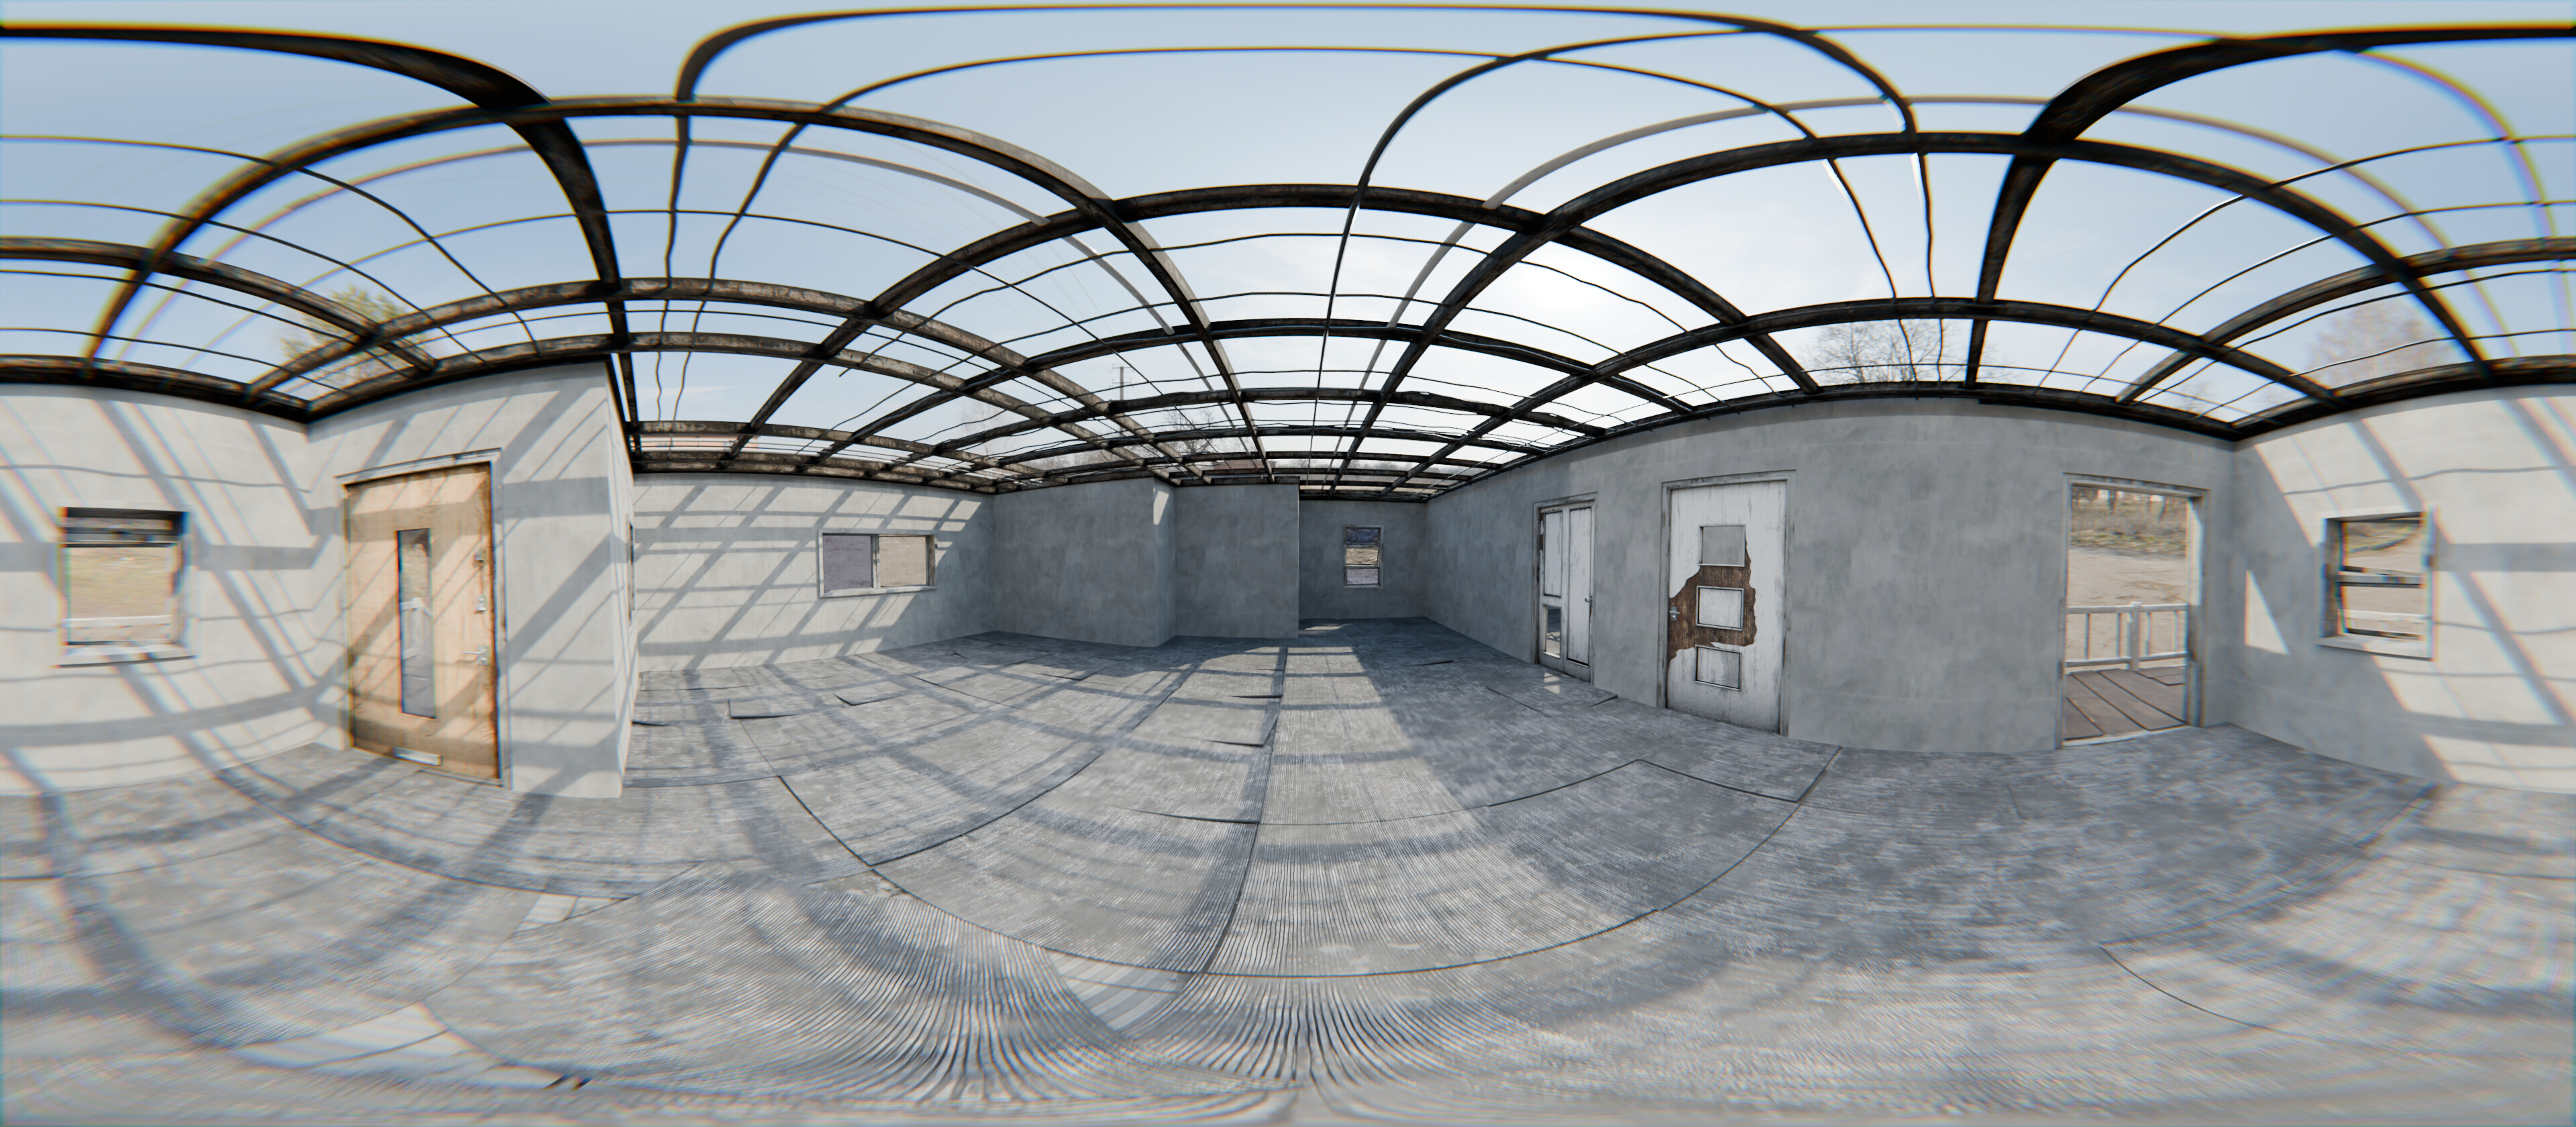
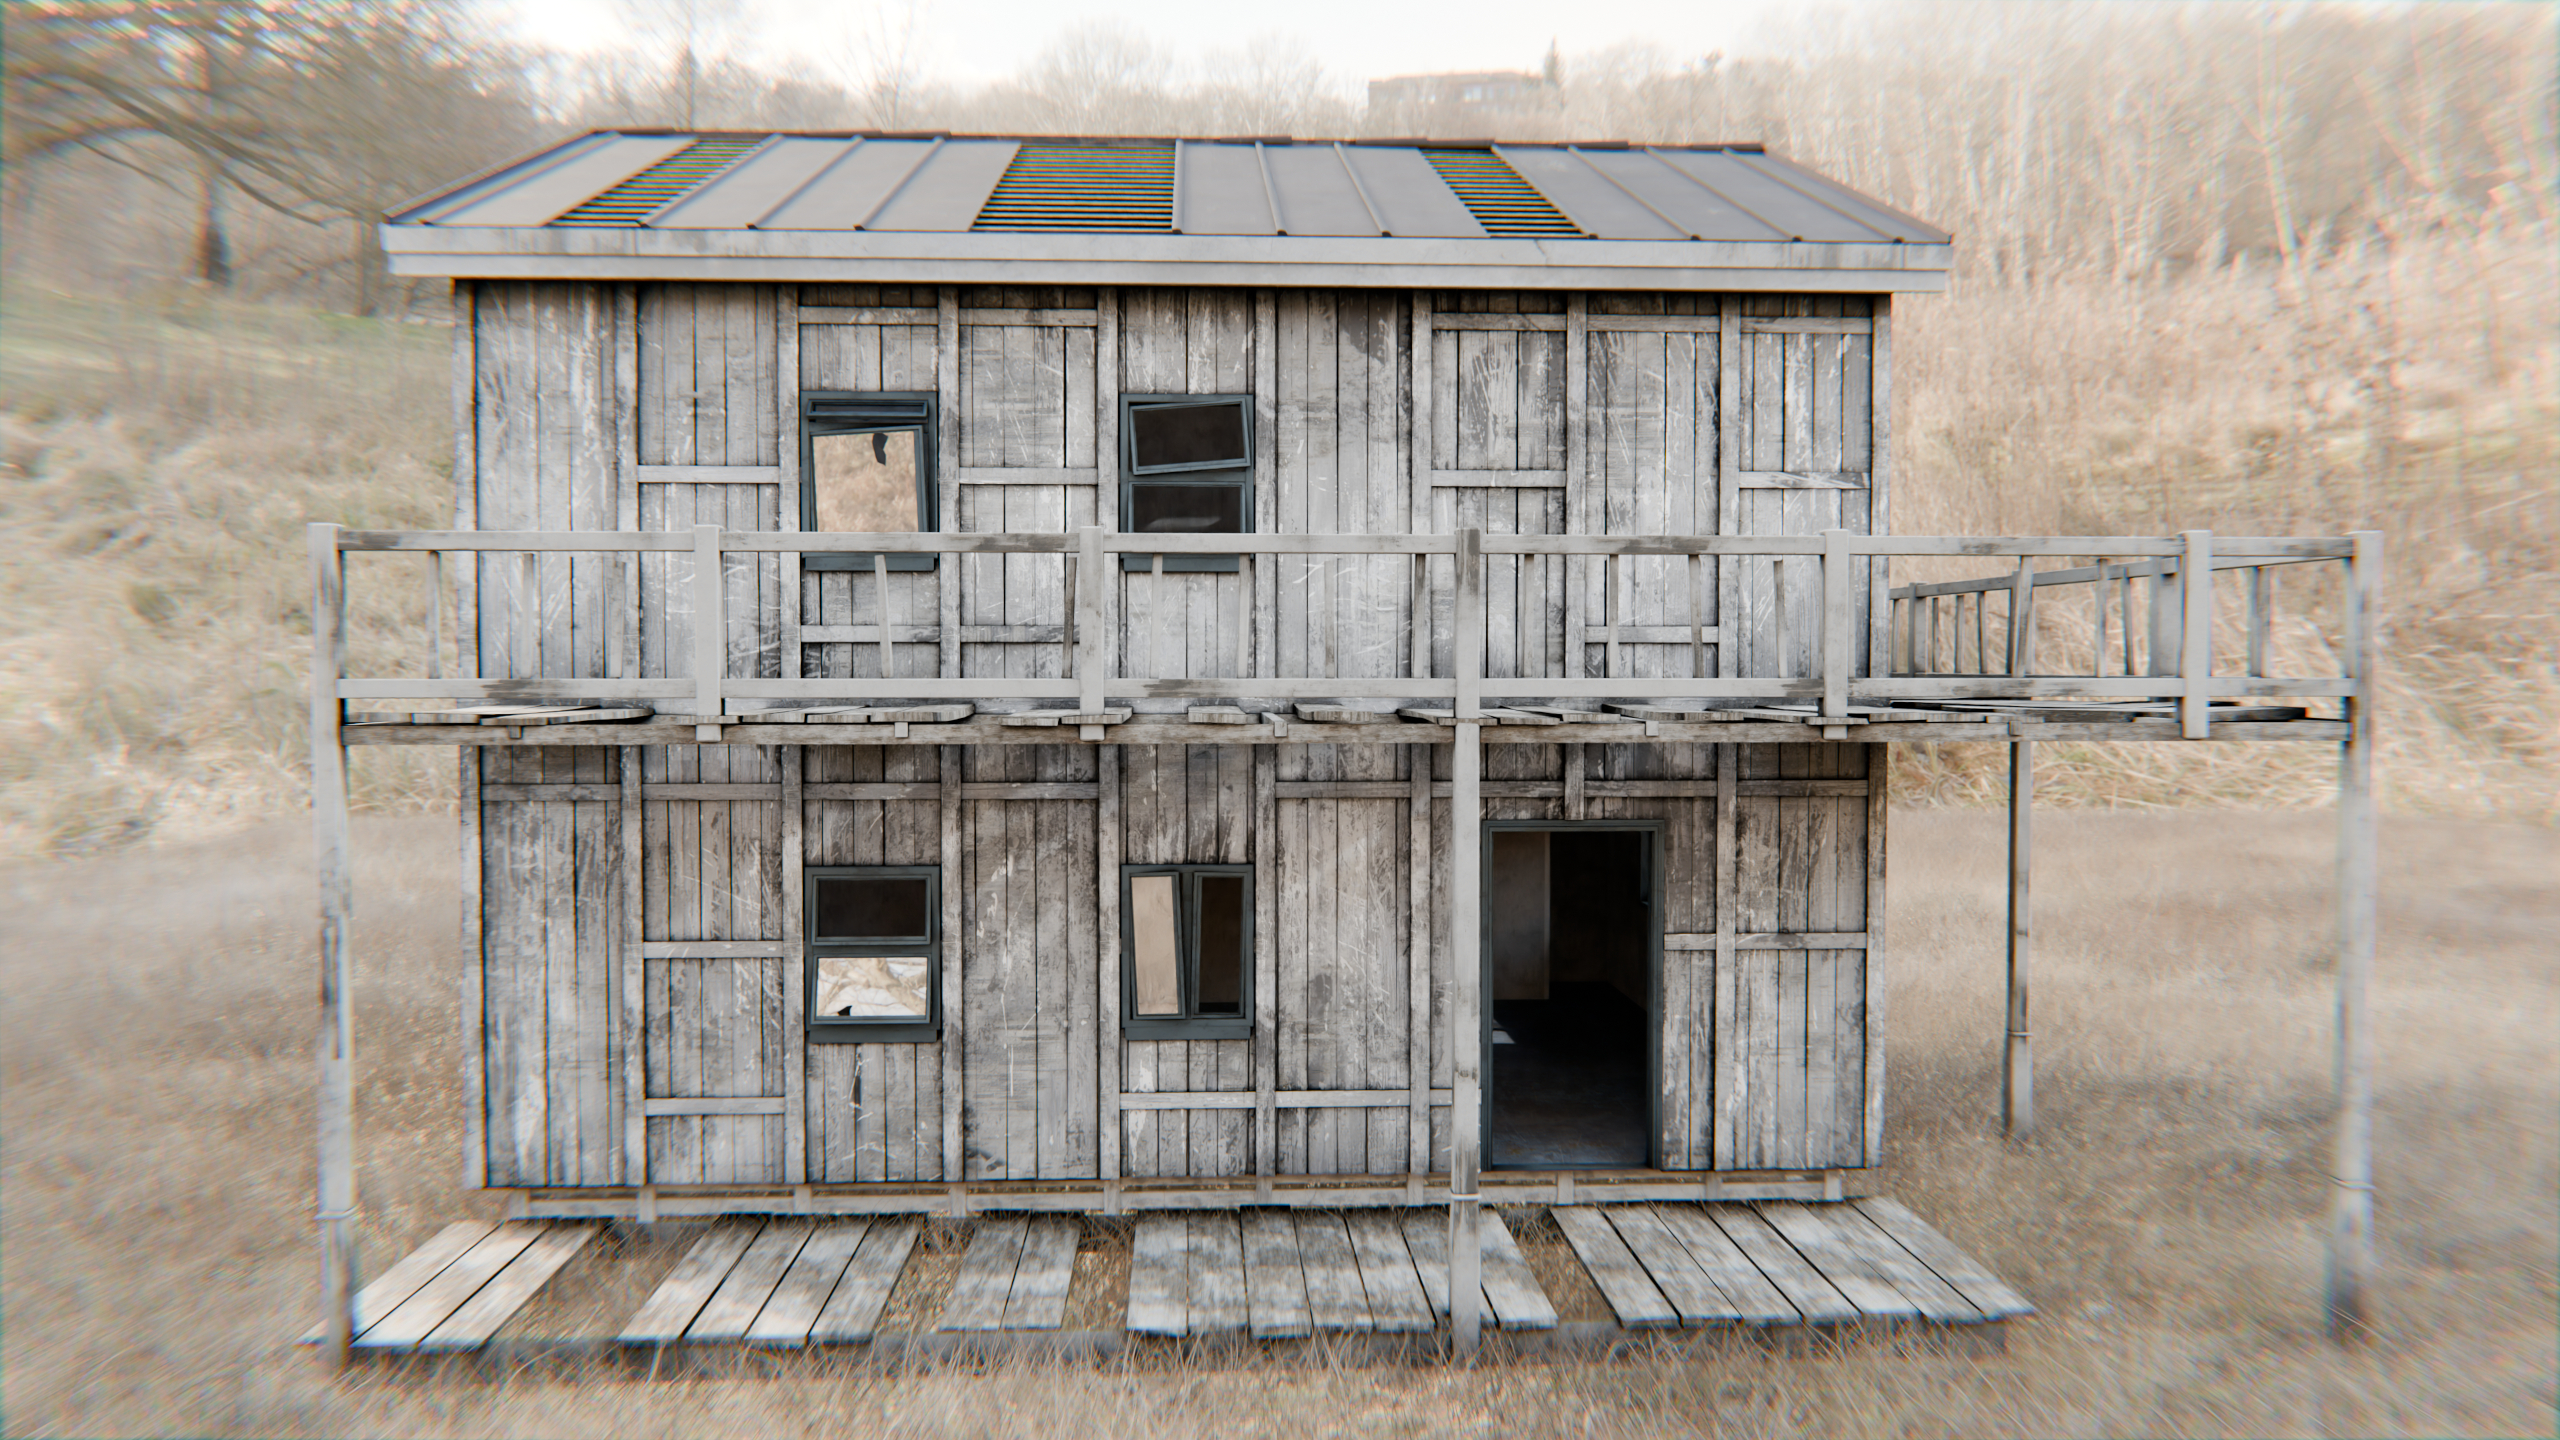
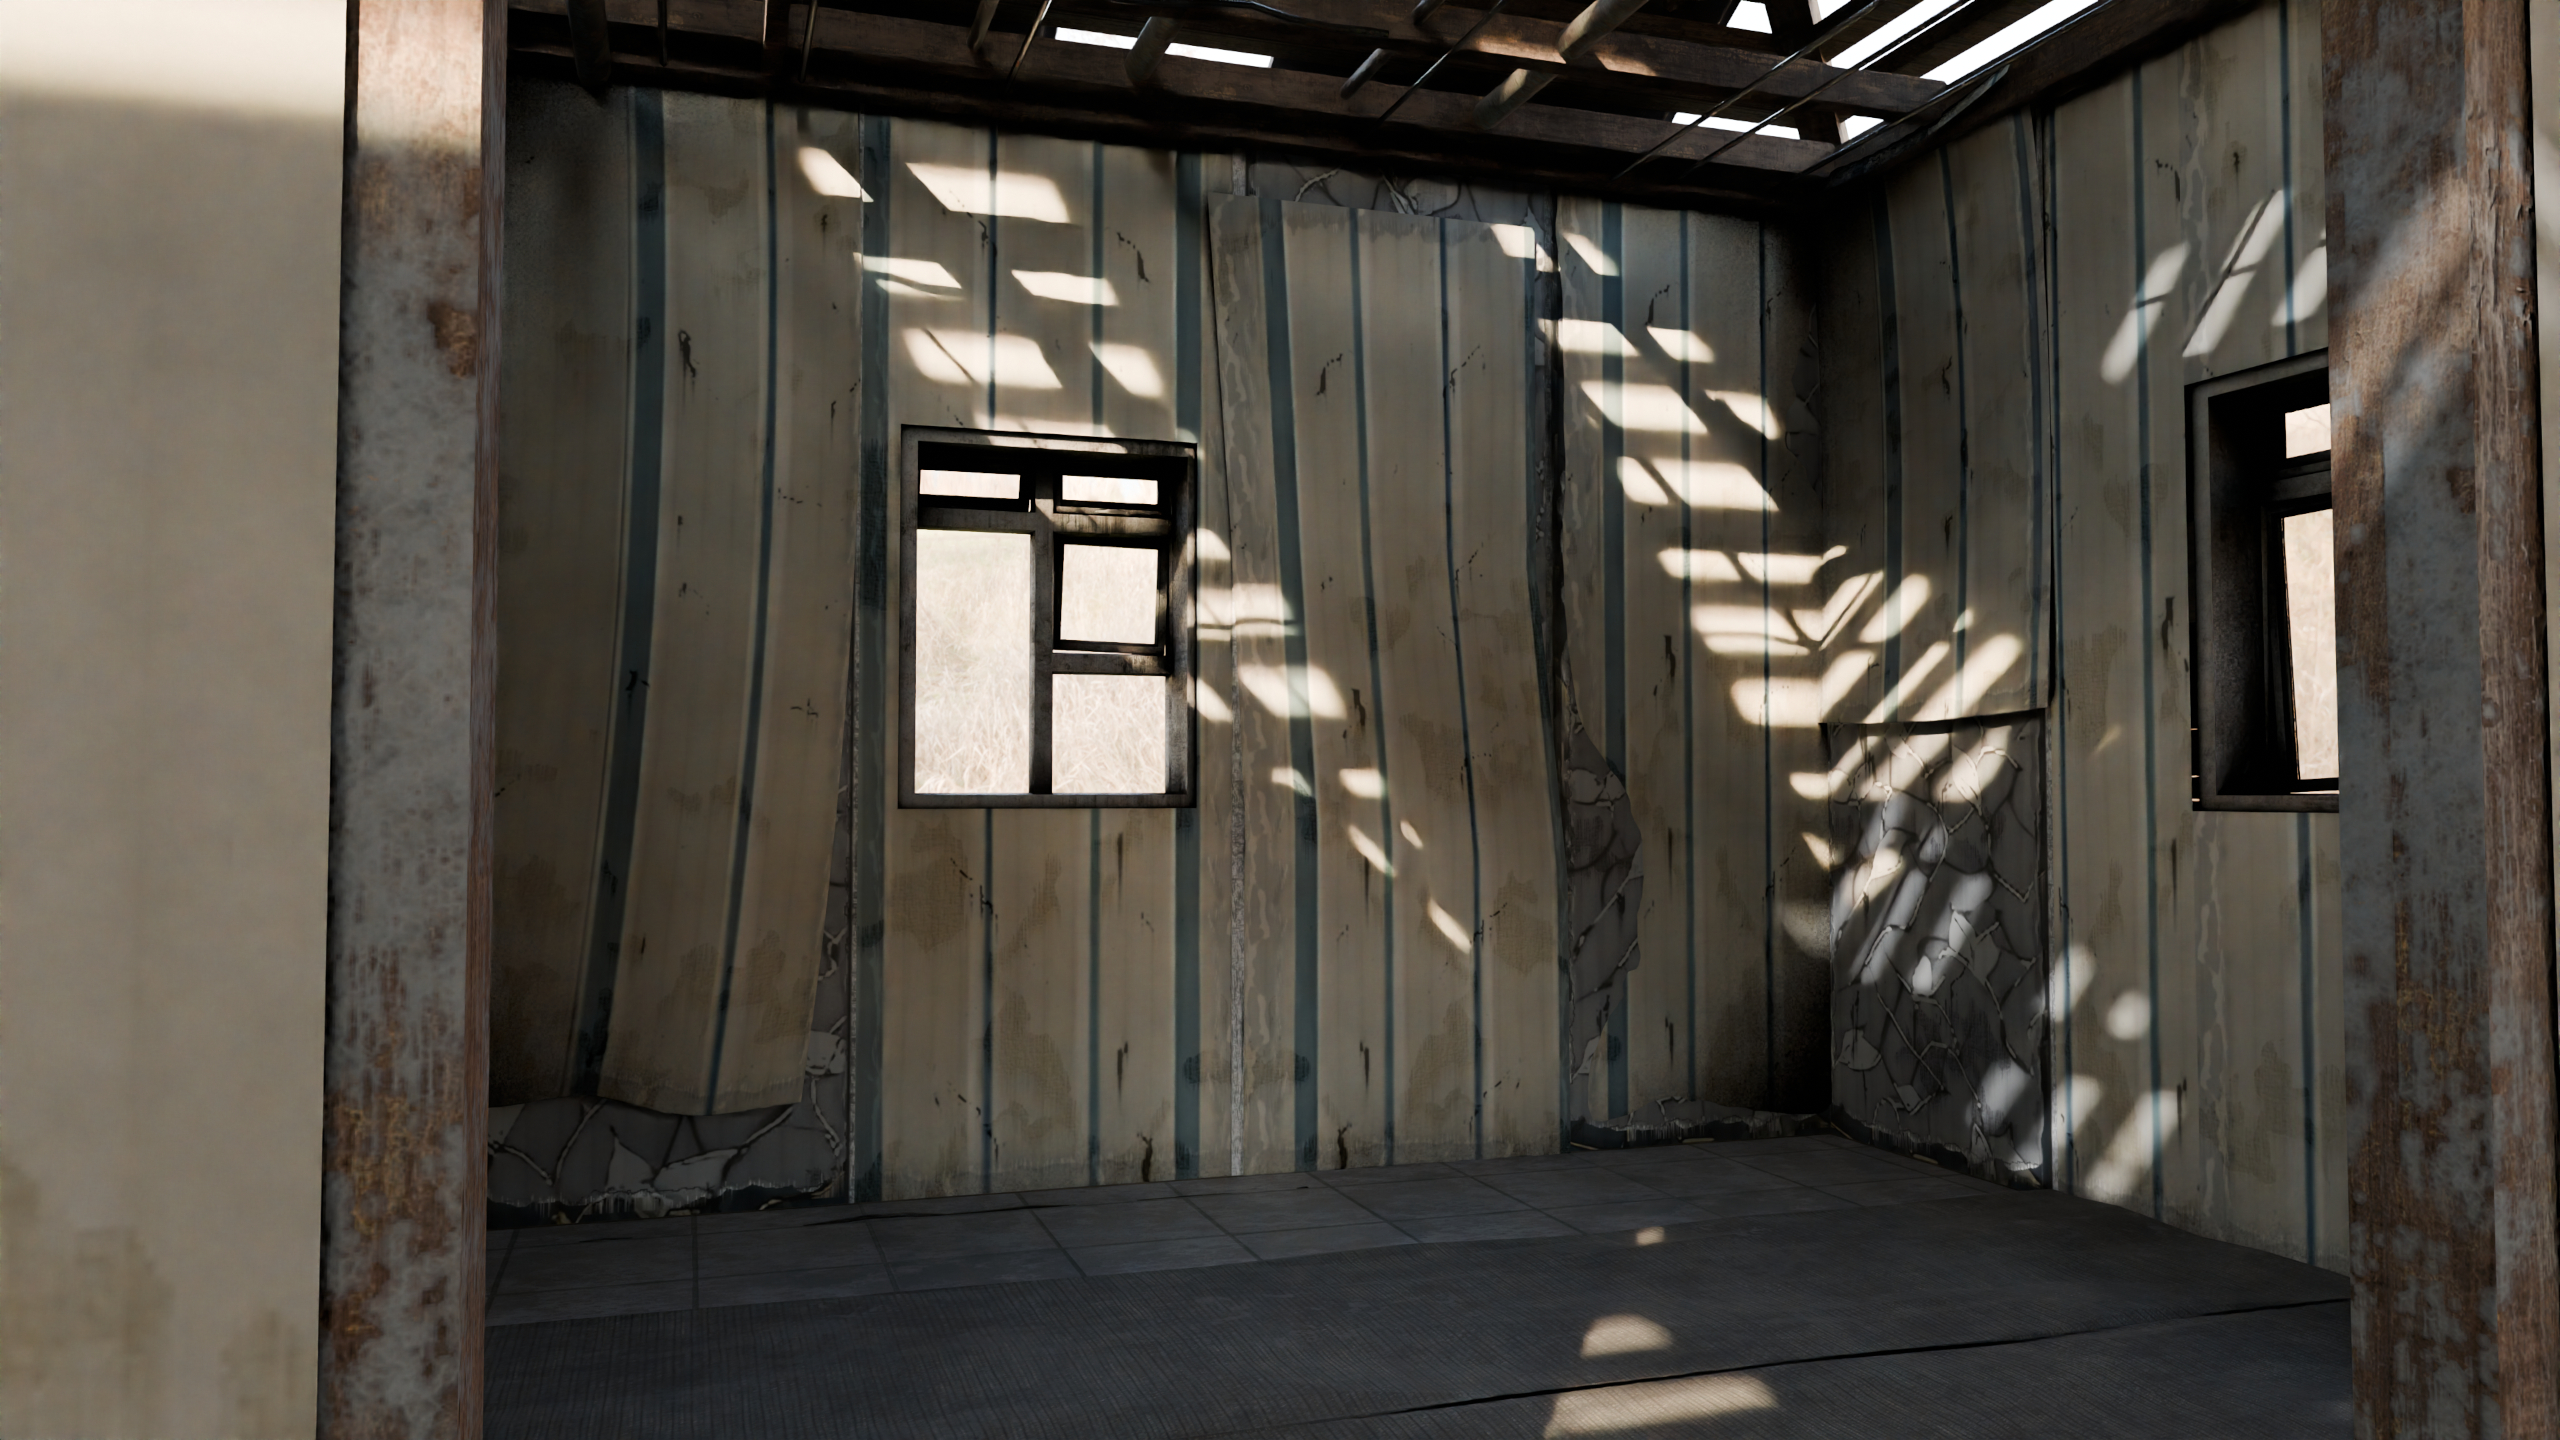
Featuring the geometry detail of real life structures, the texture detail of a current gen AAA game and the possibilities to generate thousands of buildings to populate your game worlds all in one easy to use and simple to understand building creation system.
With the intention to simplify the process of creating our games and importing buildings into a game-ready environment as quickly and simply as possible whether for a small simulation game or a large open world project this tool has been developed with over 10+ years in the industry so rest assure all the features and tools you need to populate your game worlds with buildings are already included and many more updates to be included as the asset grows and evolves over time.
For an in-depth how to use guide read below, or download the asset and try it yourself.
Whats Included:
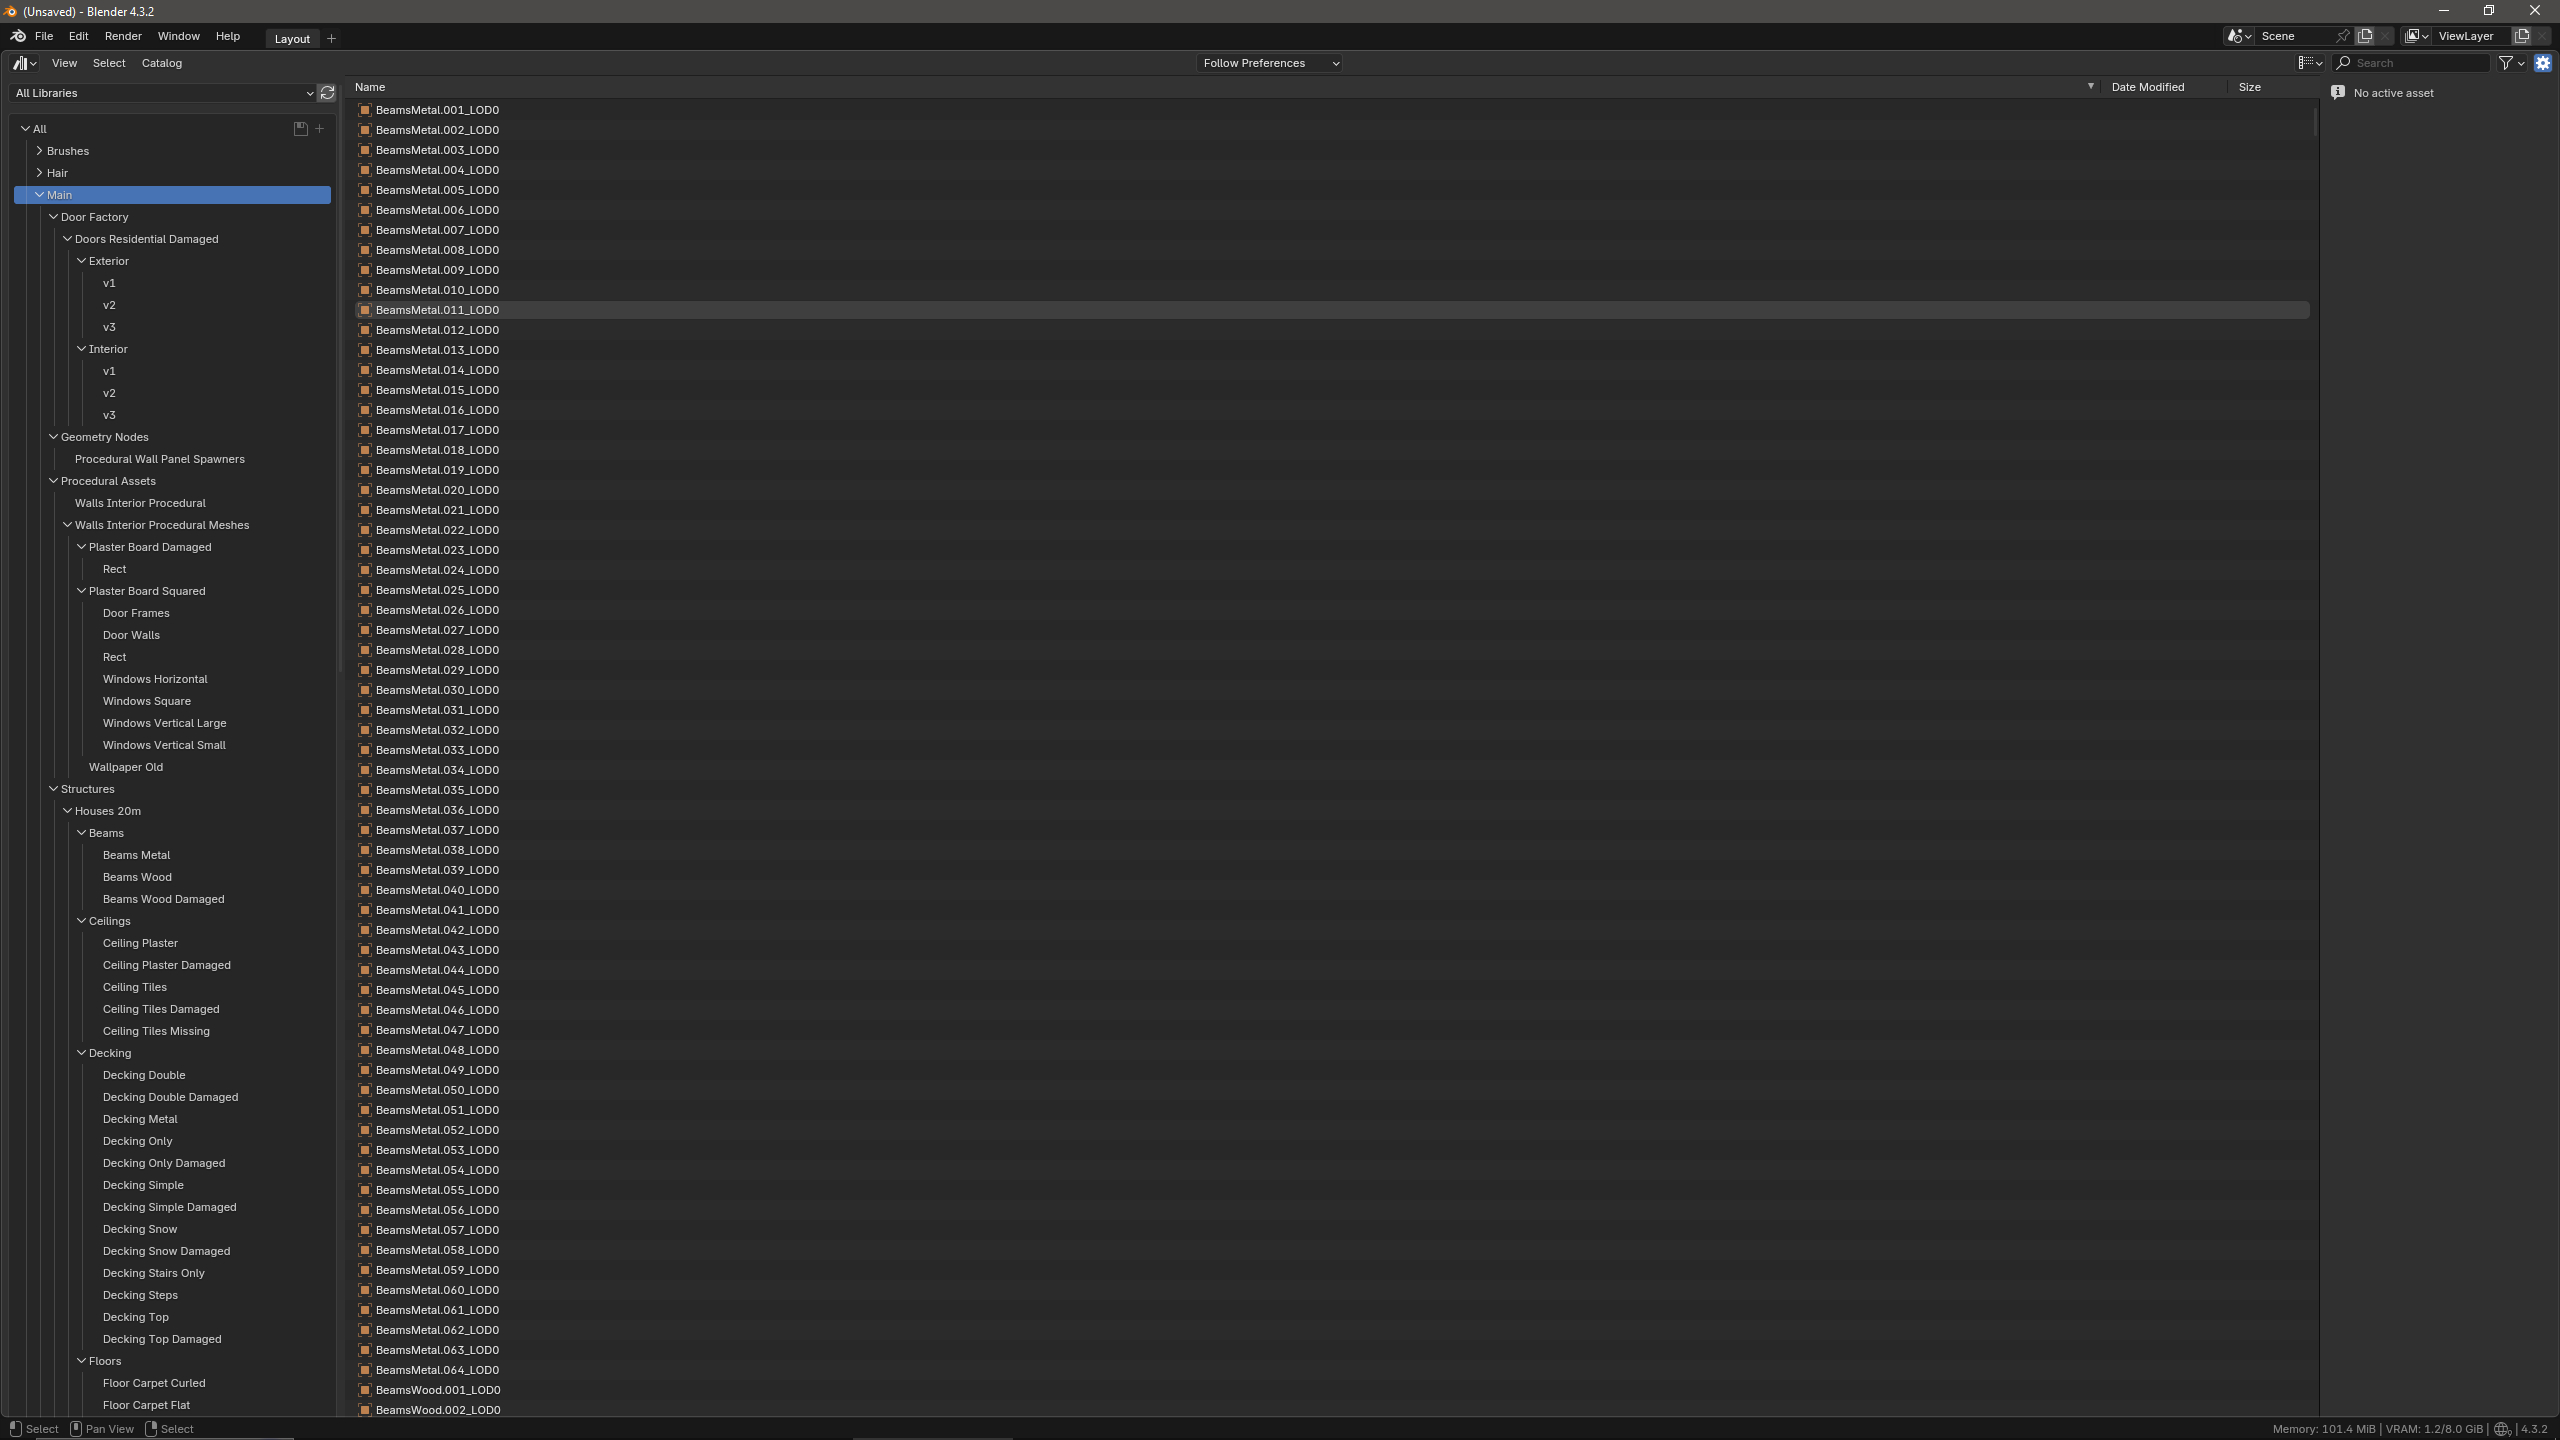
There is currently over 10k mesh types too many to list so be sure to open up the asset browser and take a look for yourself (the preview images will show the average visuals of what you can create).
Whats Next:
The next planned feature for the initial v1 release will be to convert all the shader nodes into AAA procedural shader nodes with multiple blends and decals for texture baking, maybe include more variations or building types based on request.
----------------------------------------------------------------------------------------------------------How-To-Use
1: Download and Extract the ".zip" Archives
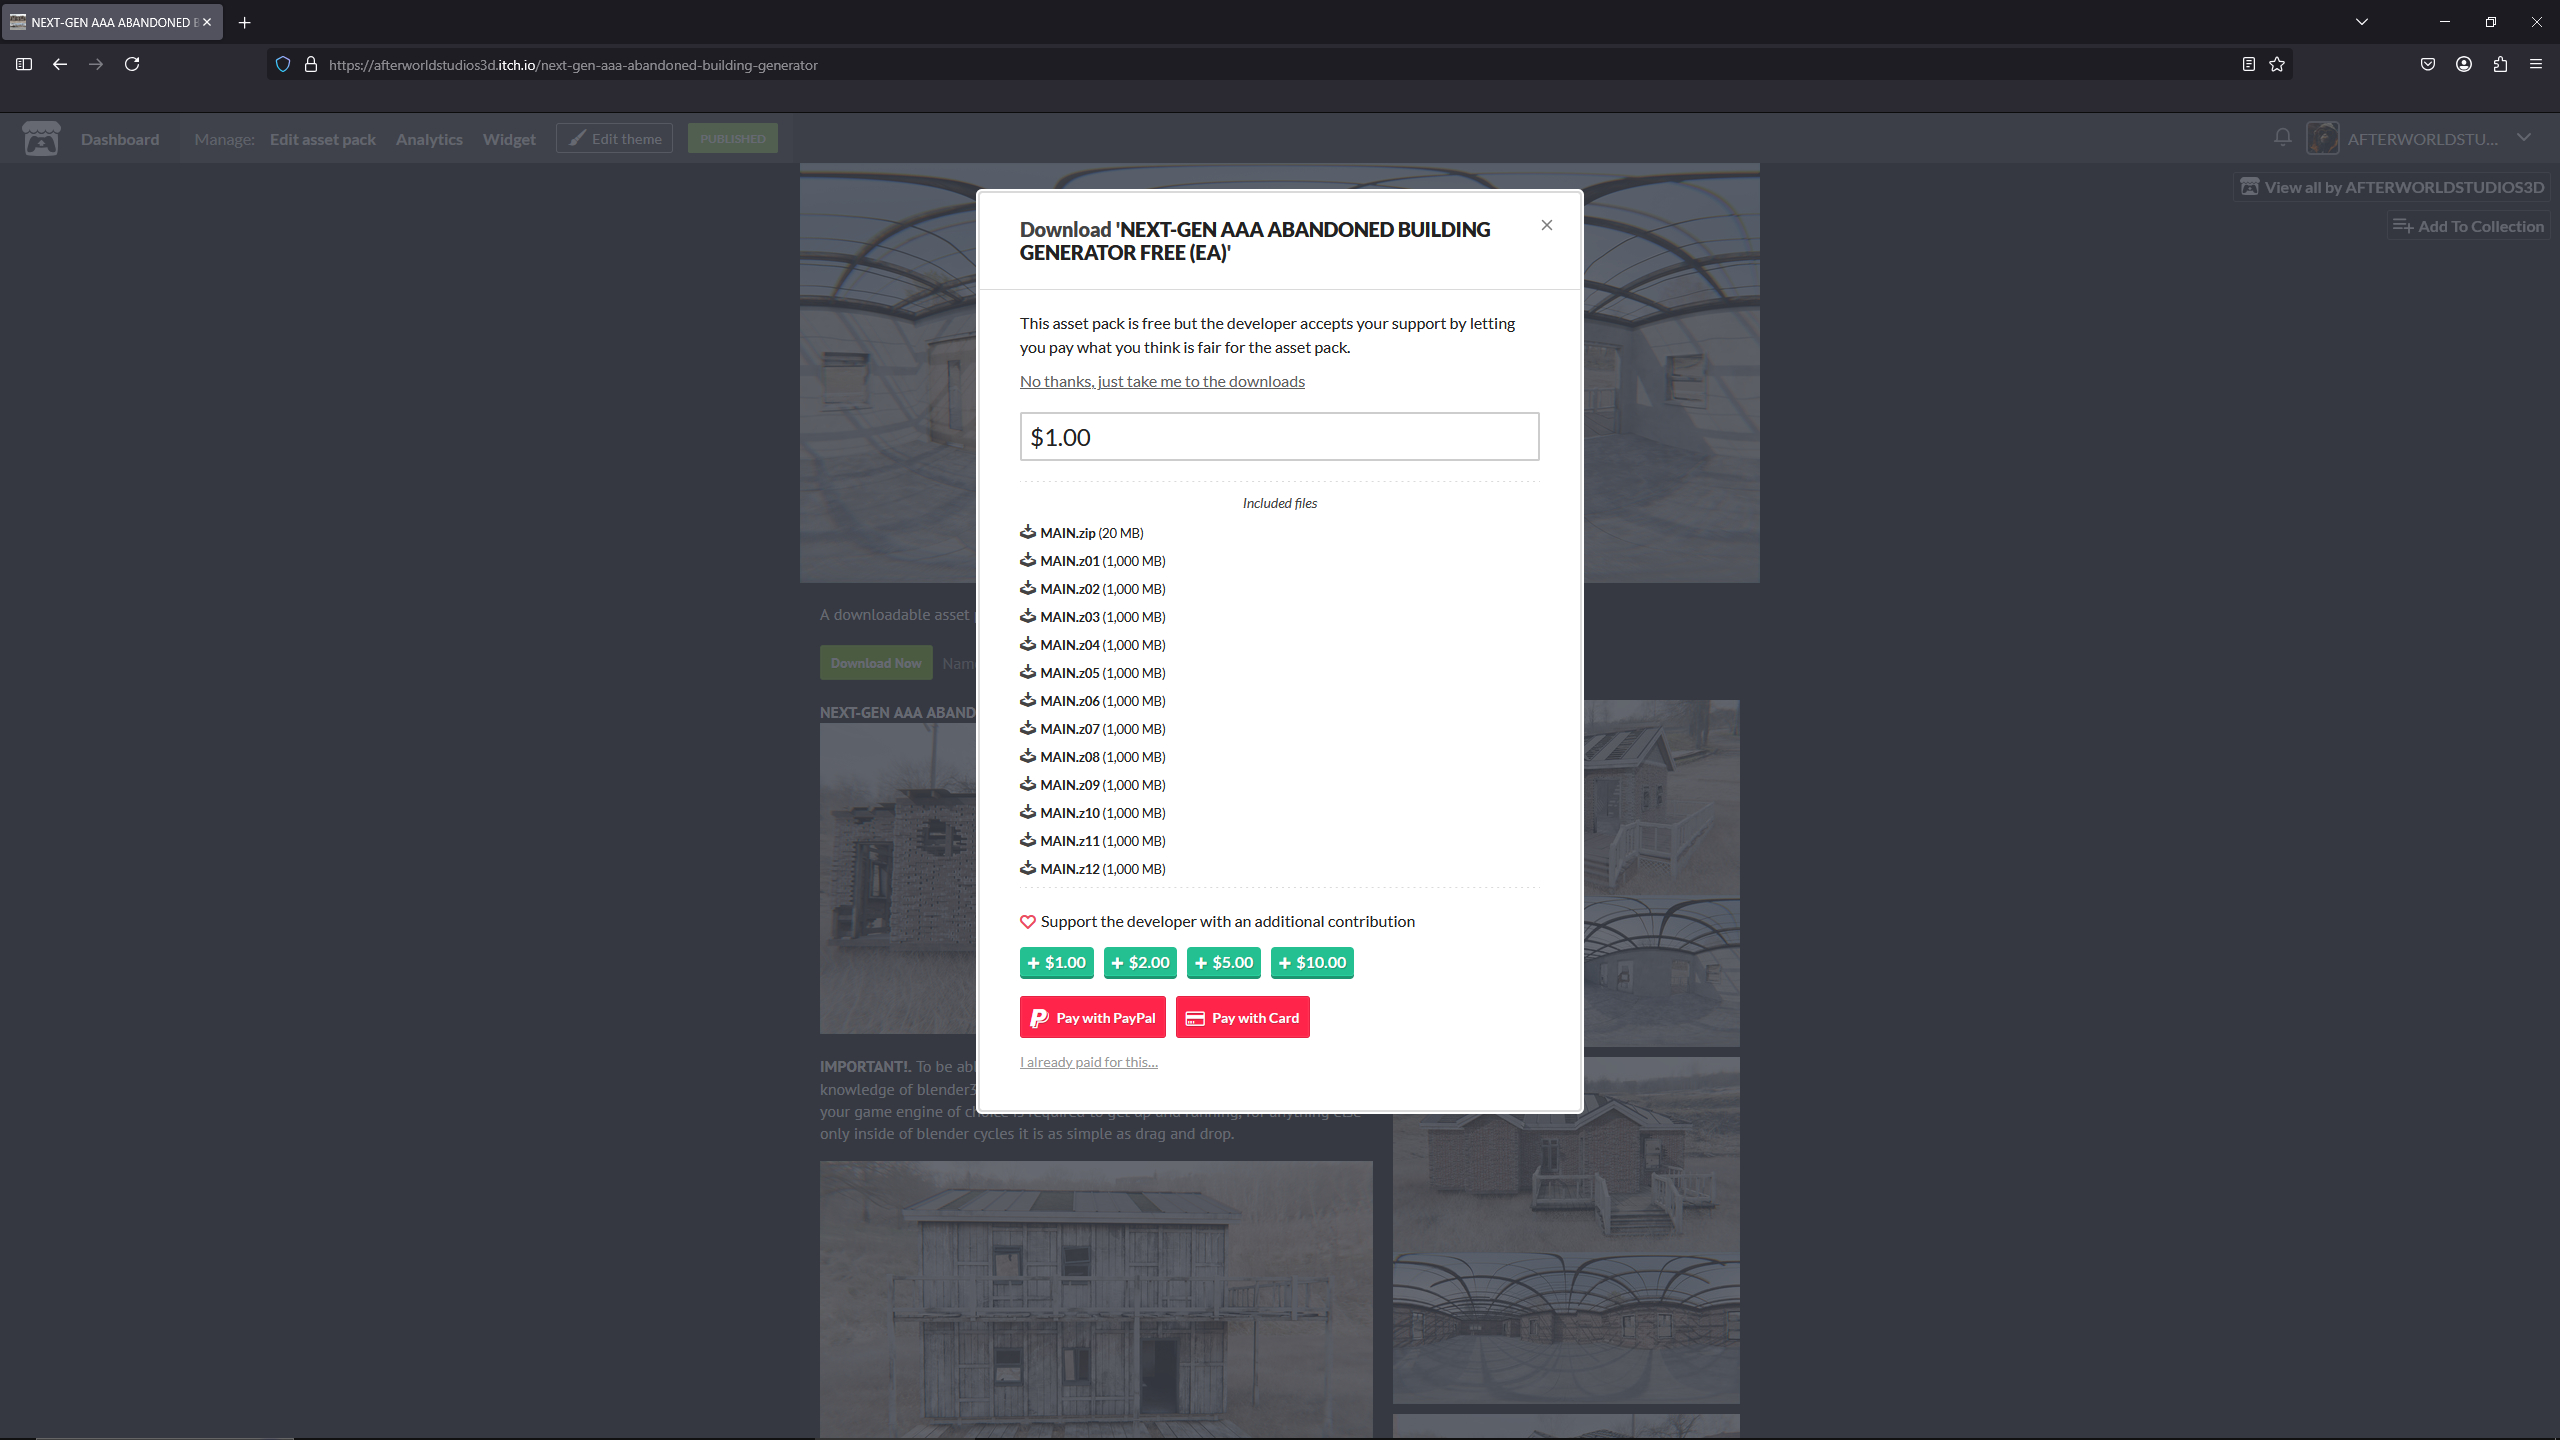
To be able to use this asset in blender you first need to extract the multiple archives into a directory of choice where the entire library folder will be stored simply extract "MAIN.zip" to unpack all the archive parts into a main folder.
2: Initialize The Assets
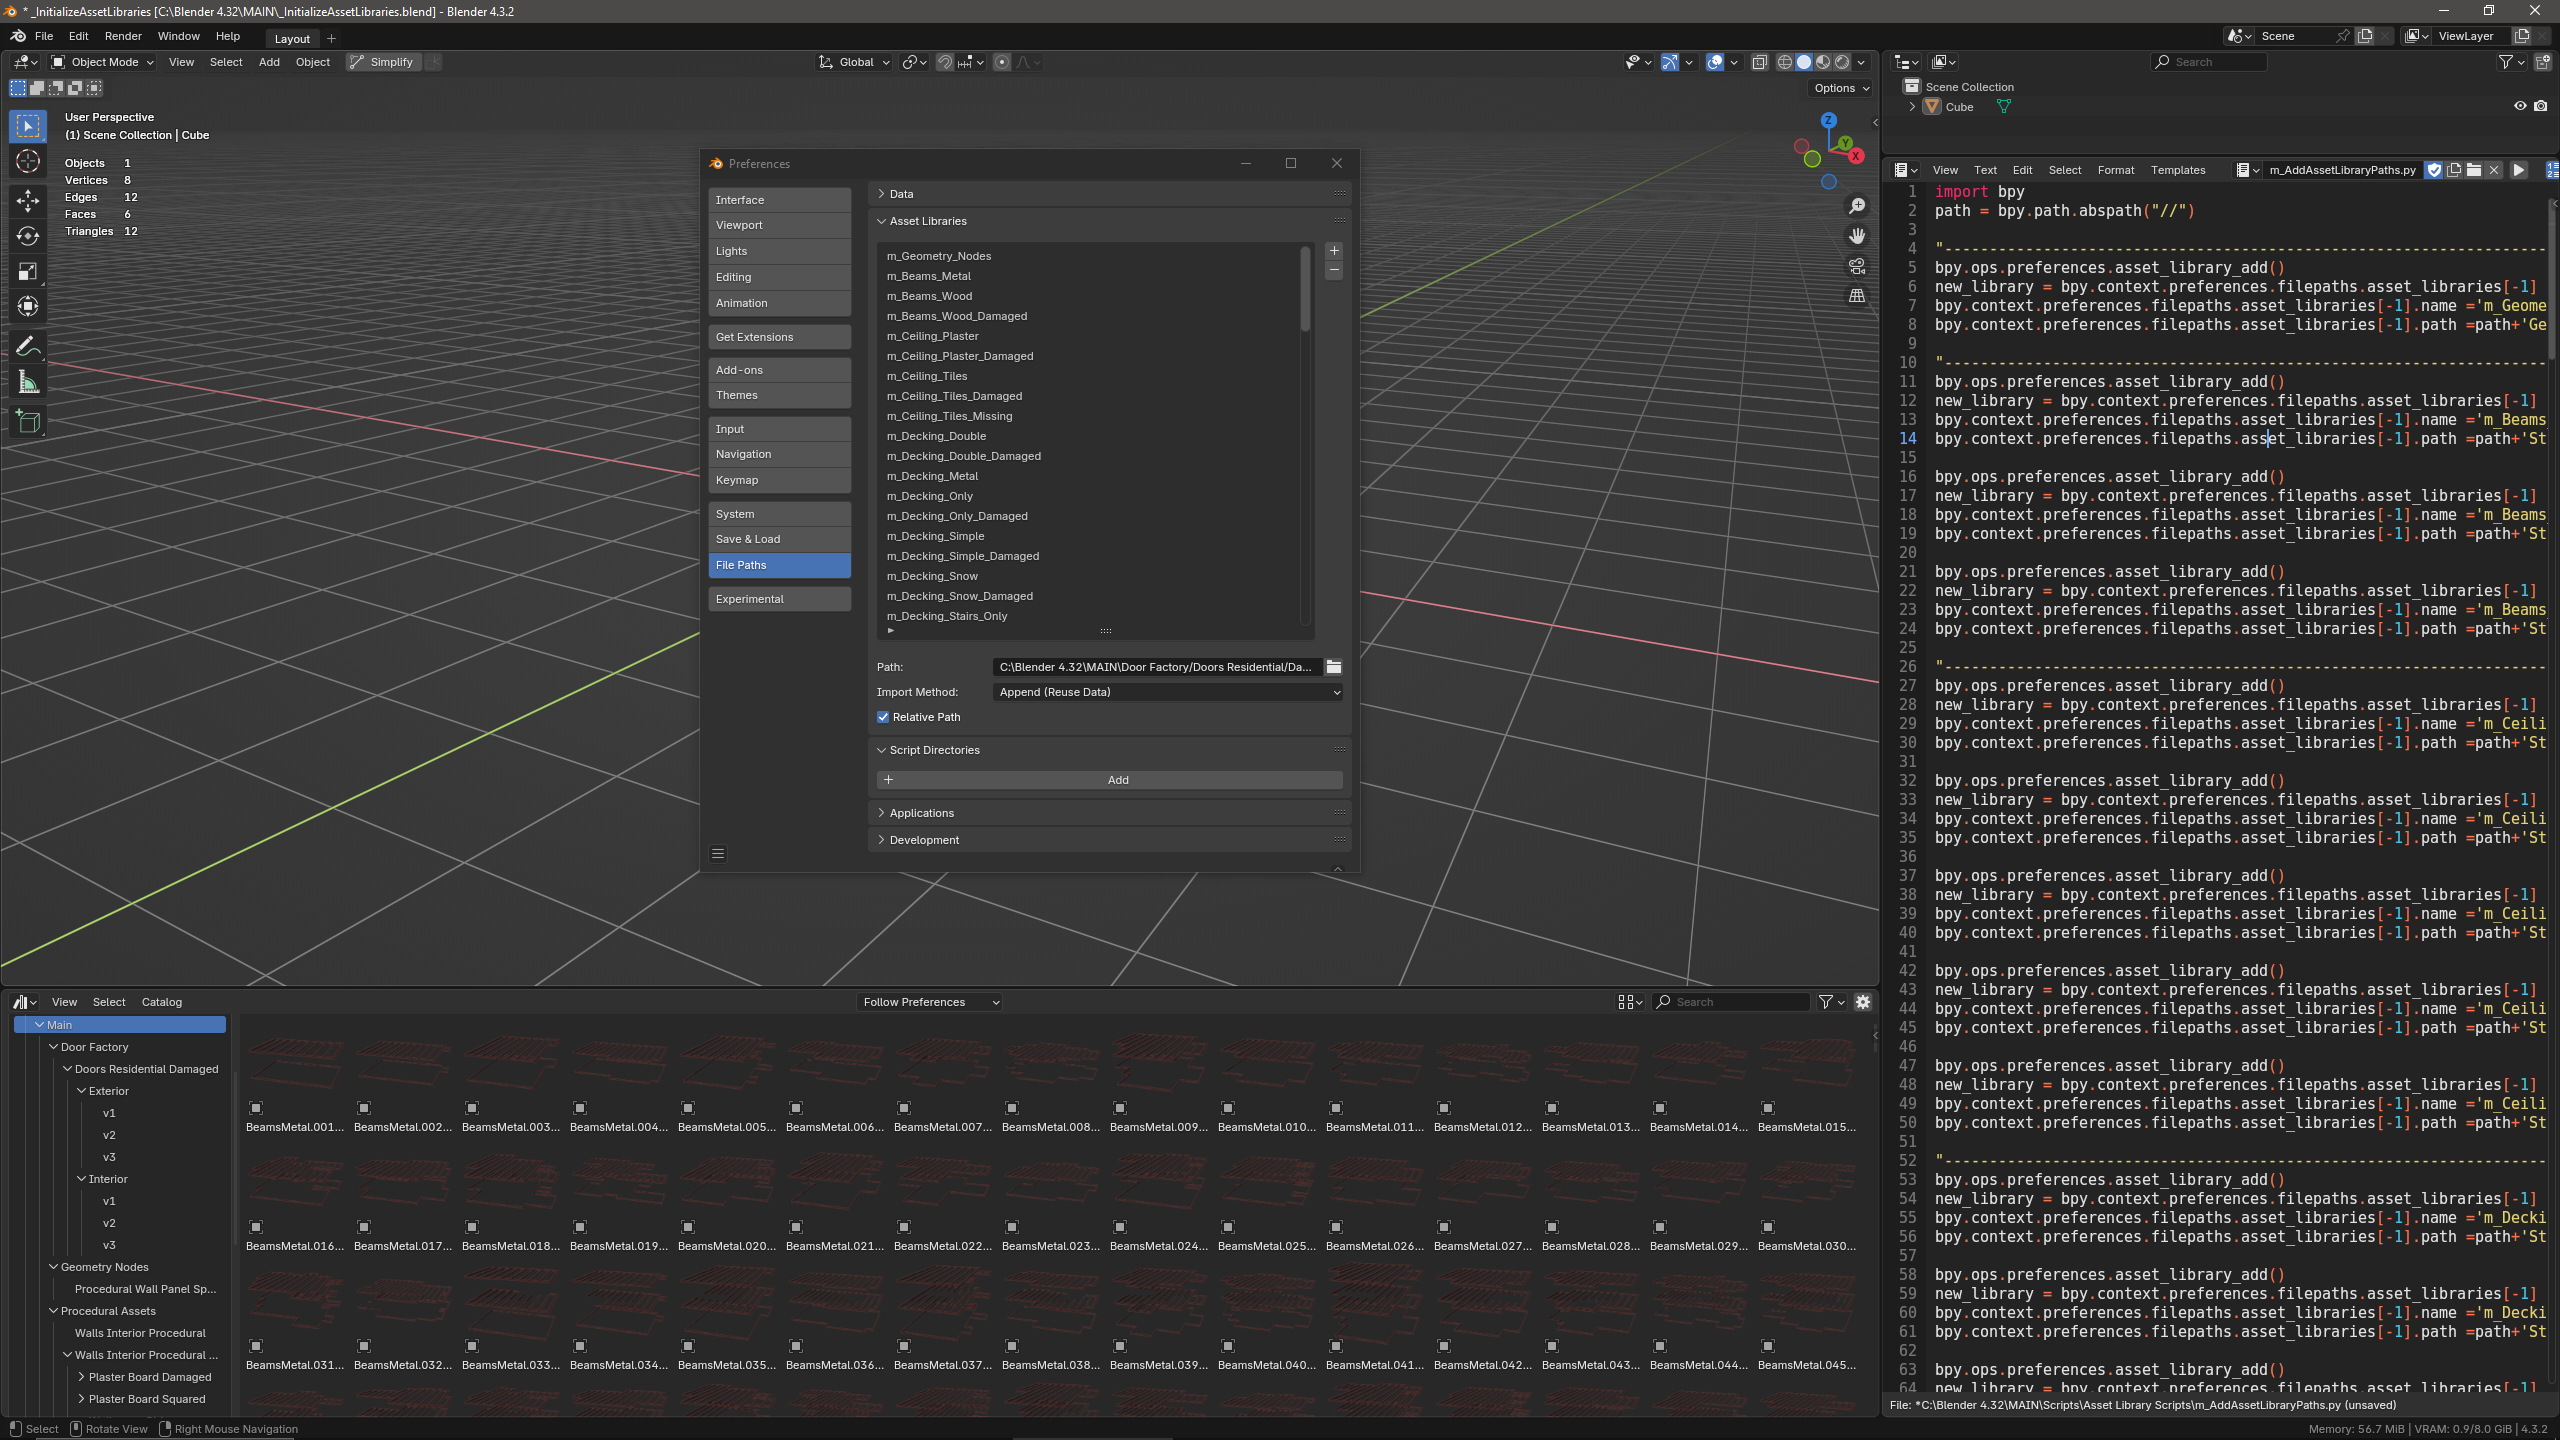
The next step will be to initialize the blender asset catalogs, to do this simply install the included "blender-4.3.2-windows-x64.zip" if you dont already have it, then open the "_InitializeAssetLibraries.blend" and run the "m_AddAssetLibraryPaths" script to add all the folders into the blender preferences settings (note: this will add many directories named with prefix "m_" so it is best to have a seperate blender install to use, or an empty asset libraries list however it can work alongside existing asset catalogs just be sure there is no root named "Main"), there is also a "m_RemoveAssetLibraryPaths" script to remove all the created preferences paths and asset browser catalogs.
3: Making Your First Building
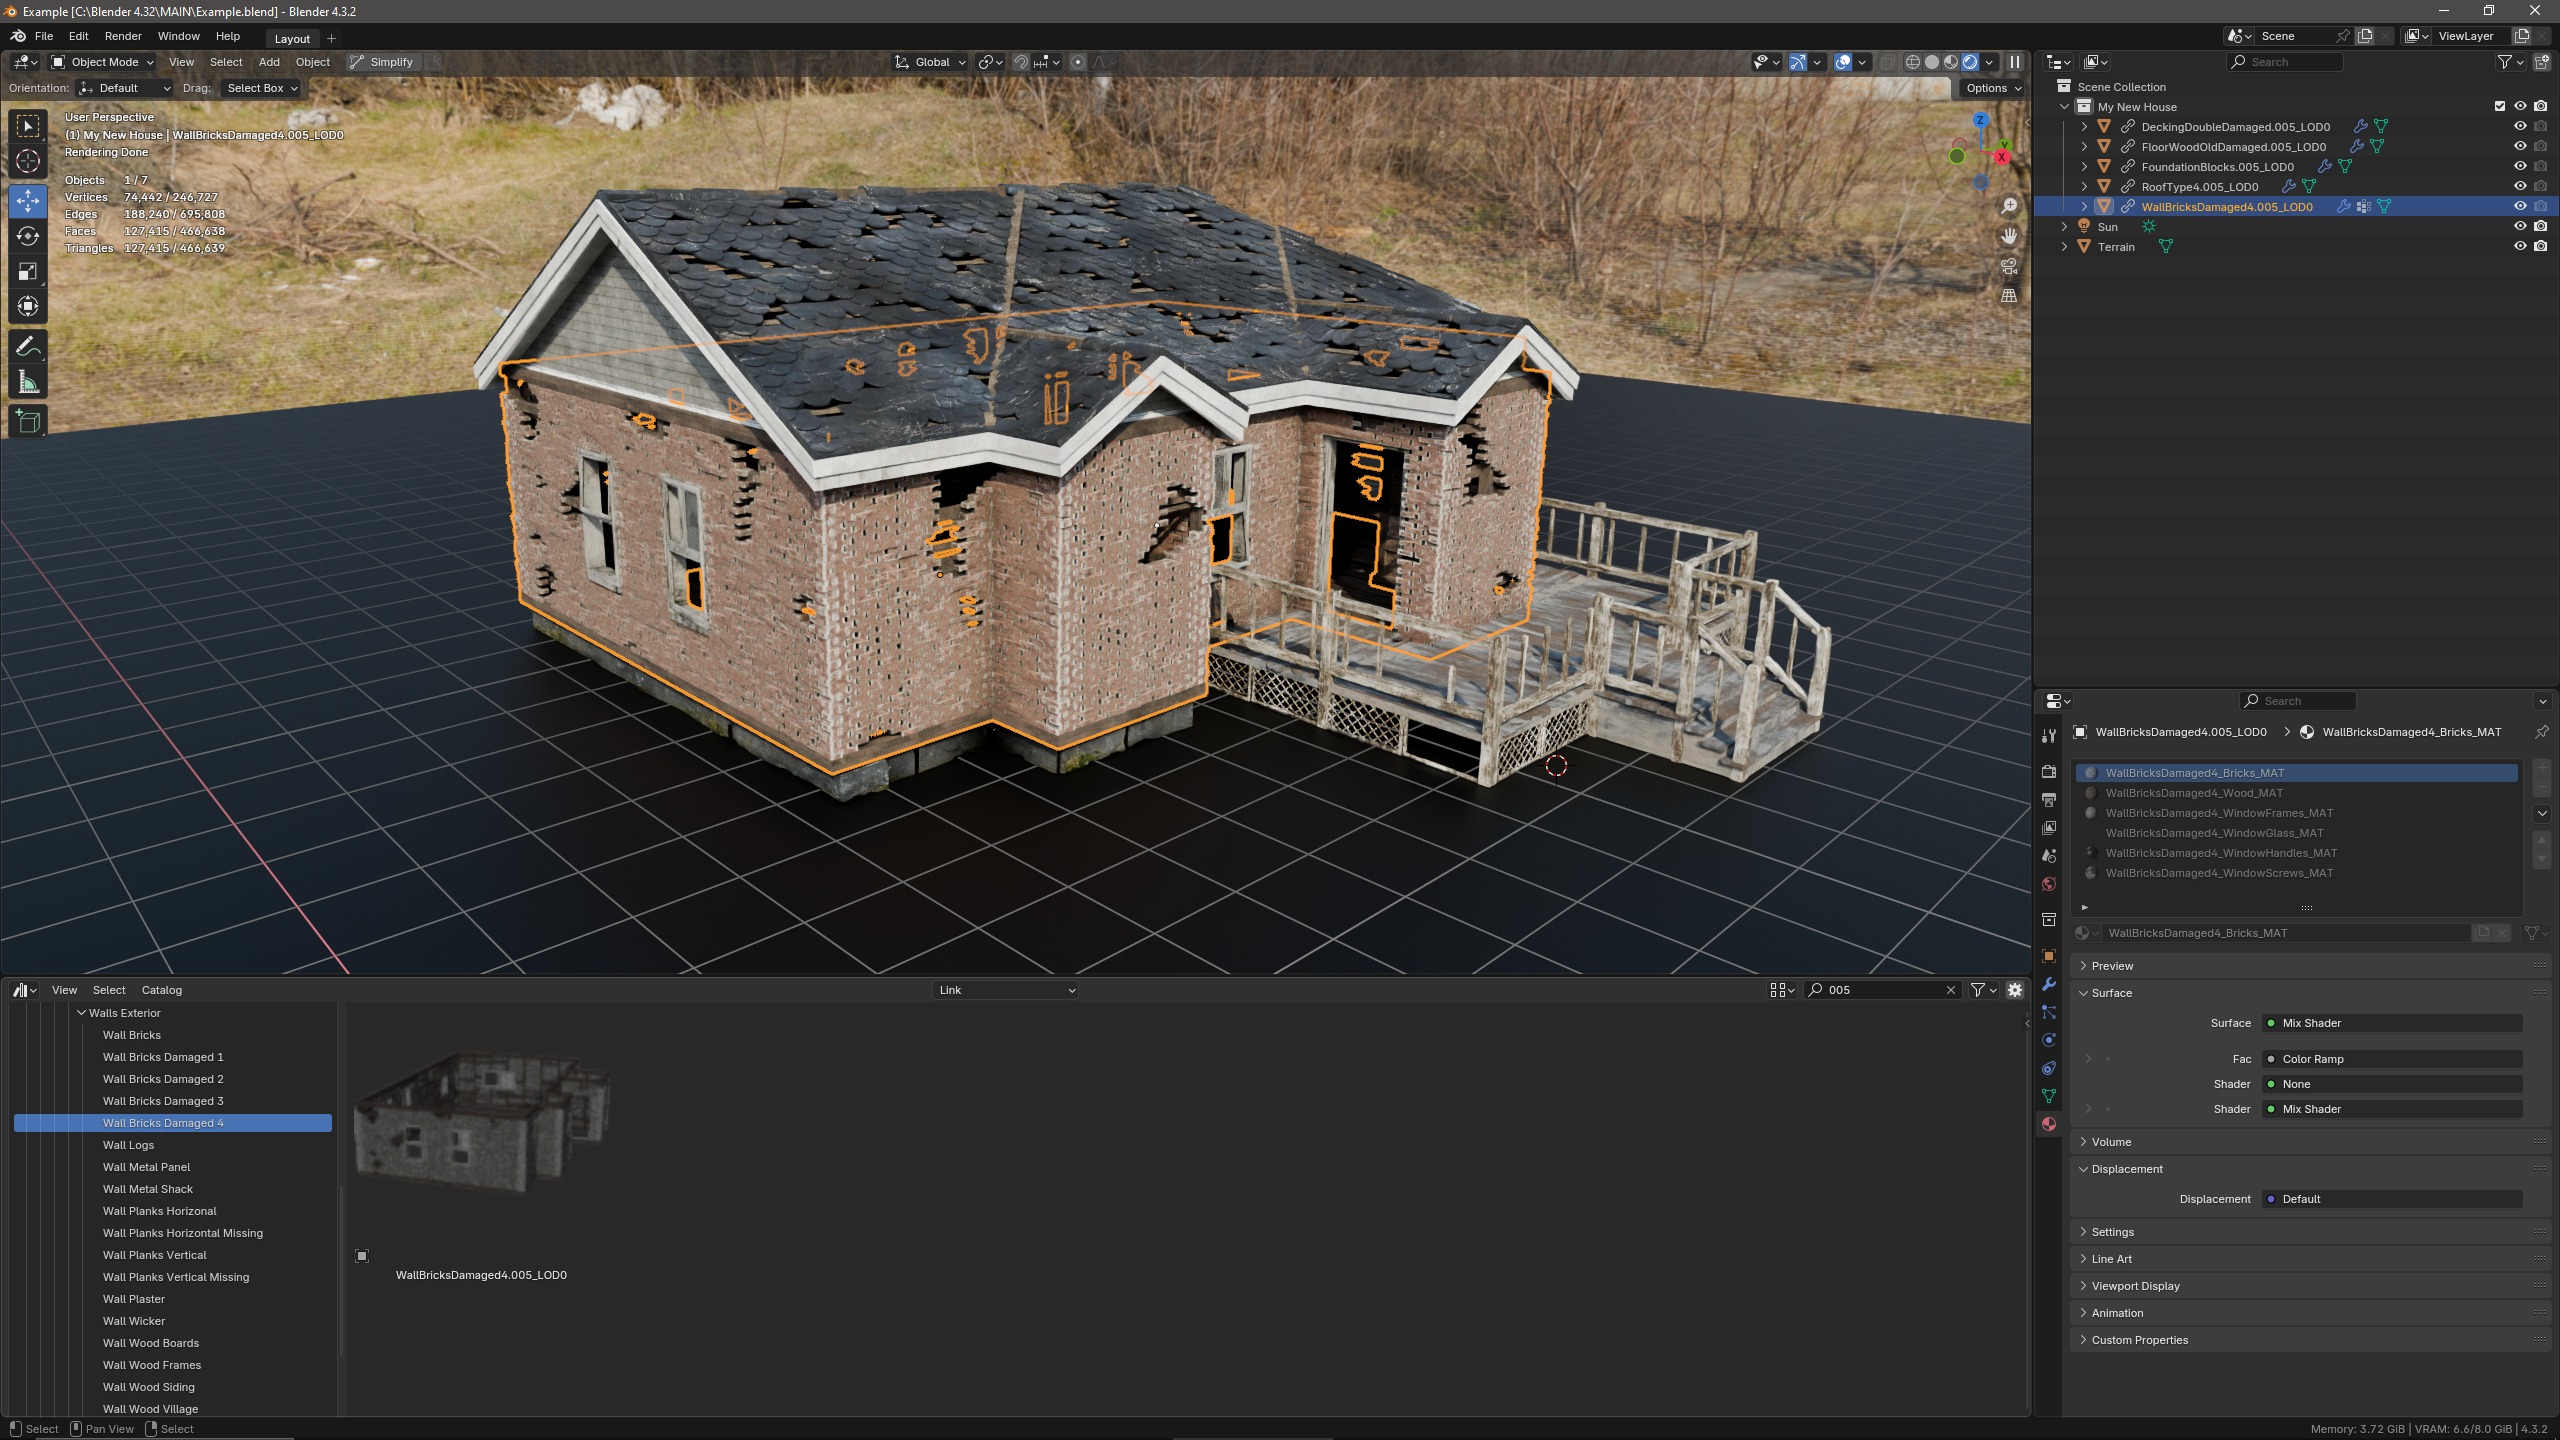
Once the folder structure has been extracted and the catalogs initialized simply open the blender asset browser in any scene to start adding modular components to create the desired building (each structural element that make up the buildings is named with a ".001", ".002" suffix to match the layout, to keep things simple just put ".034" into the search field to only show assets for this building or any between "001" > "064"), then just drag and drop with the "Link" option enabled to keep the building in its original position, this is helpful when batch making but also to ensure everything is placed automatically into the scene.
4: Procedural Assets
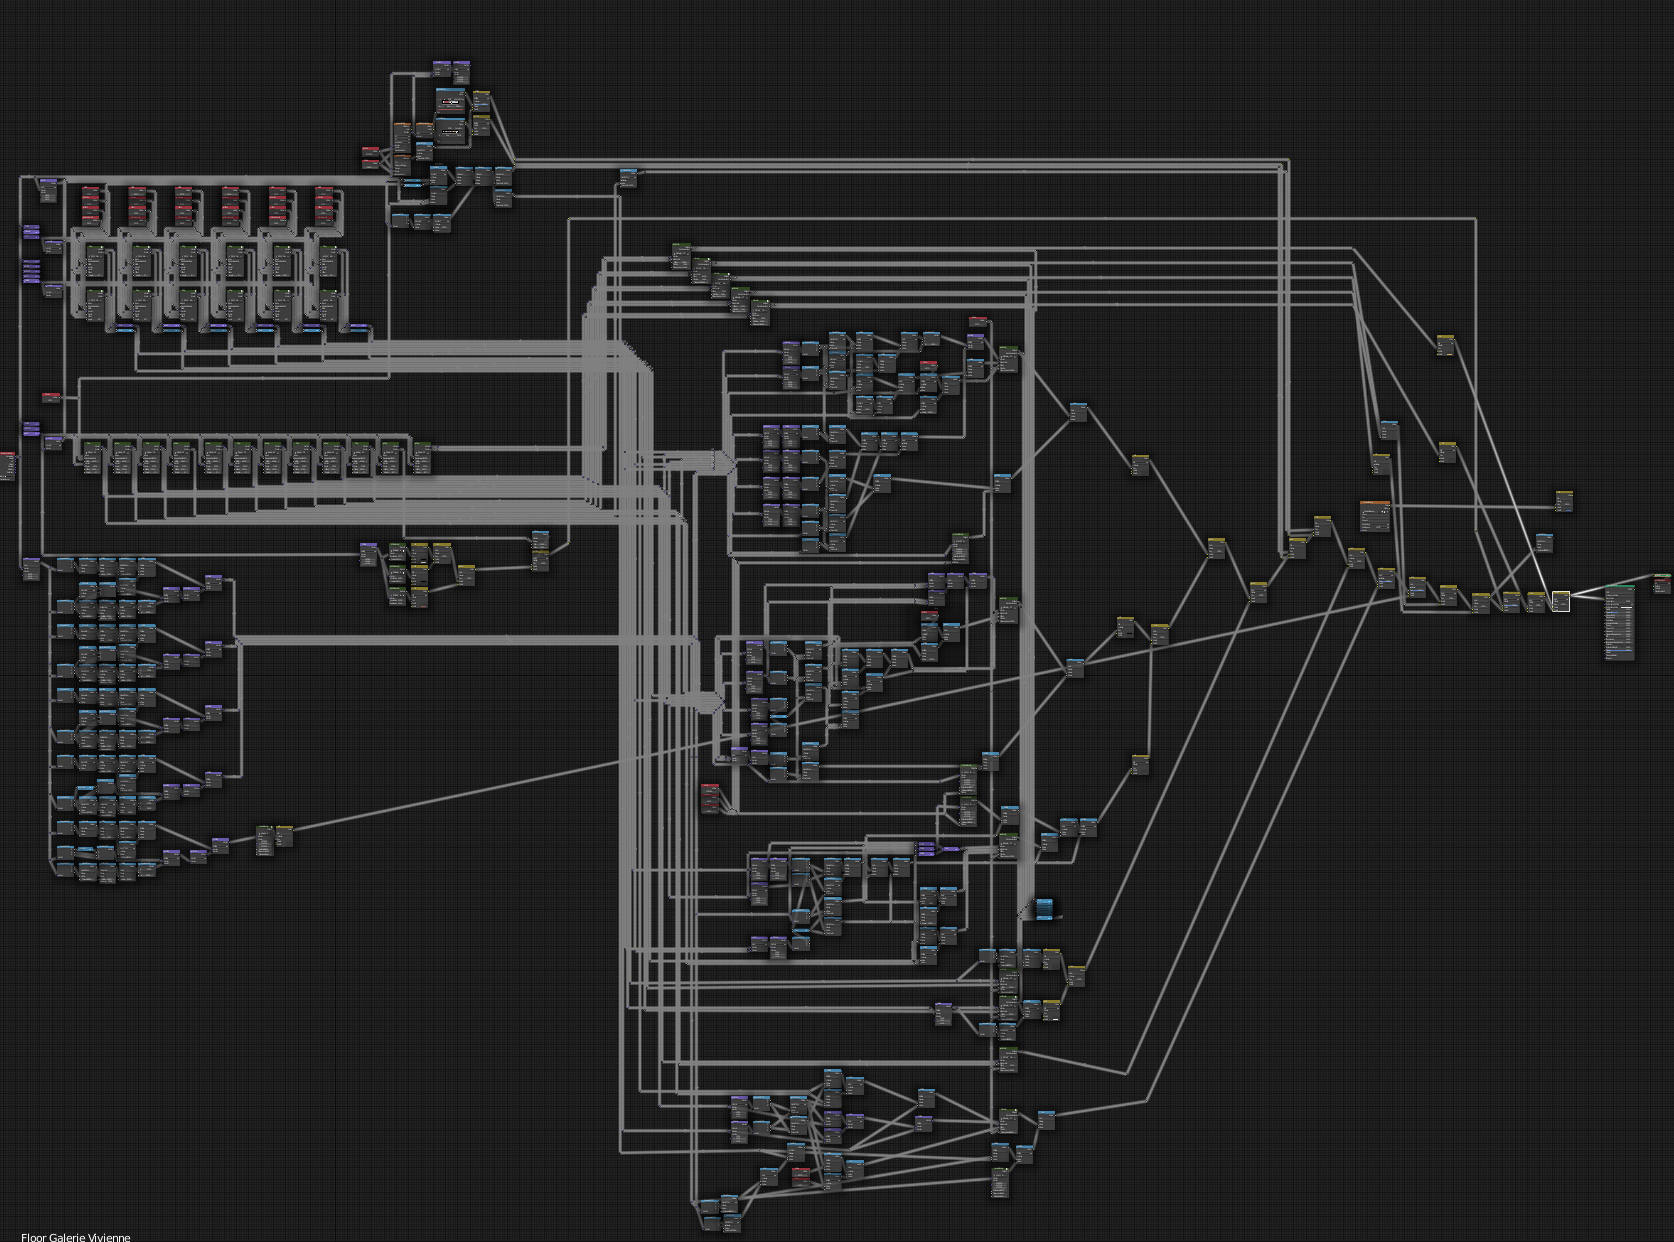
Taking full advantage of blenders geo-nodes systems, procedural materials and asset catalogs also why the asset is in blender and not through a game engine is we have added a whole bunch of procedural stuff to quickly bring your building asset into the next dimension from AAA geometries, high quality texture details all like never before at such speeds, which was all just too much metadata for any current game engine to handle without waiting days at asset loading screens we tried.
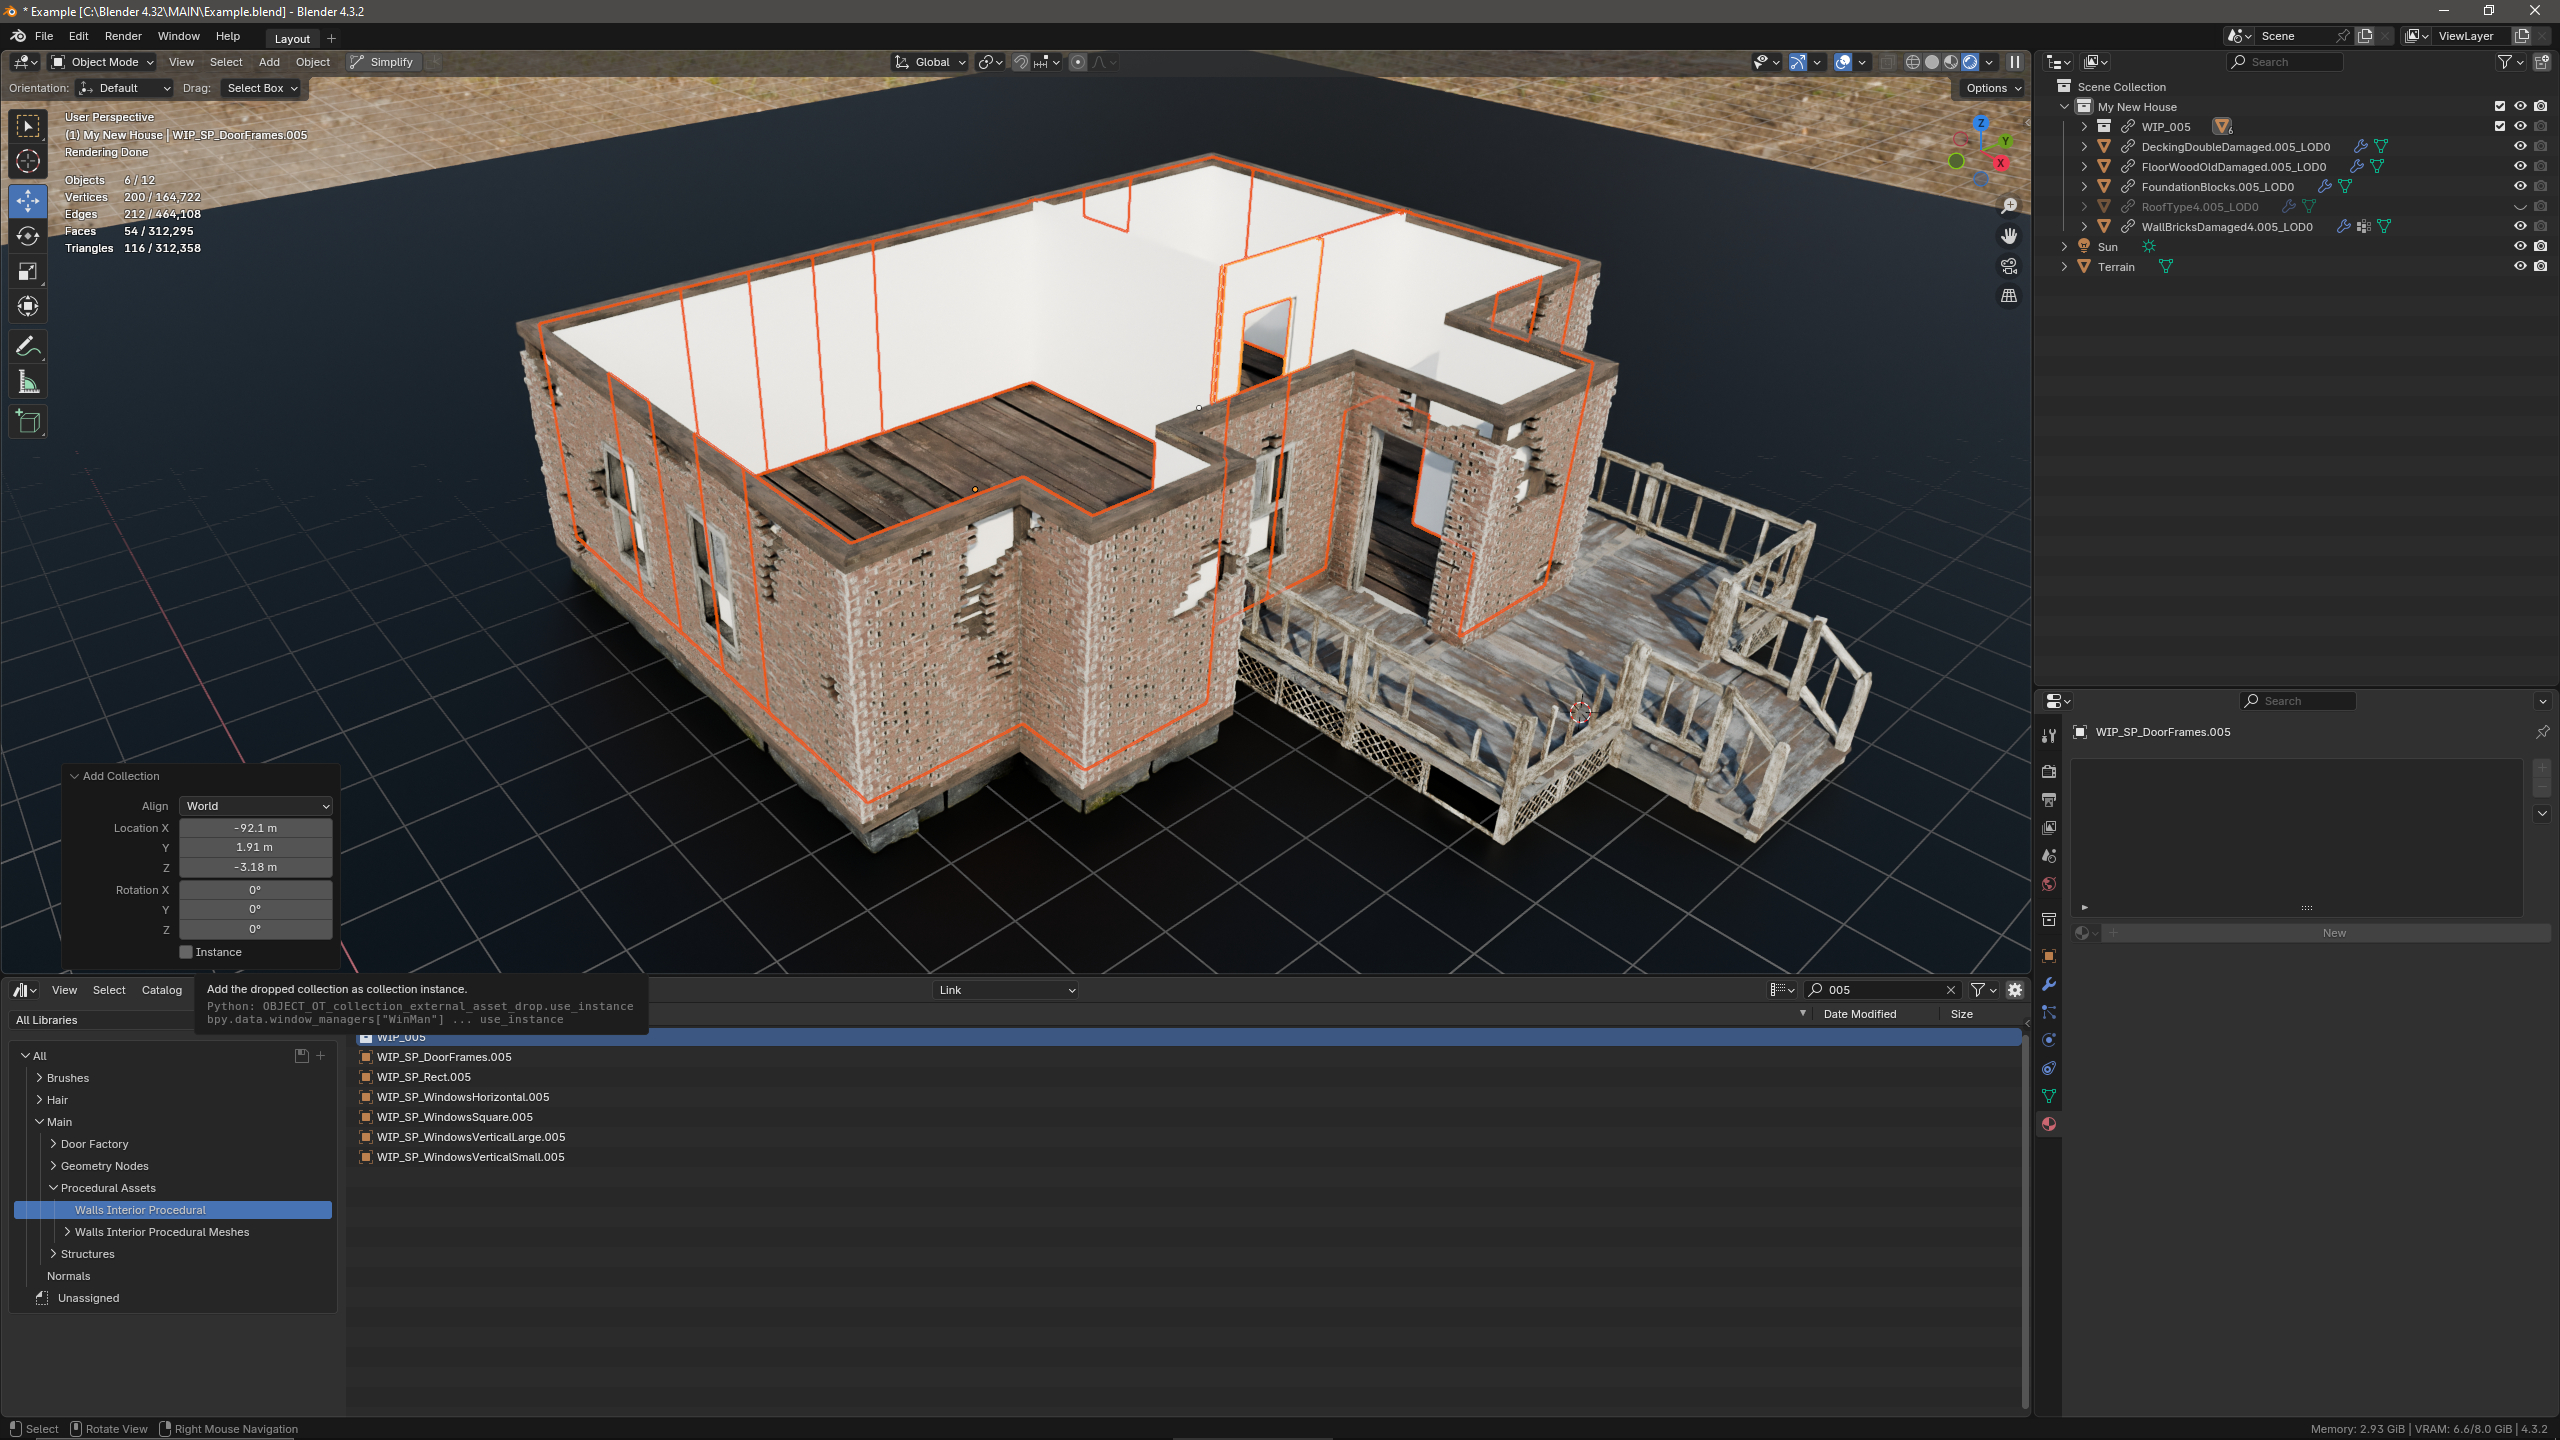
To use simply add the "Procedural Assets/Walls Interior Procedural/WIP_00X" into the scene with the link option enabled to ensure snapping and be sure to untick "Instance" so we can edit the mesh.
Now select all collections and children objects just added and right click and choose "ID Data/Make Local" this will be the spawner for the wall panels, now to add your wall panels of choice into the scene (this can be deleted once finished, just used to spawn copies) "Procedural Assets/Walls Interior Procedural Meshes/" with the link option and untick "Instance" (tip: just choose wallpaper option then you can feed different panels into the pre-made collections later) now select the collections and children and repeat right click and choose "ID Data/Make Local" on all collections and objects just added this will allow use of the objects in the geo-nodes setup (tip: now you can feed other panels into the collections/add or remove items or delete the faces and keep an empty object to create gaps).
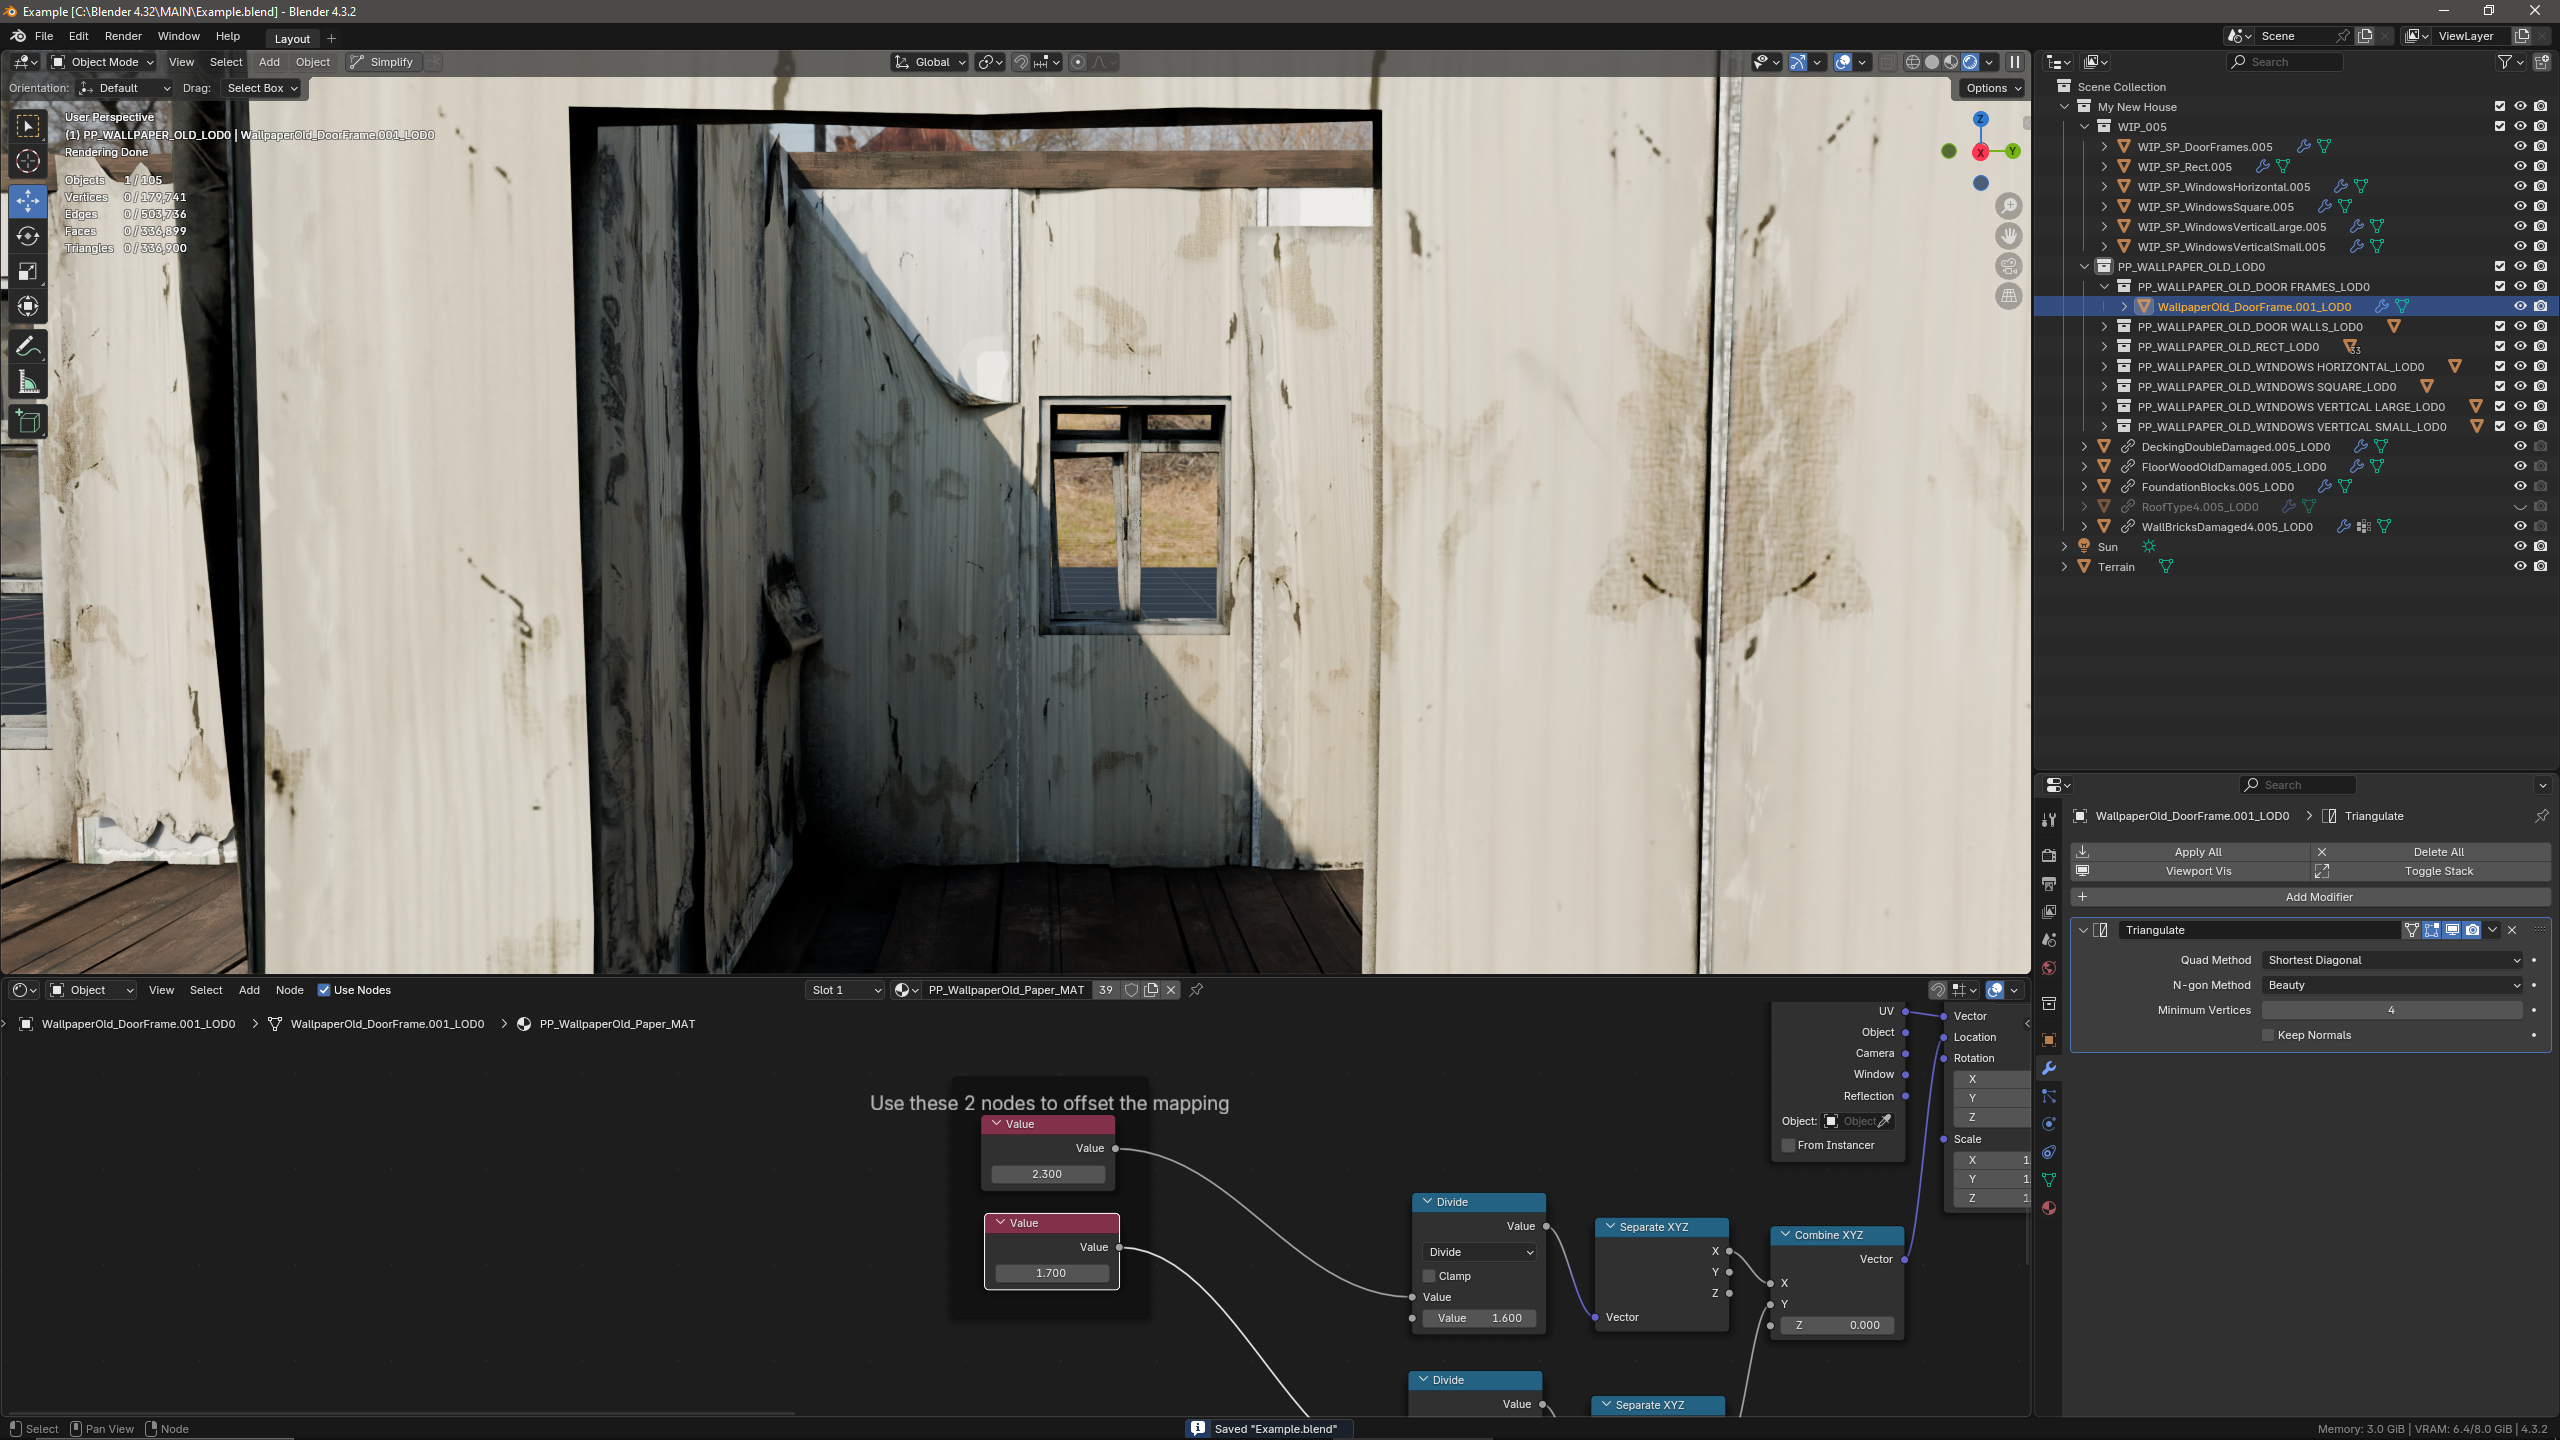
To change the materials mapping on them click "Object/Relations/Make Local/Selected Objects, Data and Materials" with all selected (this will be good for changing the wallapaper texture in the shader node mapping).
Example of remapping the wallpaper texture using the atlas map:
With the spawners and instances in the scene and ready to use we now need to add the geo-node setup onto the spawners objects "WIP_SP_X" = Walls Interior Procedural Spawn Points (used to spawn things) go to the asset browser then "Geometry Nodes/GN_PP_Spawner" add it to the spawner objects (can add to the first then copy to the rest rather than individual dragging select in outliner then "Ctrl+L/Copy Modifiers") with the node system added we need to make them unique for each of the wall types as they spawn different parts of wall, to do this simply open the geometry nodes window and click the number button near the name on the top panel this will make it unique.
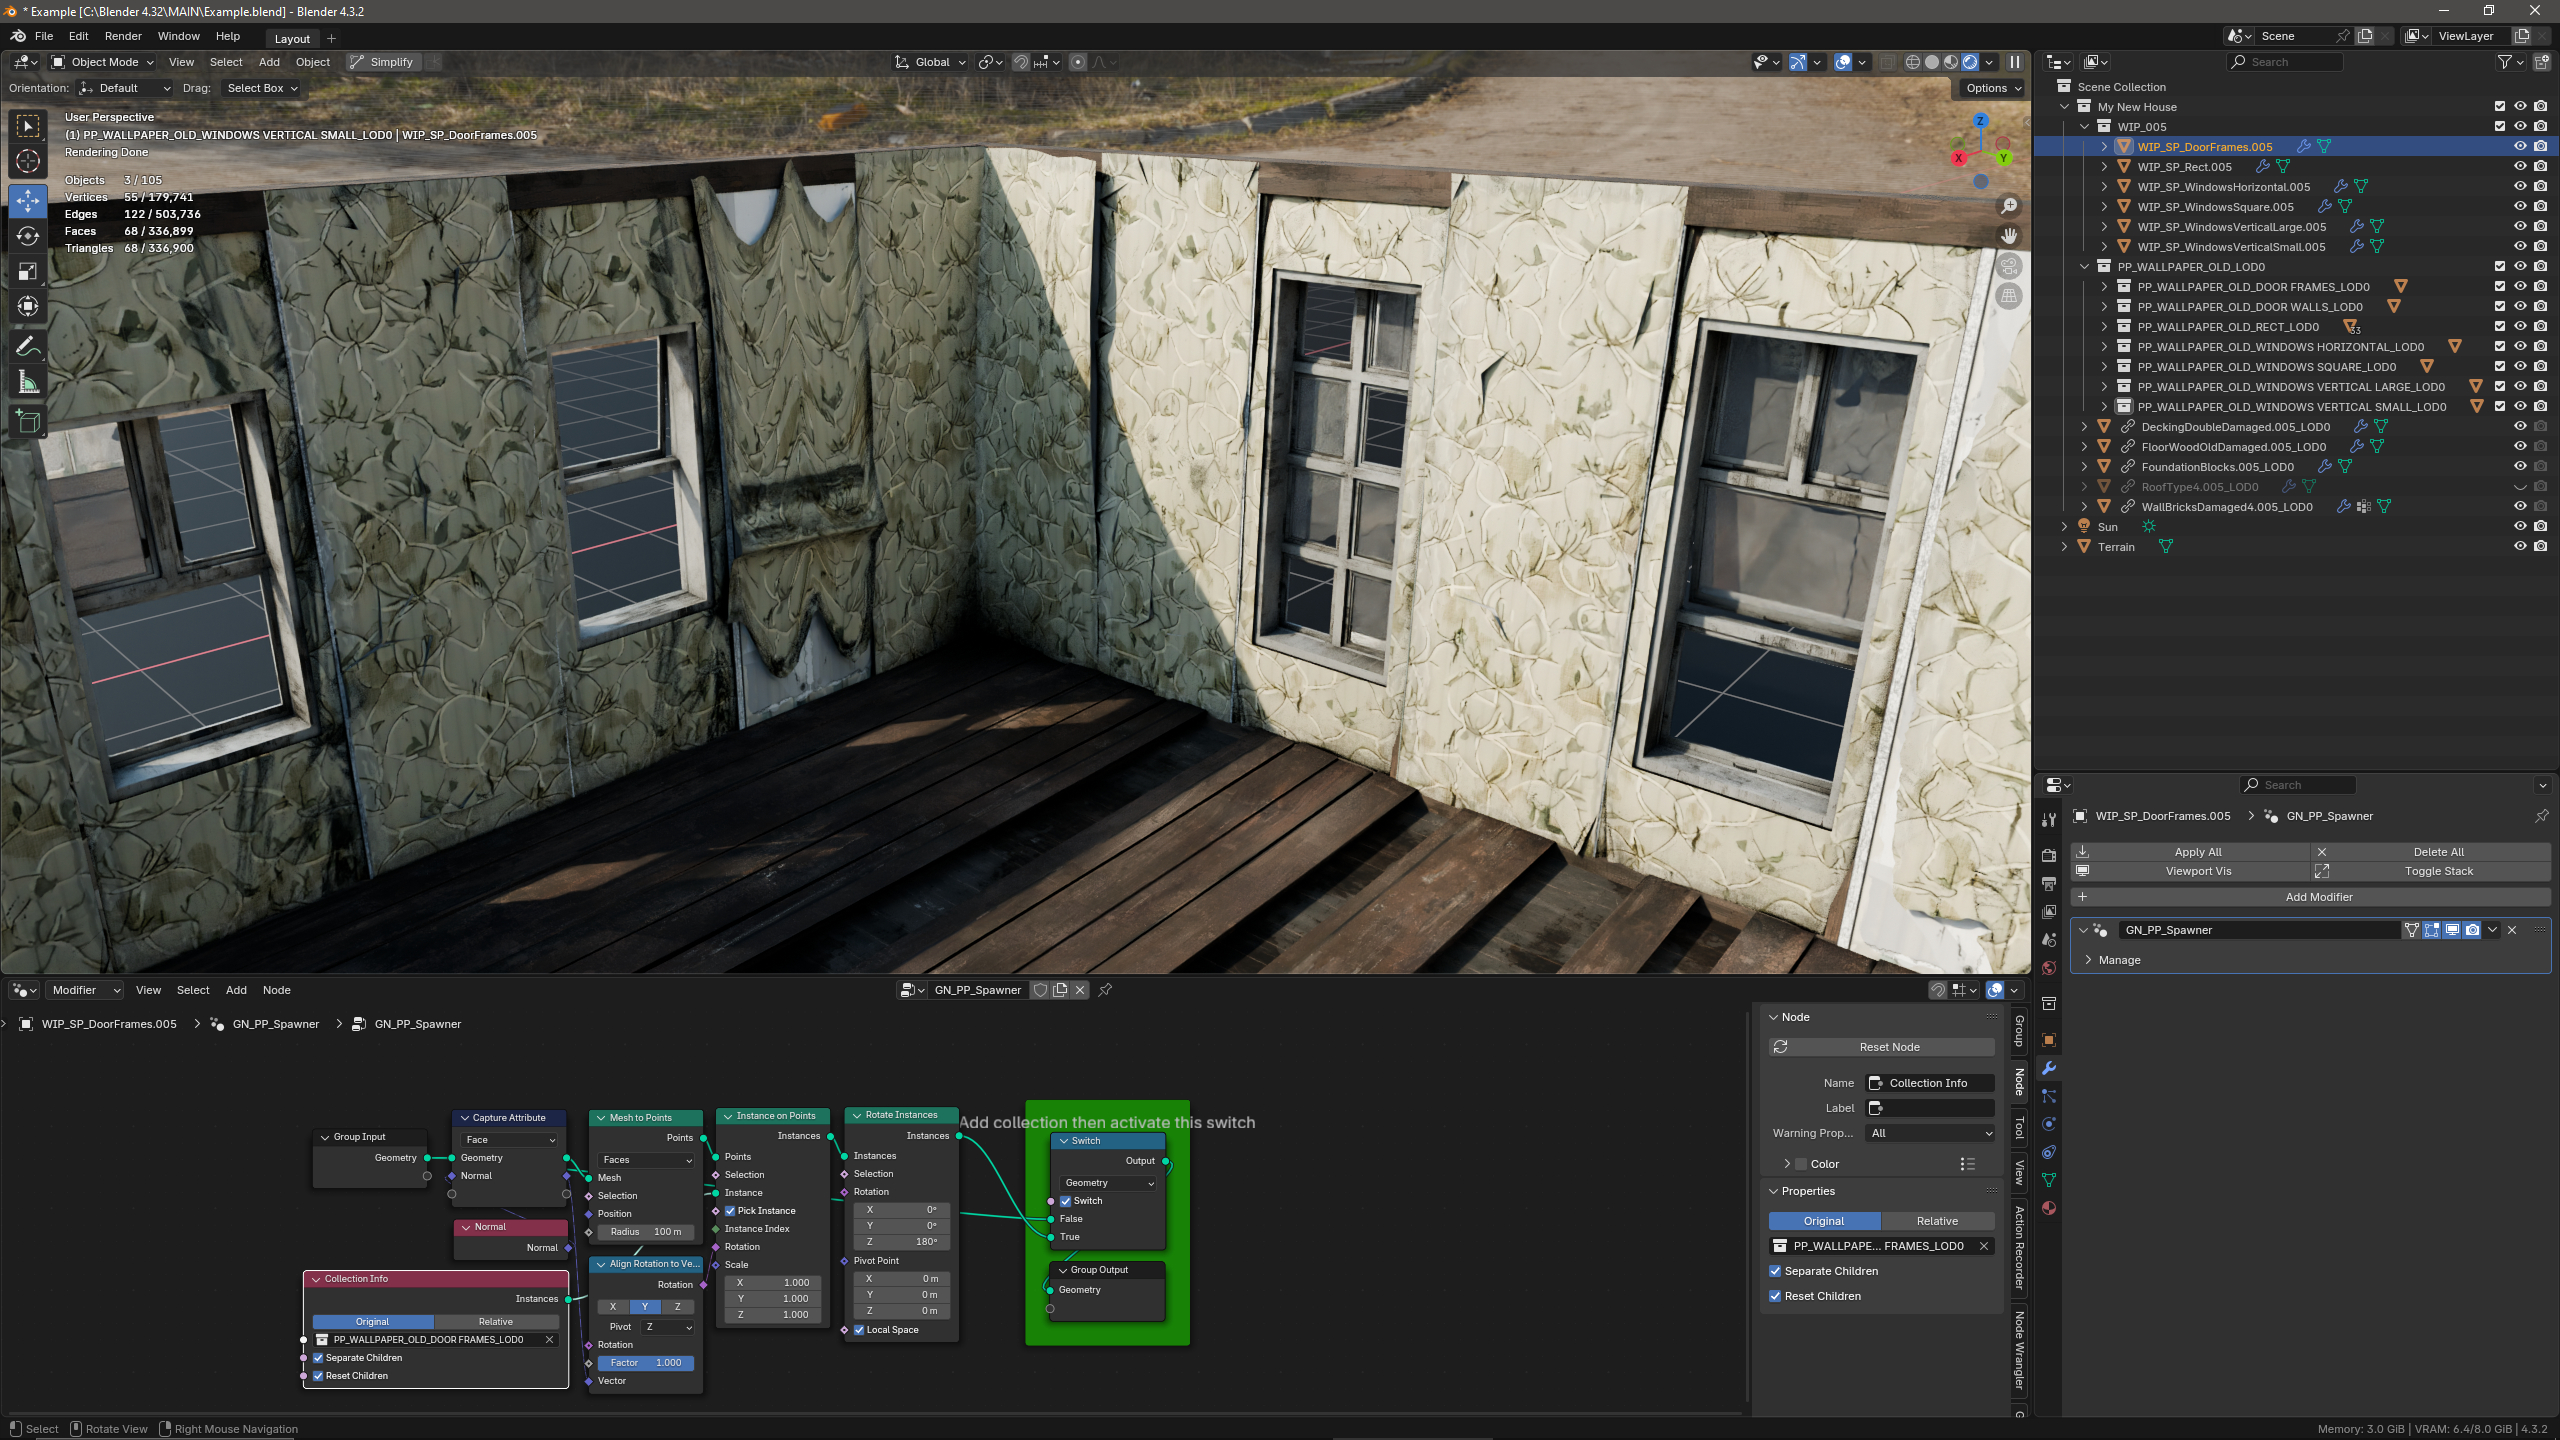
Now simply add each wall type "the collection root" into the geo-node "collection node" for the wall type spawners (match the name of the spawner with the instance), now all you need to do is click the switch node button "Switch" to enable the spawned meshes (note. be sure to make the materials local only once to avoid ".001" duplicates in the scene also if any panel is facing backwards use the rotate instance node "180d" to flip it)
5: Door Factory
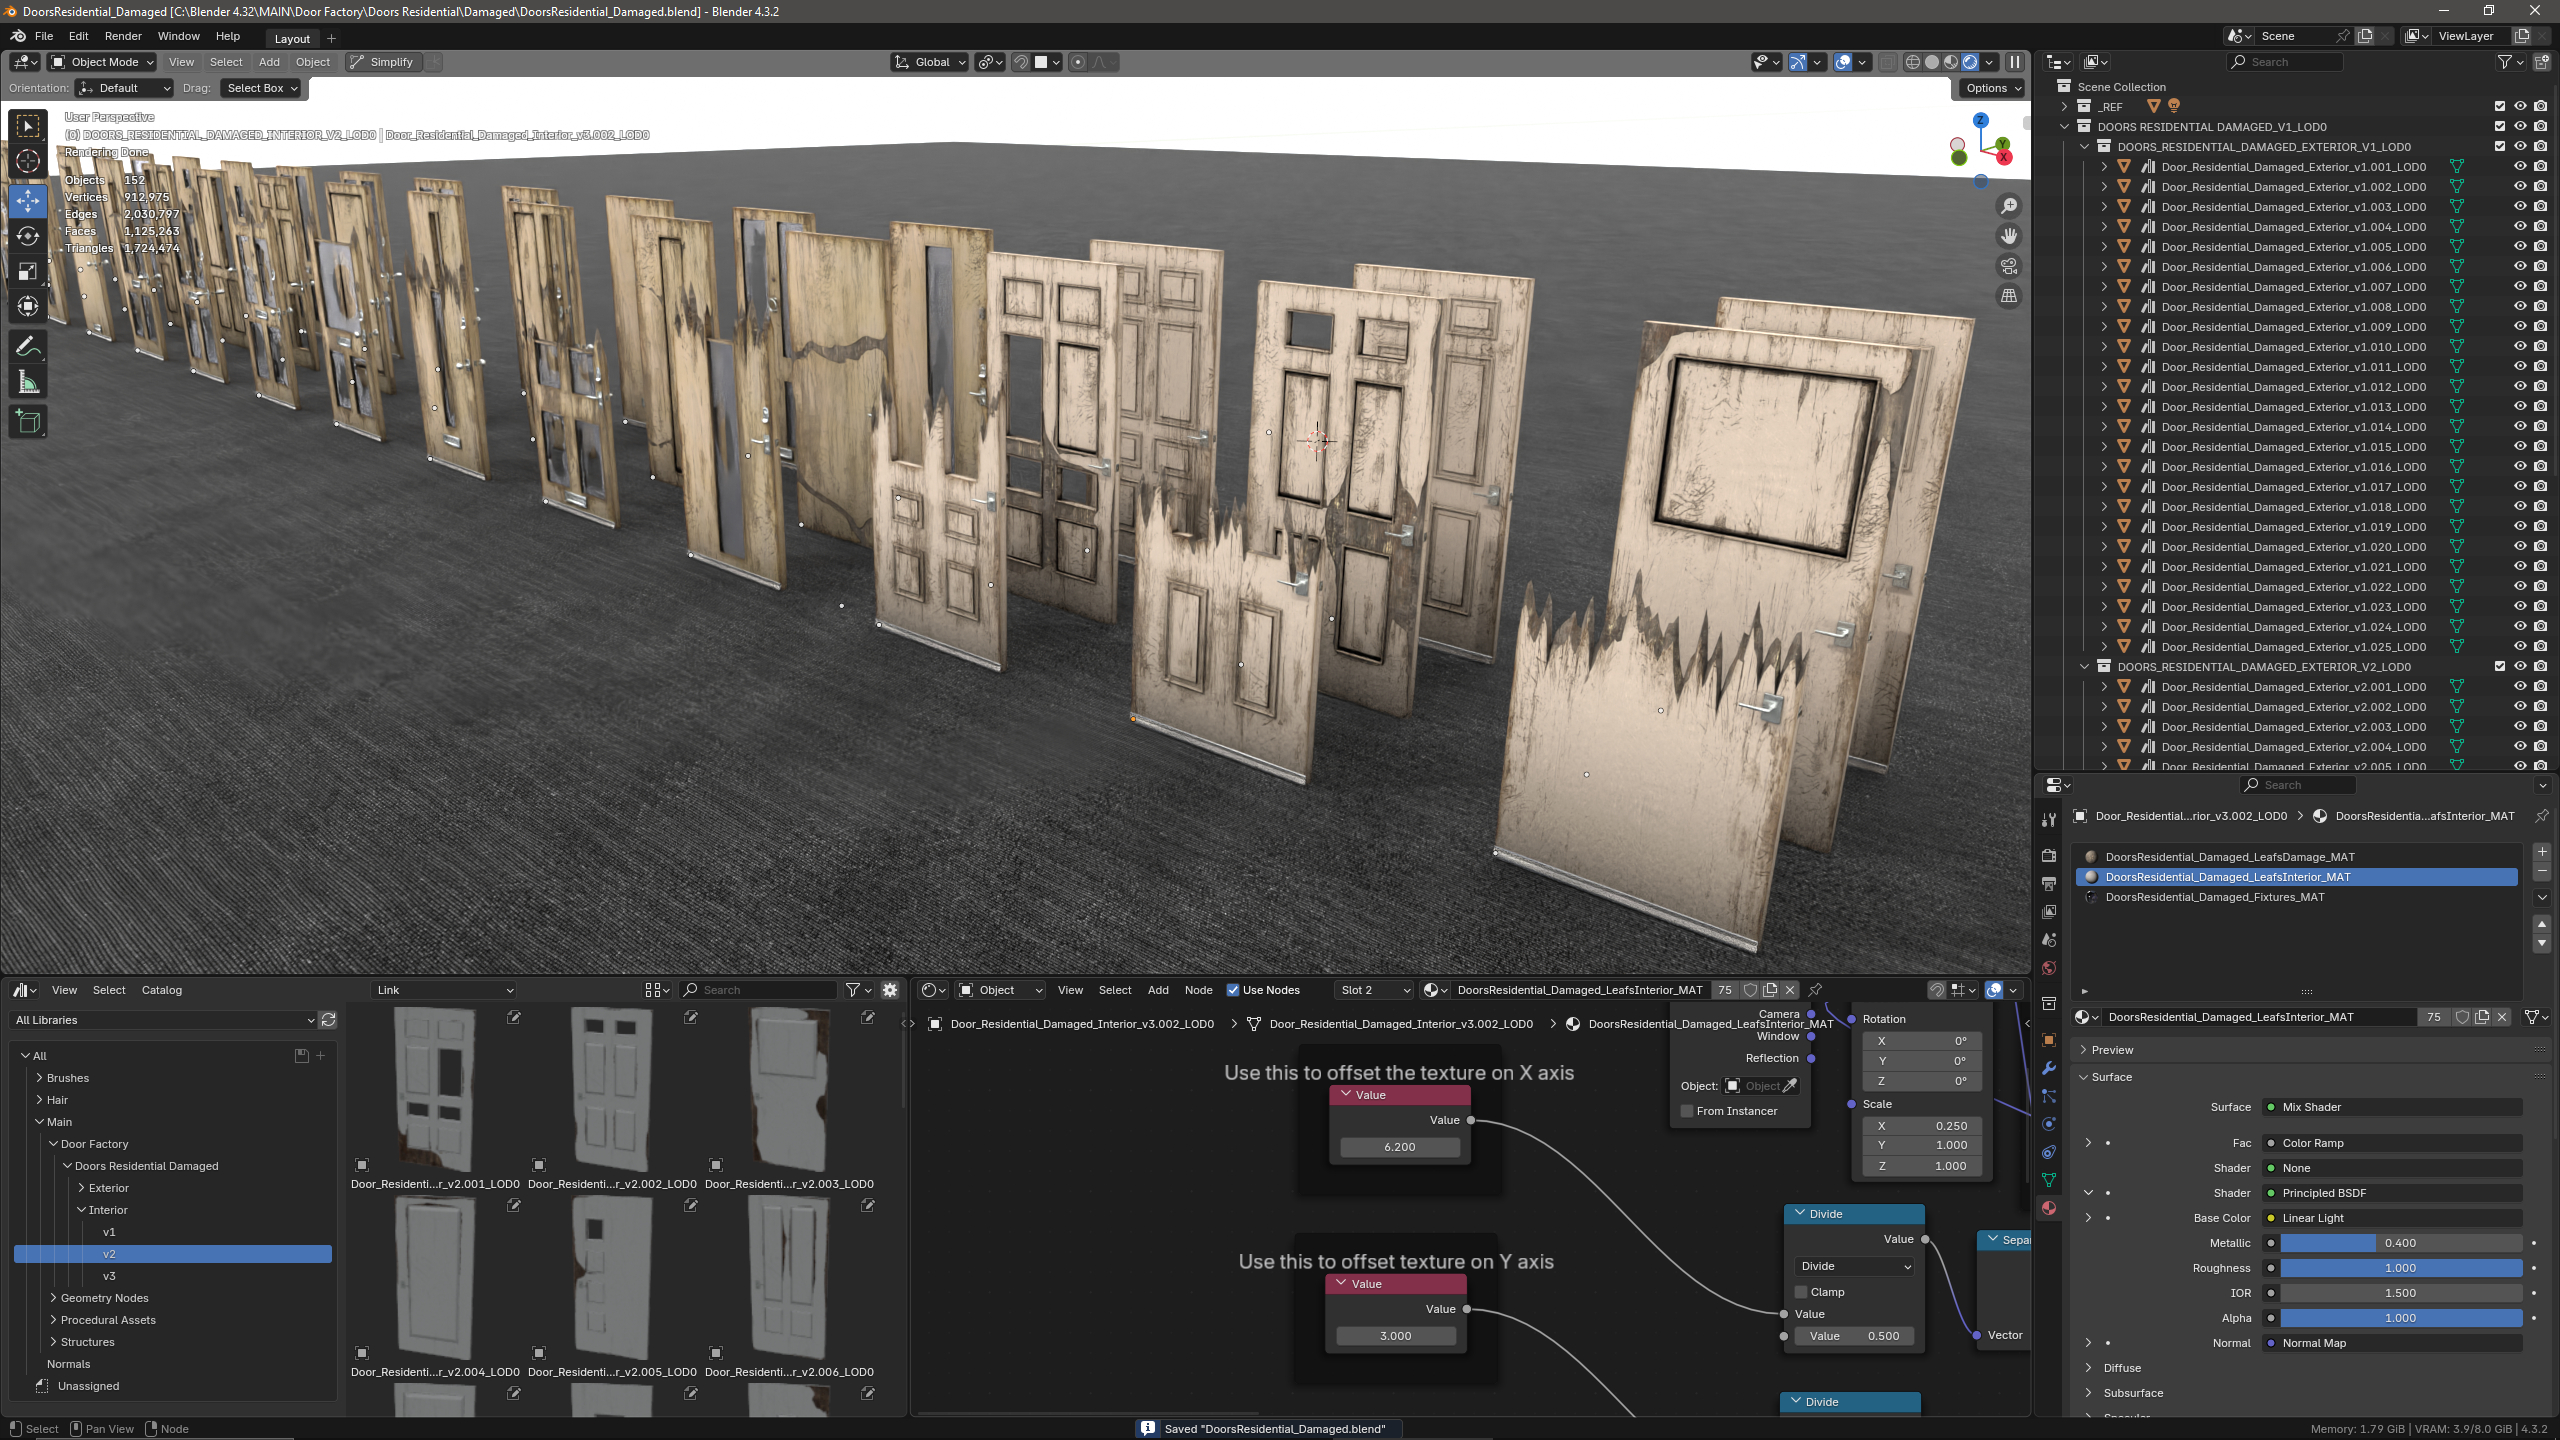
Included is a pre-built door factory catalog with 125 door meshes and 25 available wood textures to mix and match to create thousands of door styles (materials is cycles only so for blender still renders or animation they can be used right out of the asset browser but for game engine export they will need to be baked to a texture to capture the procedural stuffs, do this before compiling a building and use as seperate objs/exports if needed to be interactable in your game, otherwise static doors can be joined to the building and baked together).
After drag and drop into your scene simply open the shader editor and edit the "X+Y" material offset nodes to move the uv atlas for different woods, you can also customize the "Divide" node to increase/decrease the damage/dirt effect (all nodes are framed and labelled for easy navigation in the shader editor) you can also copy and edit the "DoorsResidential_Damaged_Wood.png" and "DoorsResidential_Damaged_EdgeDamage.png" to make your own door texture styles).
6: Customizing Materials
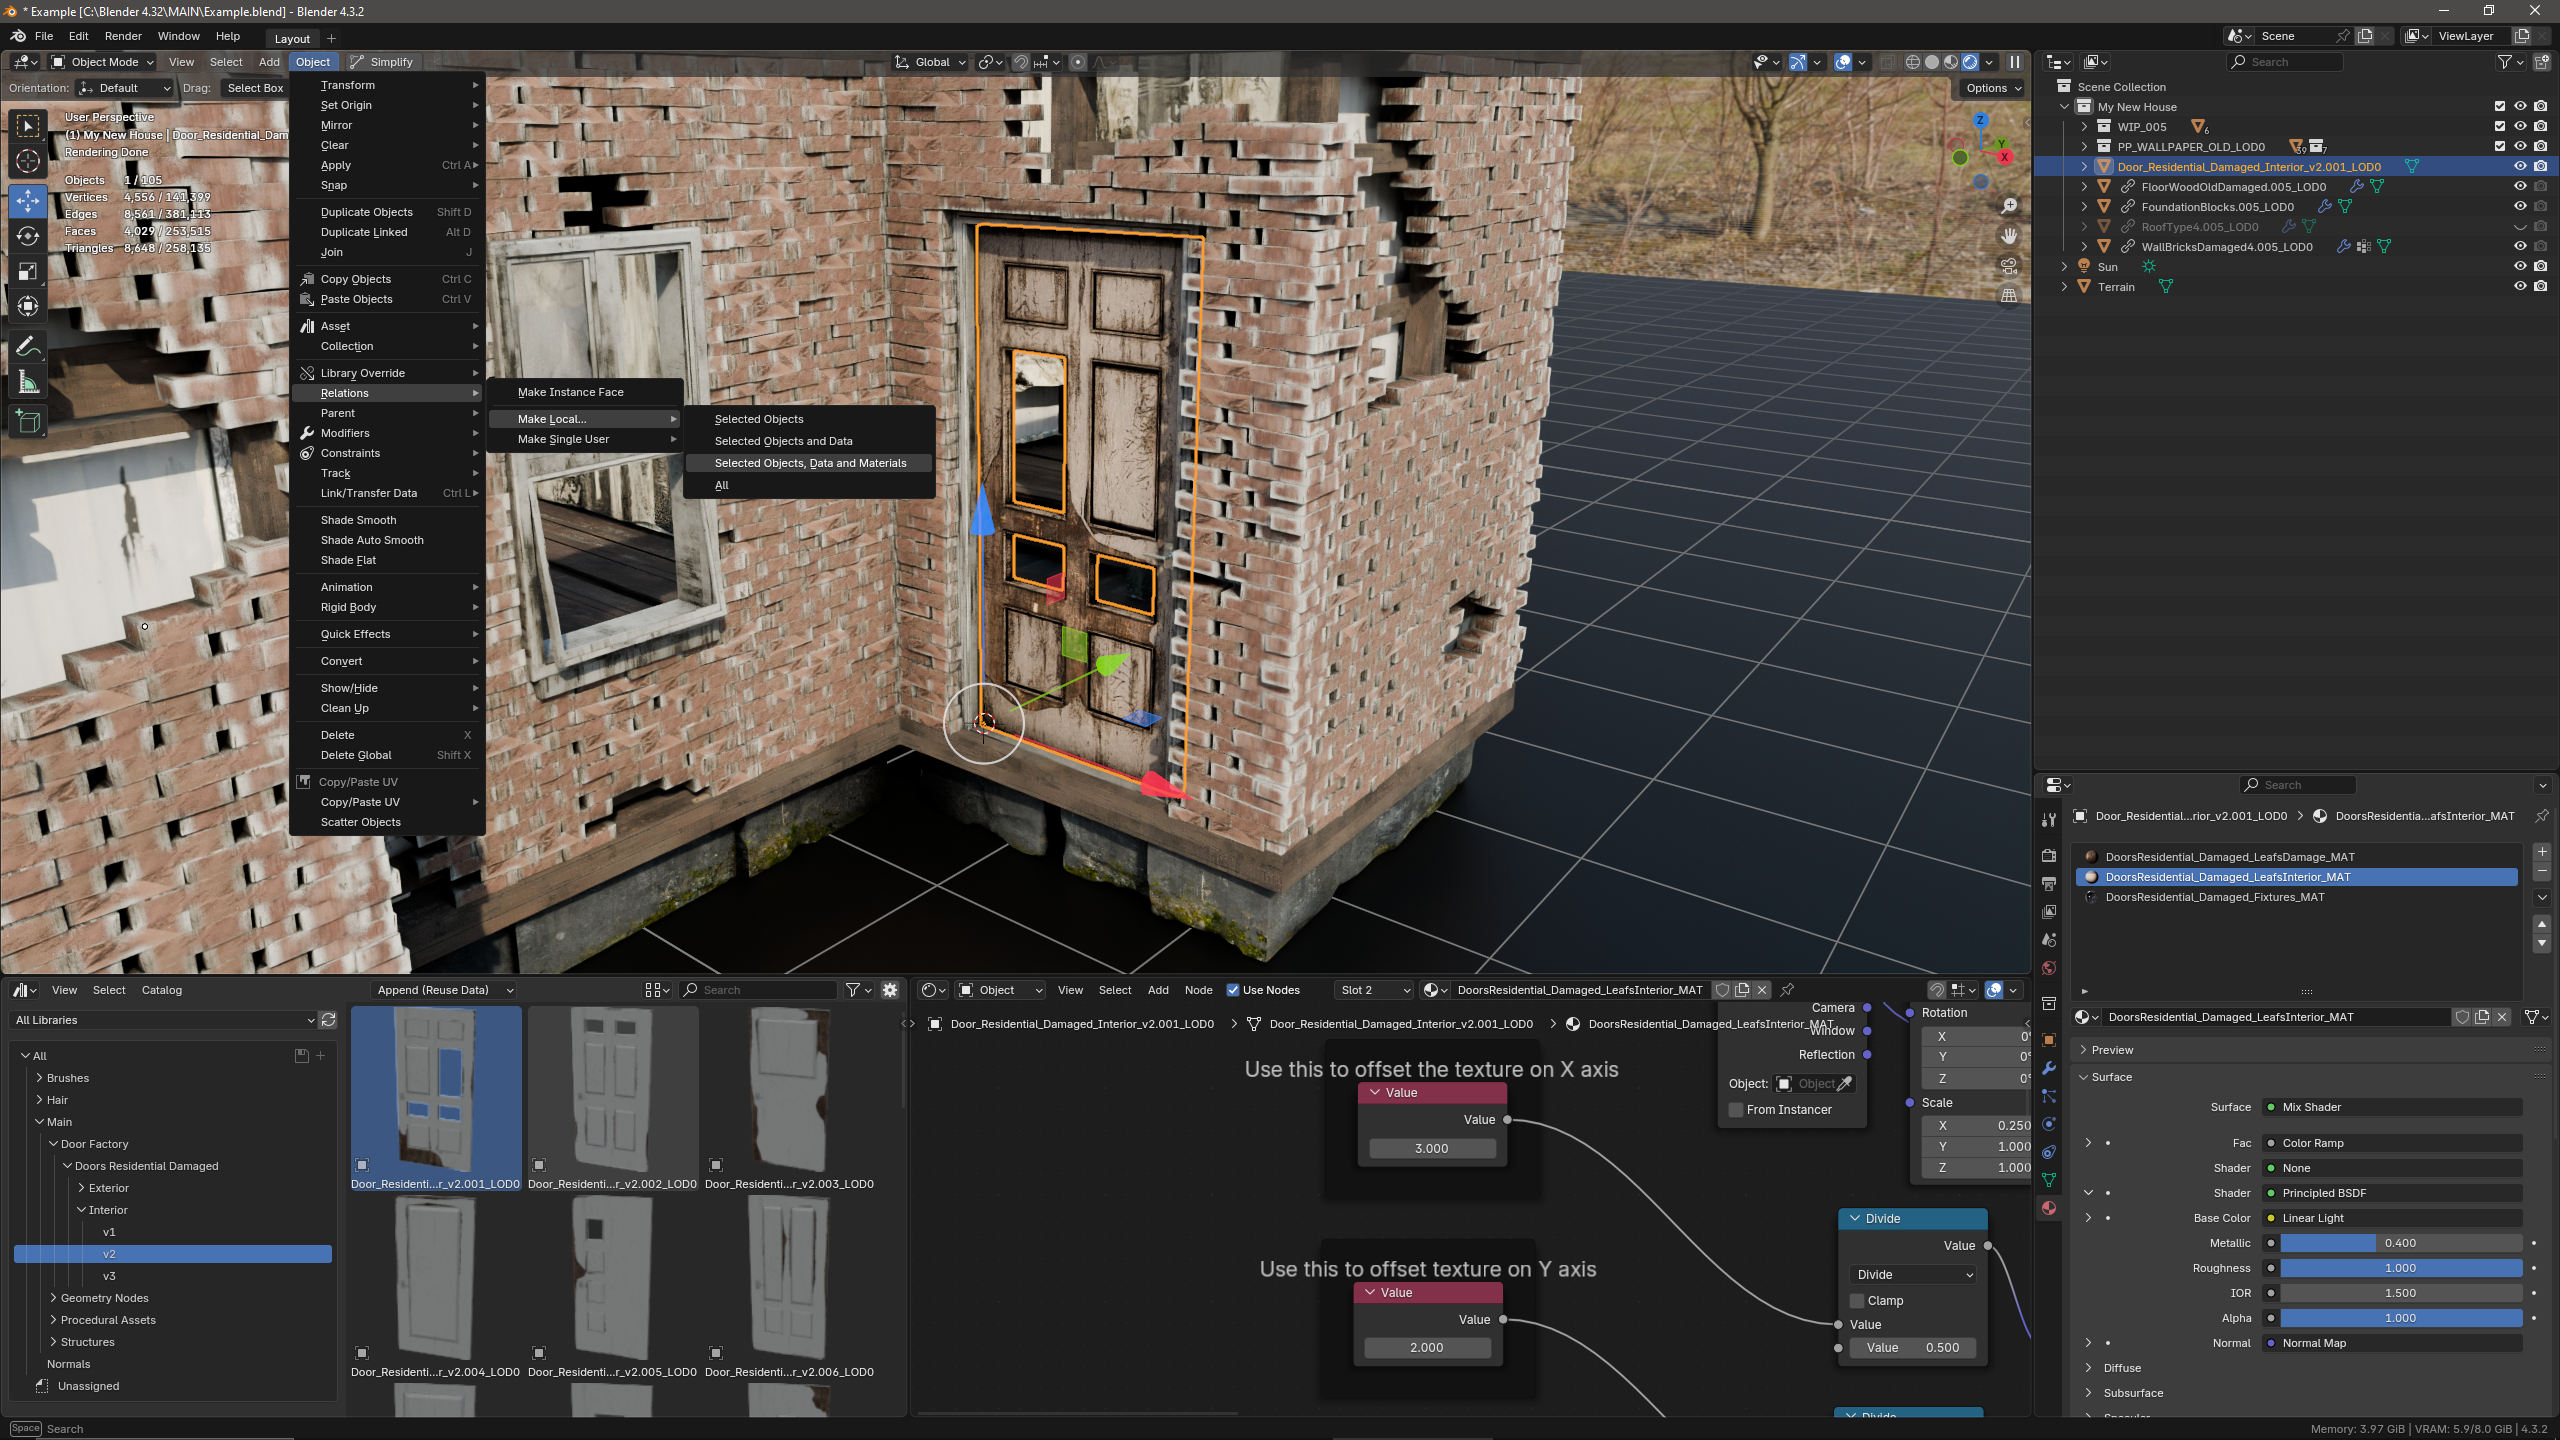
Before being able to edit each added asset you will first need to make them local to the scene, to do this simply go to "Object/Relations/Make Local/Selected Objects, Data and Materials" with all the linked assets selected, now you can edit the meshes or material data of the object without restriction, some elements have pre-baked texure UVs to allow the use of the "Material Mapping" node in the shader editor to quickly iterate textures including doors and wallpapers.
7: Preparing For Export
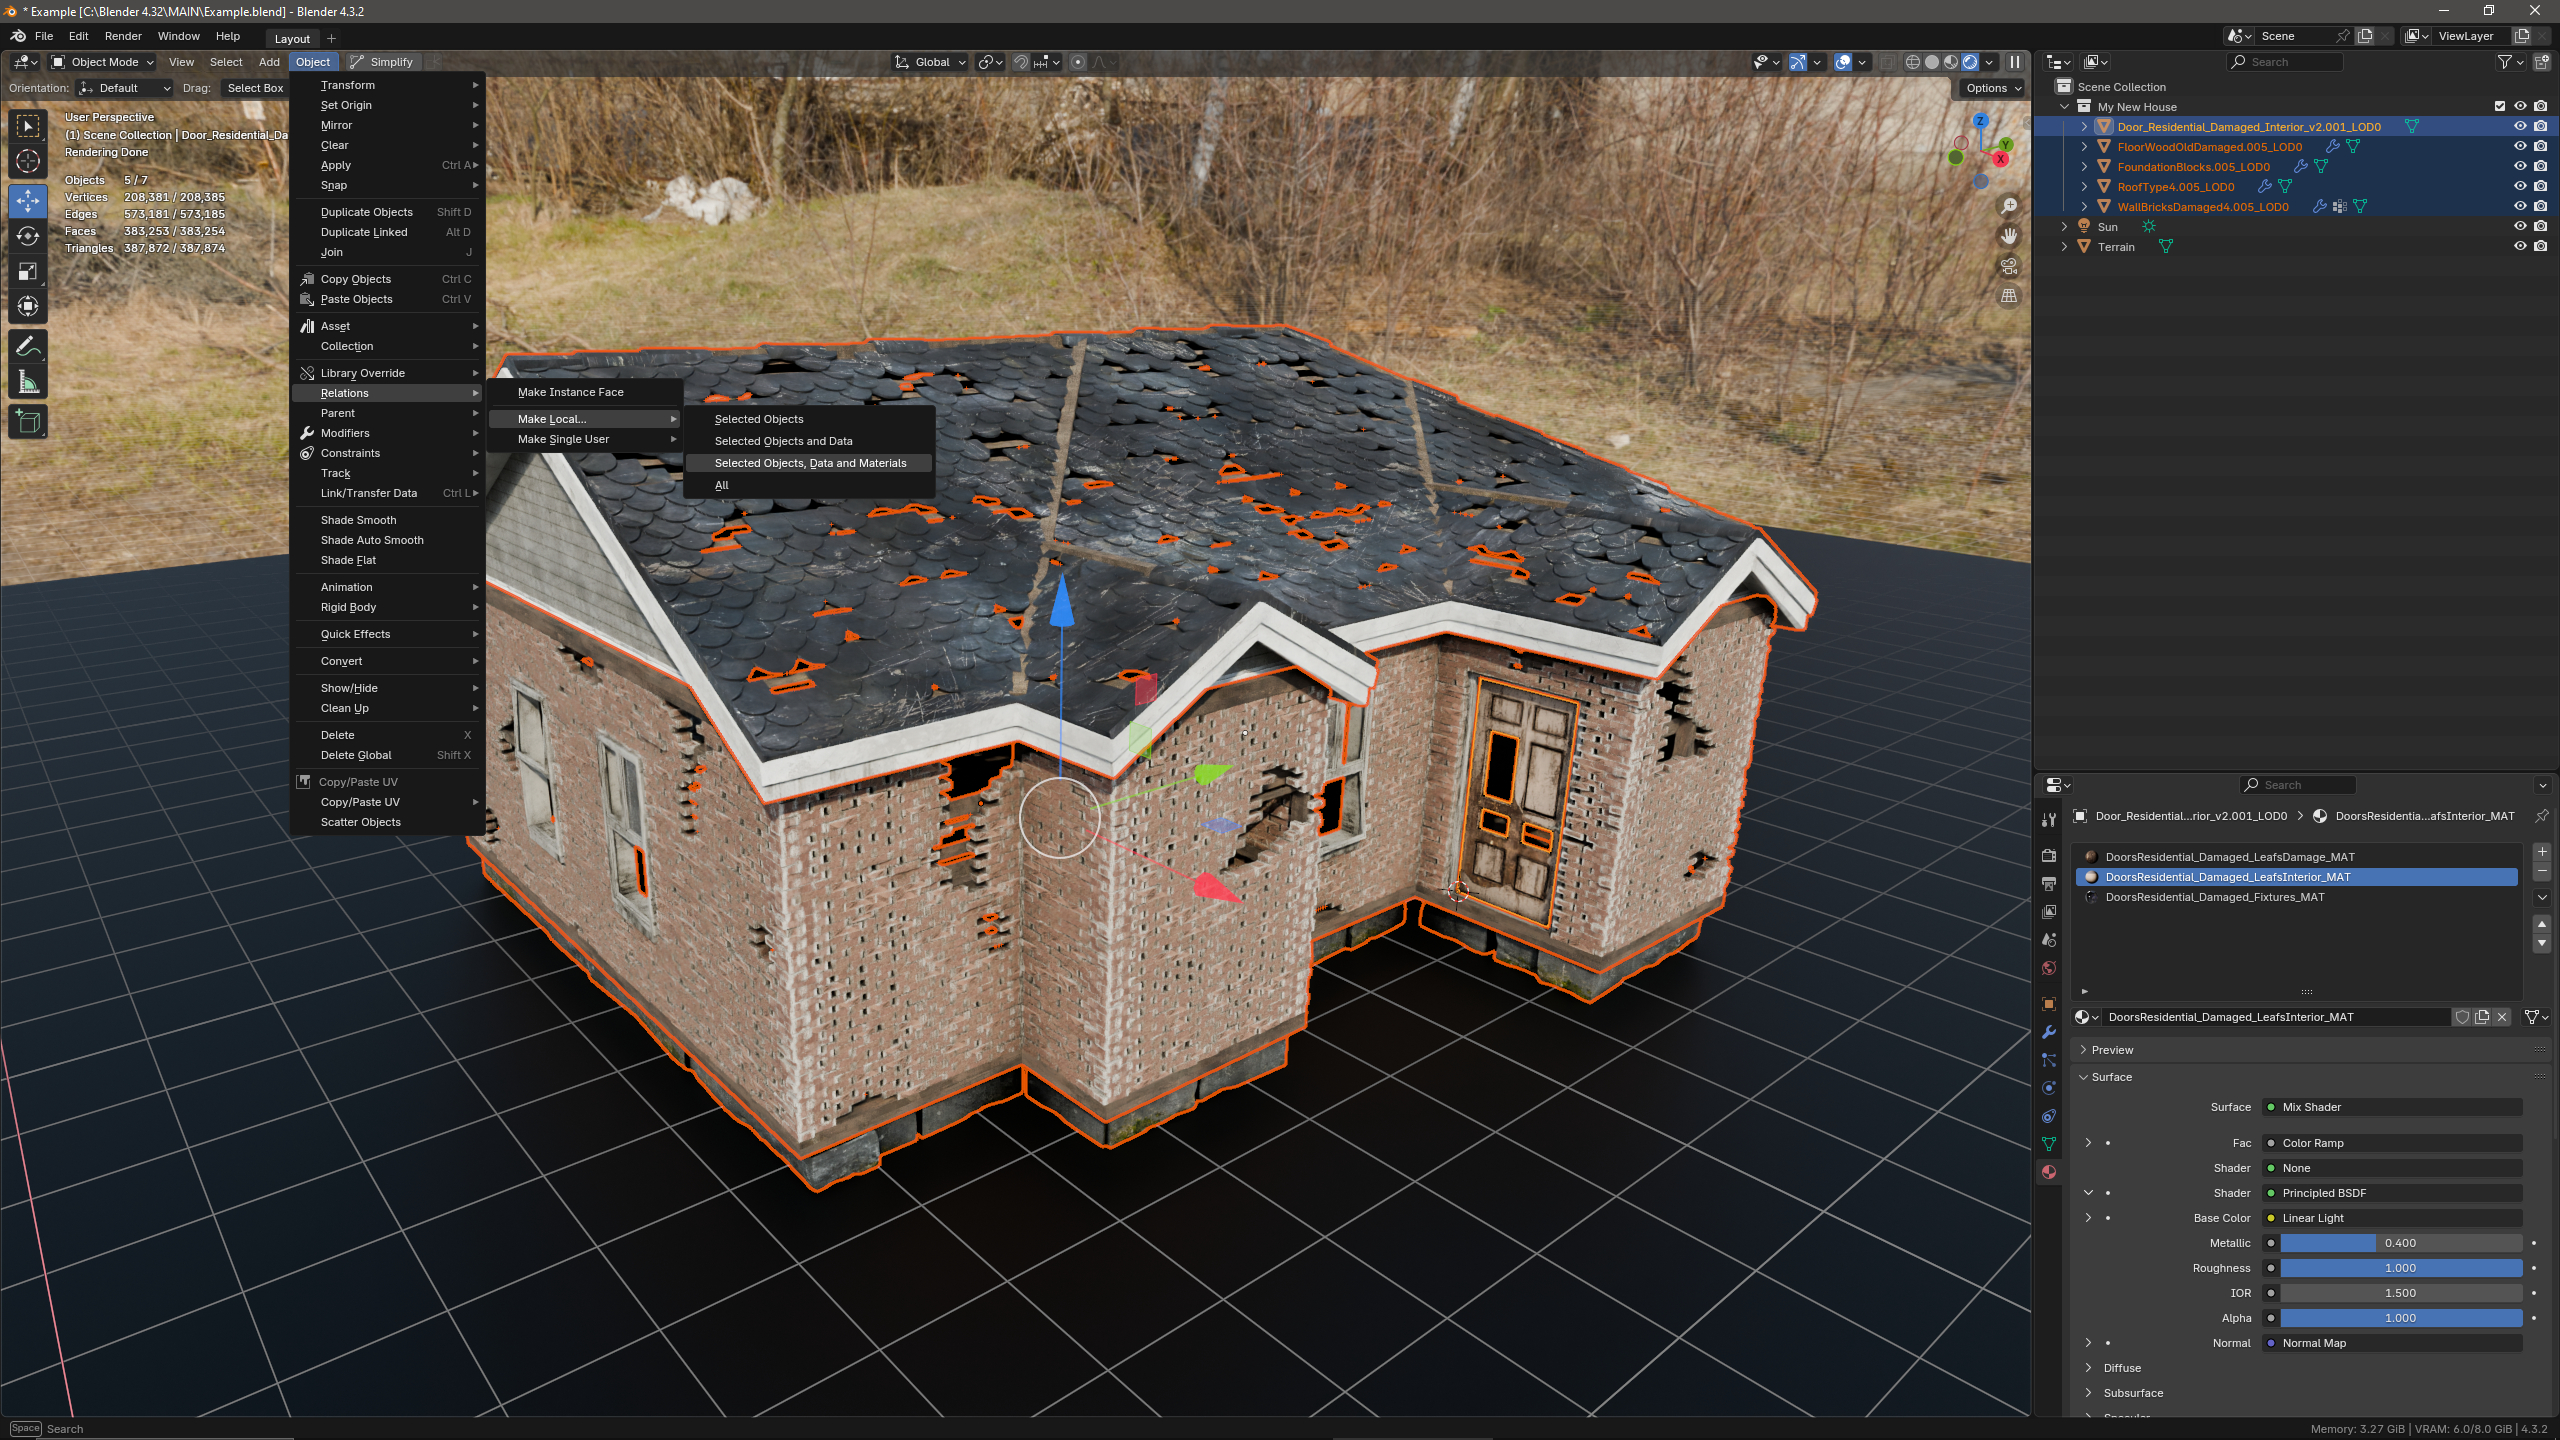
Whether you choose to edit the materials or not at the end of the creation process you need to make the objects local to the scene to bake into textures etc "Object/Relations/Make Local/Selected Objects, Data and Materials" and "CTRL+A" "Visual Geometry To Mesh" this one is for the procedural things, now there is newly created assets ready to tweak and modify as individual assets.
8: Texture Baking
All included assets are already textured, uv mapped and optimized best as possible and game-ready with or without the texture baking process "BUT" it is strongly advised to take the few extra minutes to customize all the materials then bake into a texture map(s) for each building/element (depending on required quality)
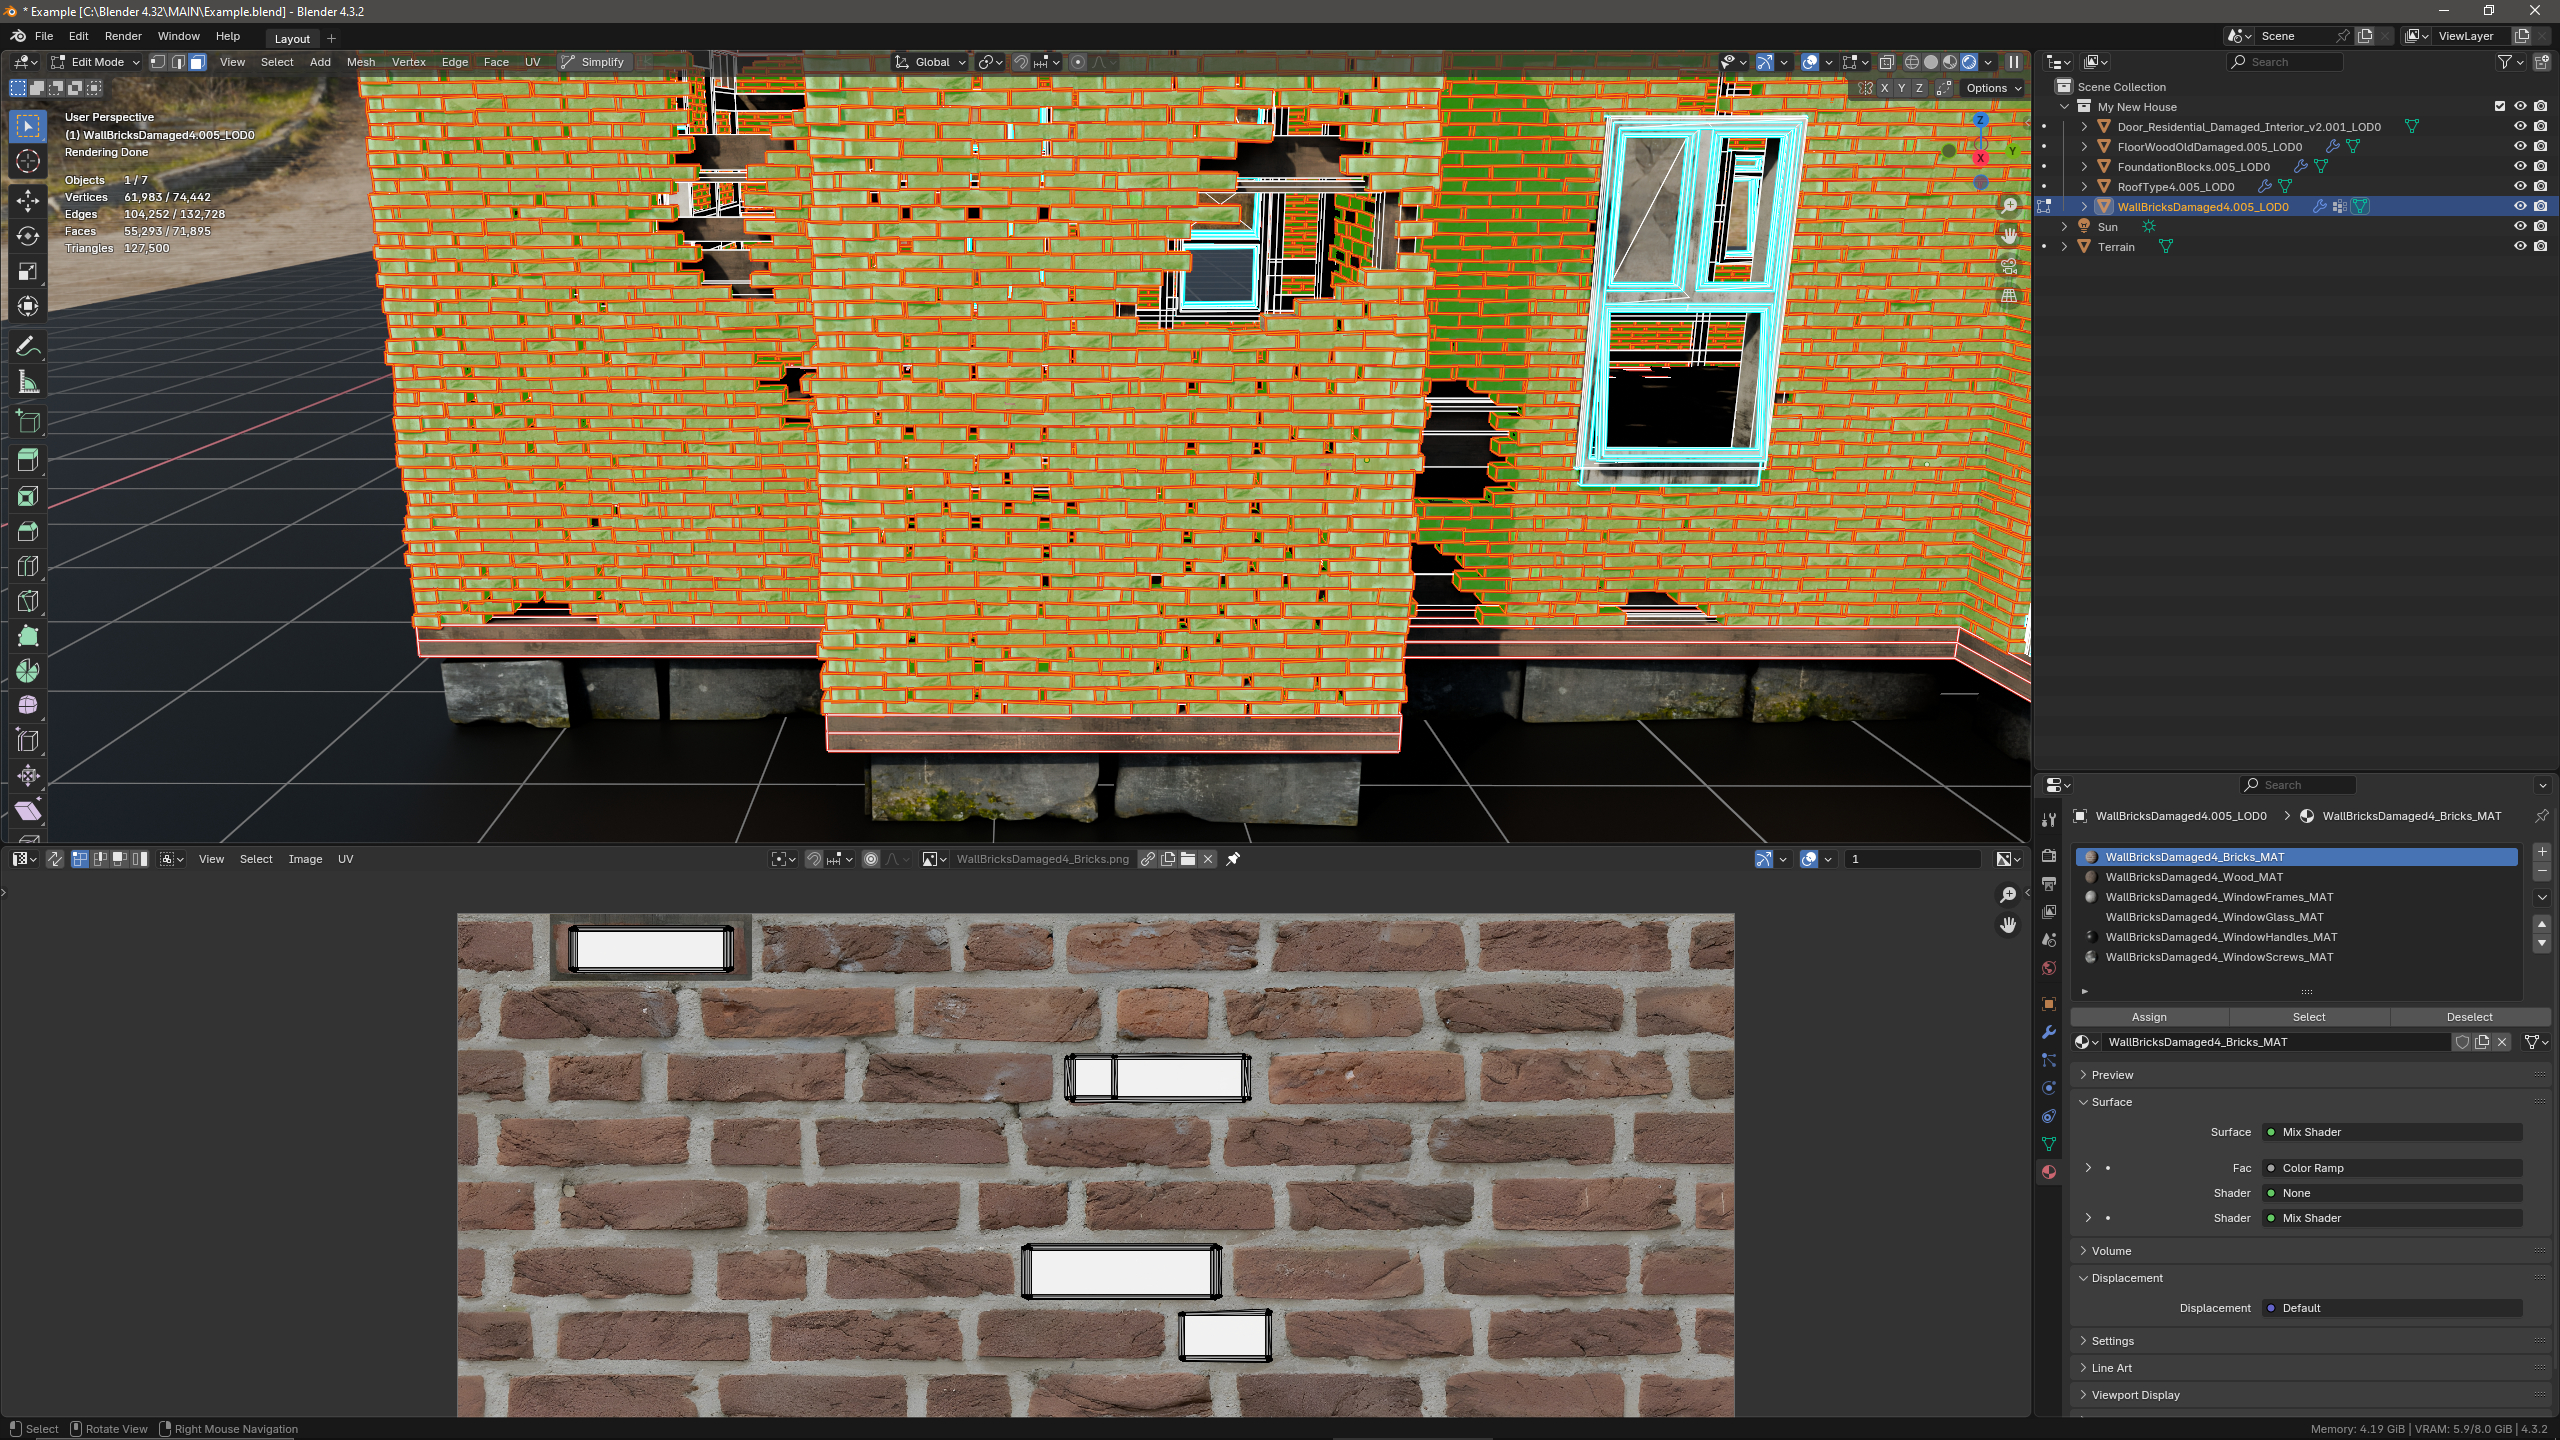
Below is an example of joining all the meshes ready to bake fast into a new uv texture, note: this method will produce low quality results but is the fastest for exporting, for best possible quality bake the elements to its own texture map or group as needed.
A quick example of a combined building with a new uv to bake all the materials into:
This way you can ensure you are using the best possible export of the asset unique to you and with all the next-gen texture details captured (depending on bake method) you then are also able to easily create LOD levels and any other stuff for it later with a single combined mesh(s) for each building.
9: LOD Levels Creation
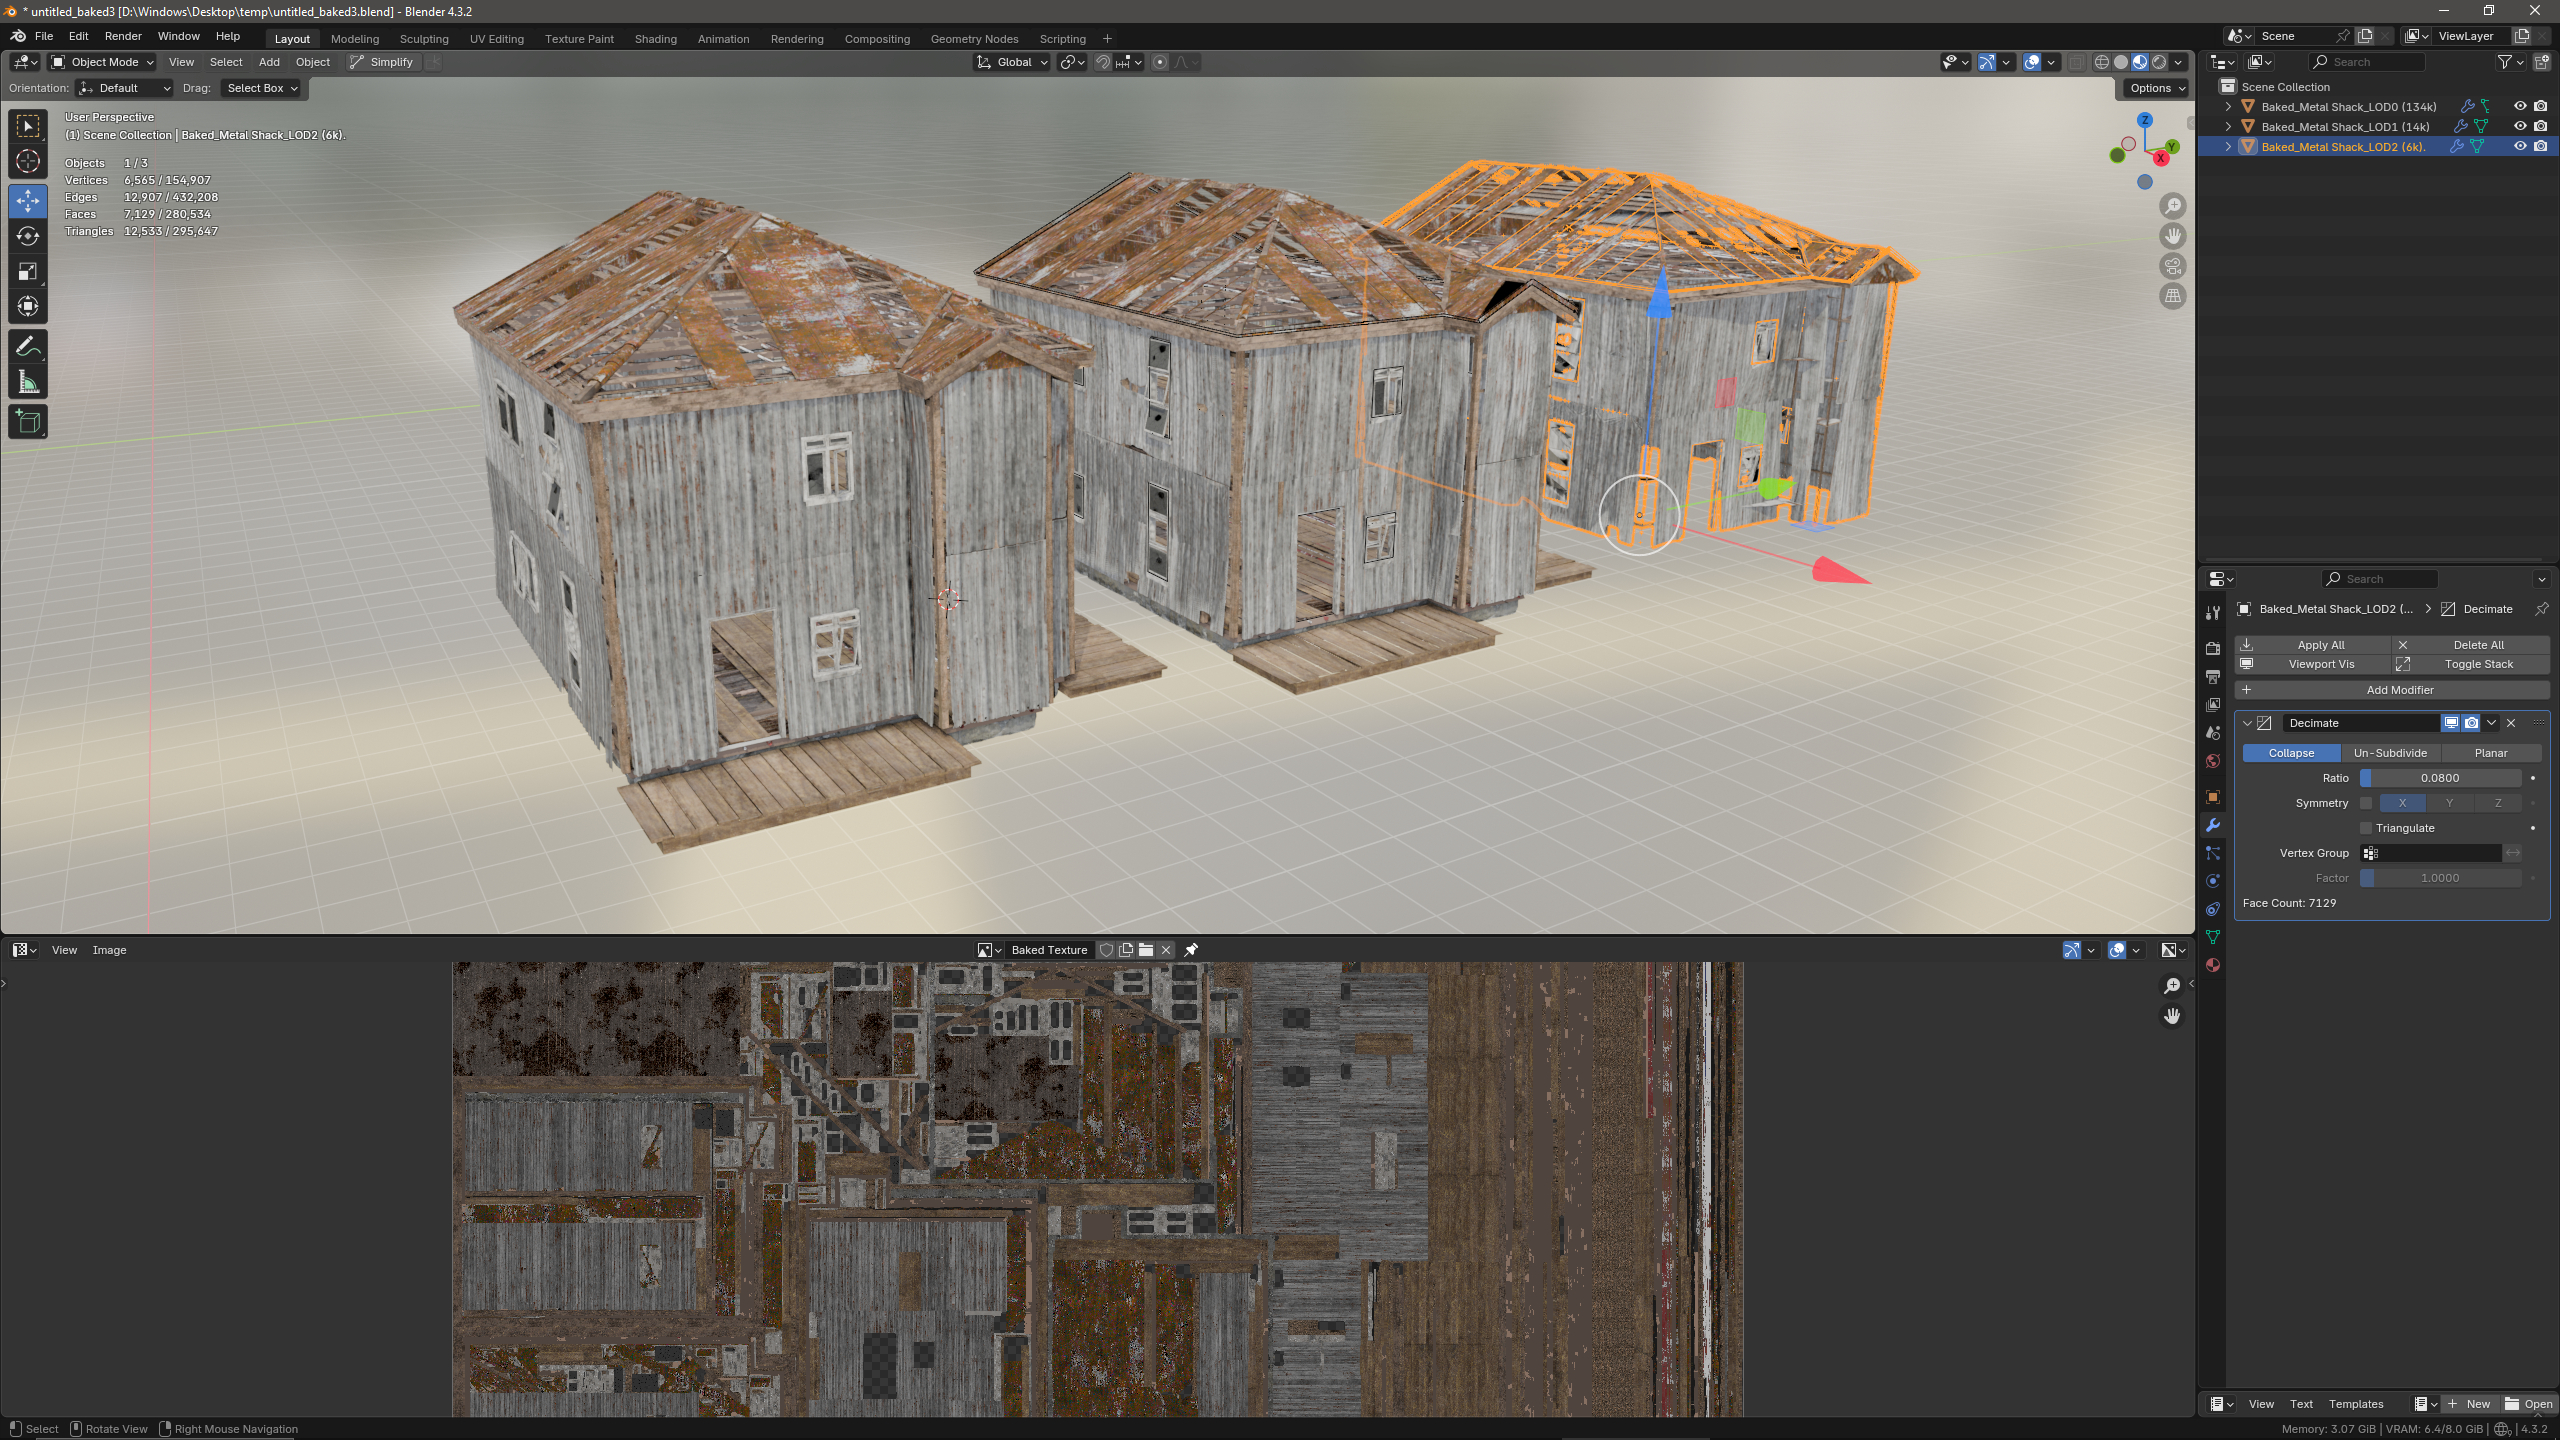
After you have baked the building into a texture map(s) it is as easy as duplicate and add a "Decimate" modifier with either collapse or un-subdivide option to reduce the mesh data as much as possible without breaking the geometry in half.
On testing we produced around a 2.5k vertices "_LOD1" from a 250k "_LOD0", yep 250k this was a high detail asset but have removed the interior parts and kept only the exterior it also had just the right geometry to strip away verts, note: some elements may not be able to be reduced as much or at all depending on the mesh so be sure to keep an eye on the "Statistics View" to meet the geometry requirements for your games.
note: avoid using the loose brick wall meshes if you need good optimization as they cannot be made into good lods.
To summerize the difference between having lods and not is you can have an open world scene in one level without loading screens or have to split the world up into seperate loaded areas due to "too high density meshes and textures" resulting in poor performance.
If you have chosen to not bake the textures sadly it will be very difficult to make lods with all the loose meshes and materials so it is advised to skip lods if not baking the texture(s) as typically one would need lod textures to match the lod models etc.
10: Export to Game Engines
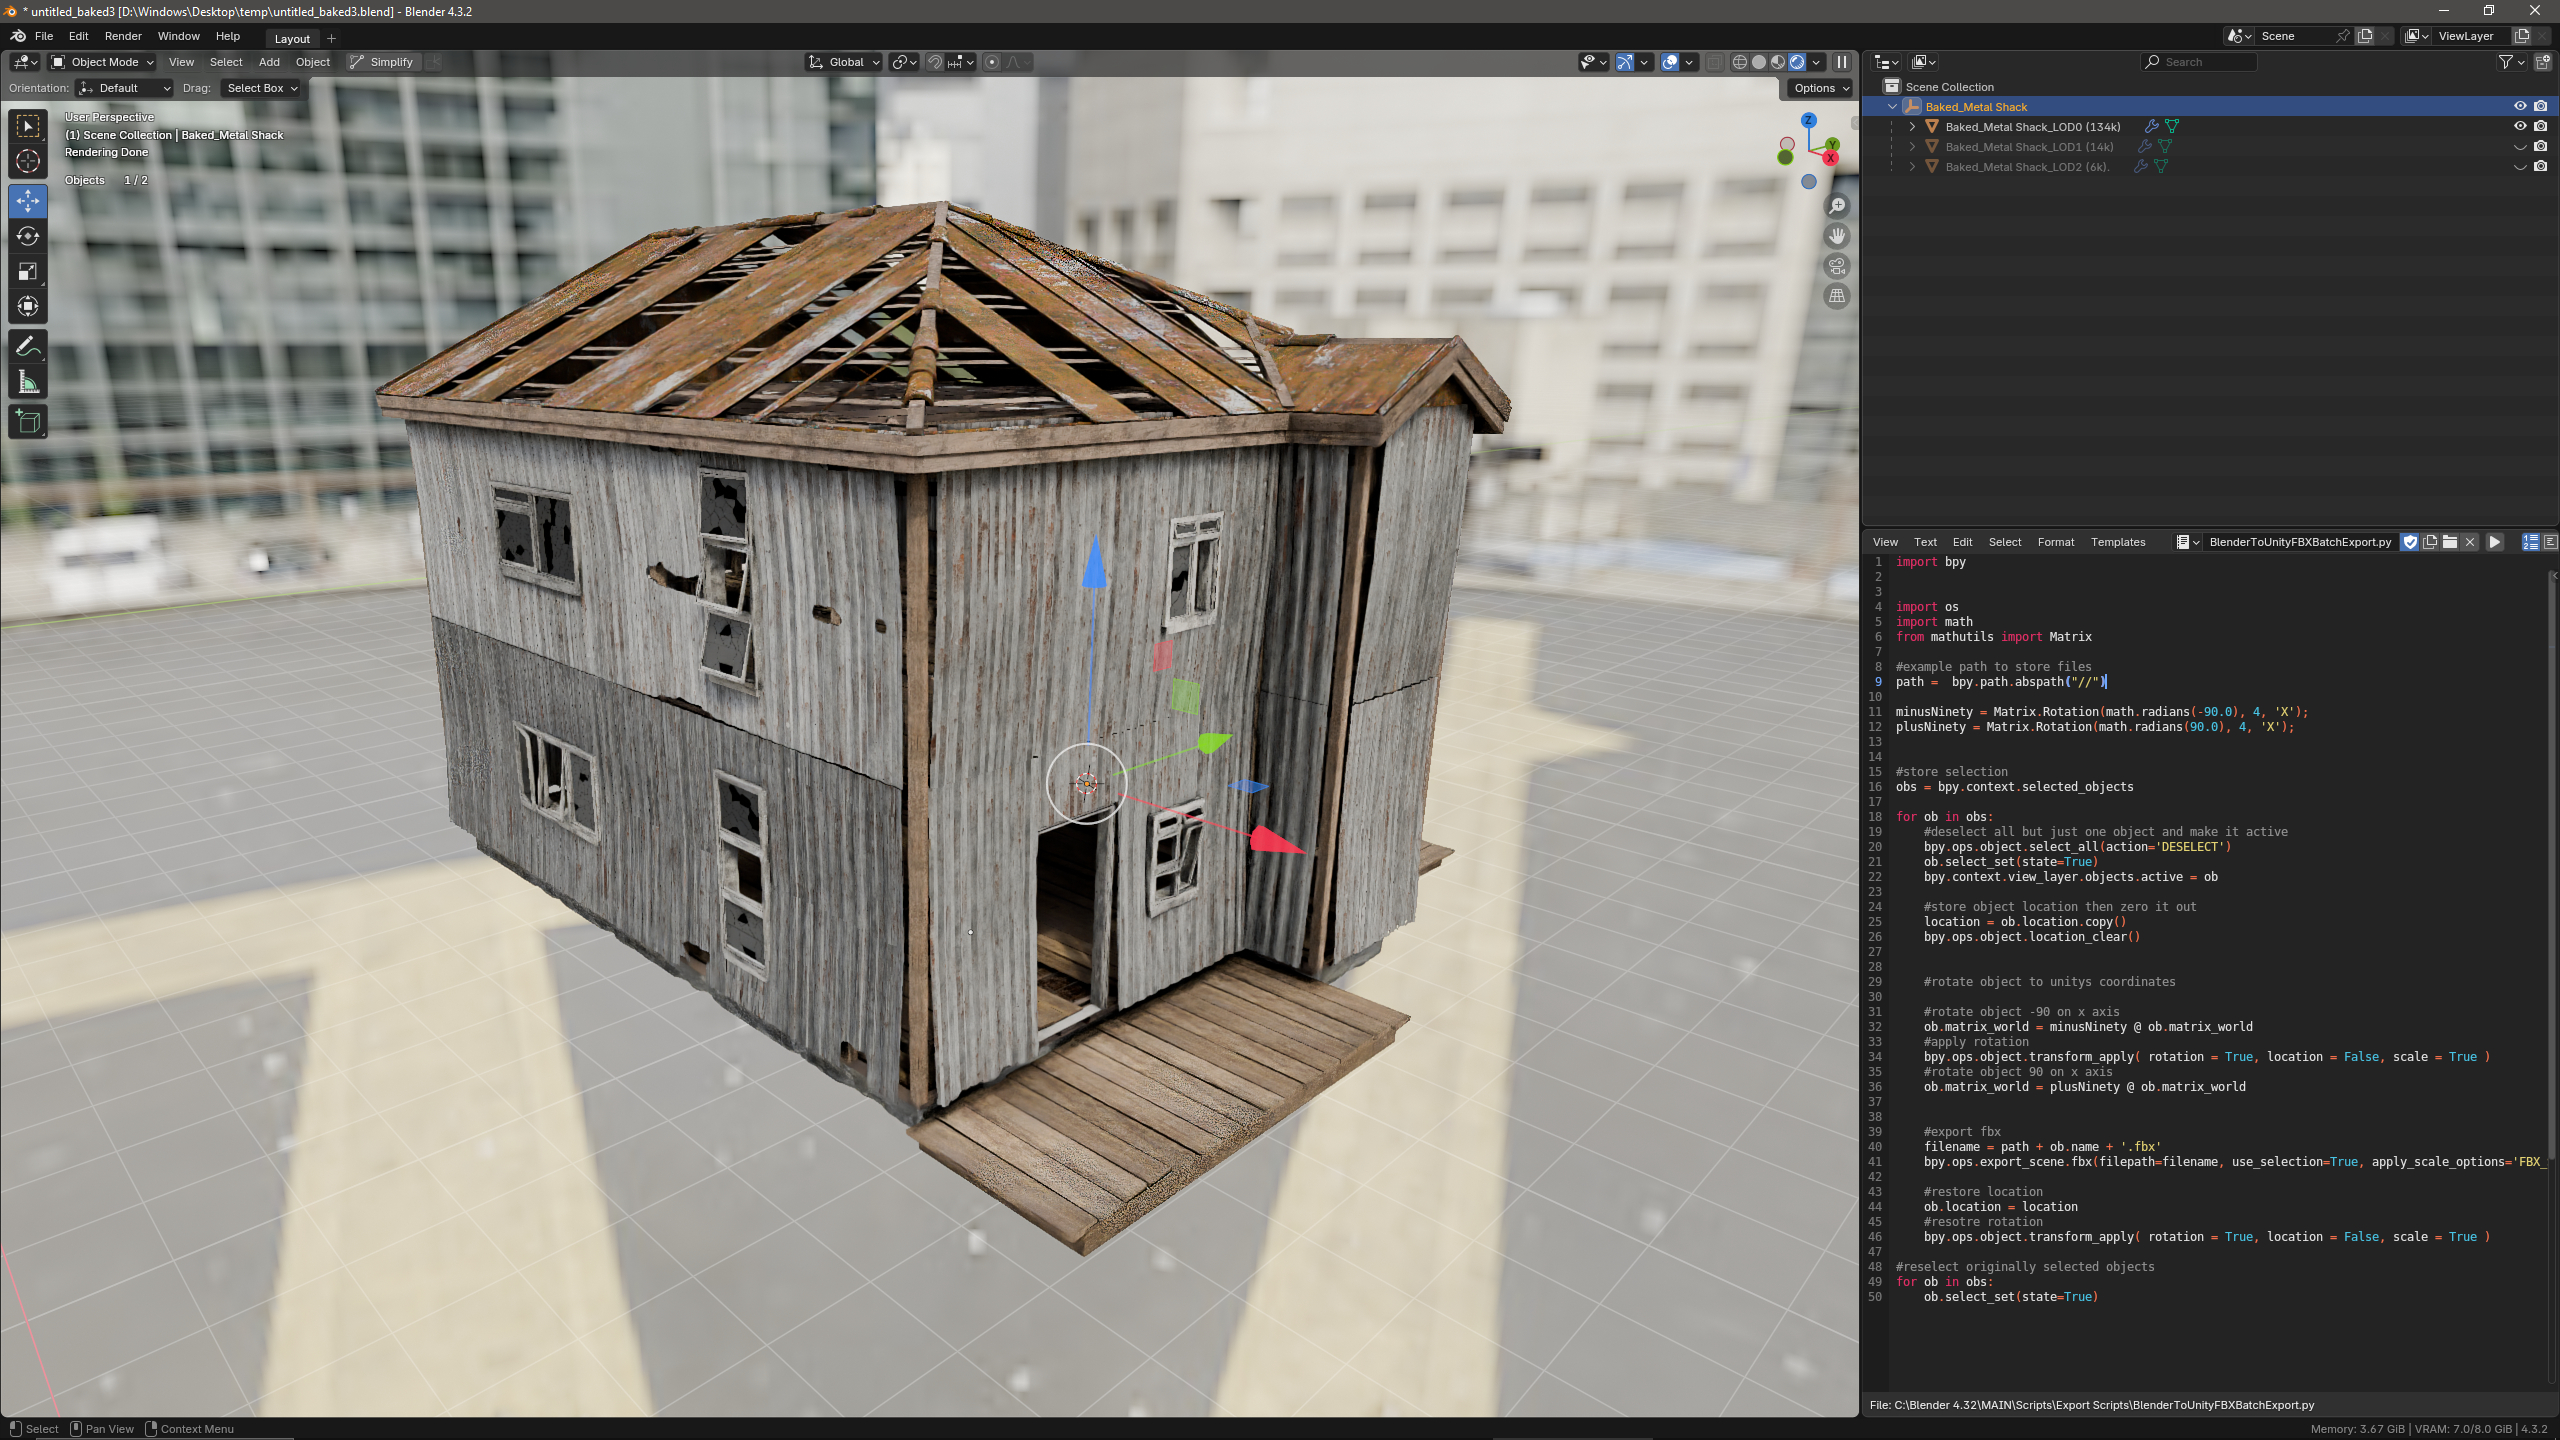
If using the Unity engine we have provided a simple script that will export the individual building assets into Unity without any issues usually seen from blender exports, for any other engines or softwares just follow your usual methods for exporting from blender.
11: Requests
You may request buildings, asset types or features to be considered in the next update(s), if it is something we find will be of use to the asset it can be added with the next updates.
13: Issue Tracker
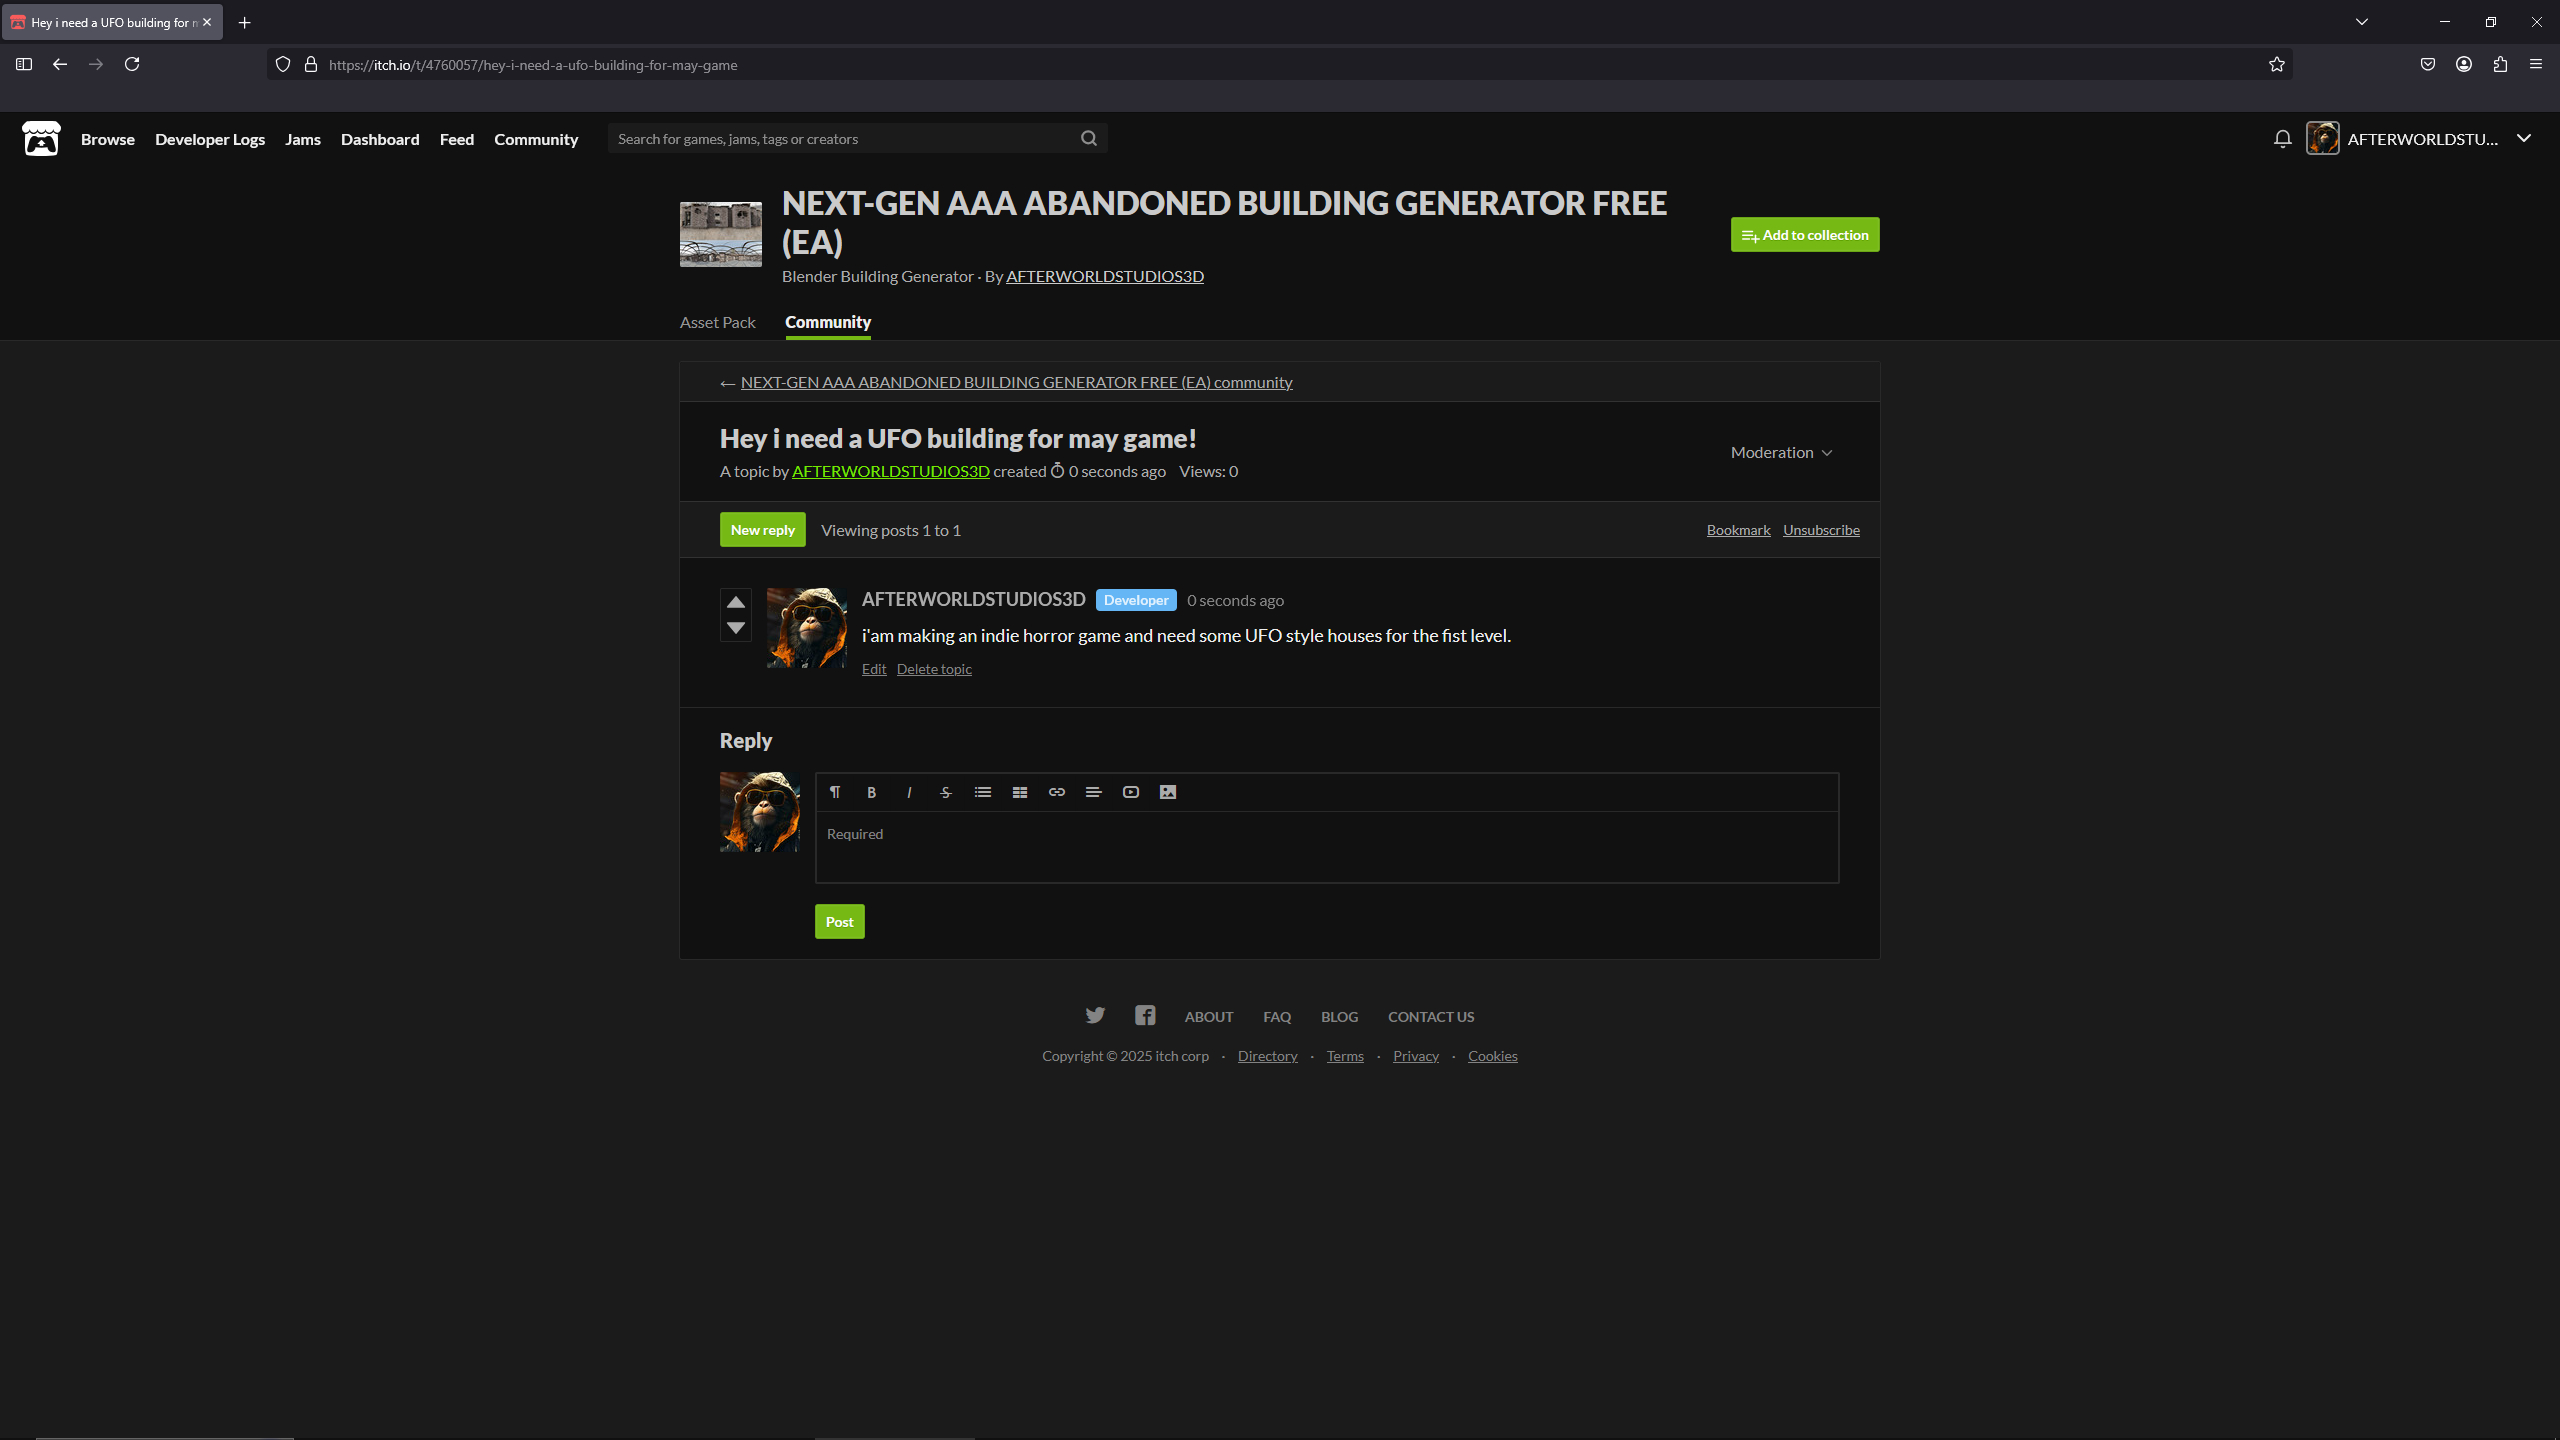
Although great care has been taken to ensure there is no bugs "none at all" or issues some may still remain or have slipped our attention/too low of a priority so if you find anything not quite right or poking out you can report it into the comments where we can assess the problem and add it to the known issues section to help others identify any problems with the asset until it is fixed.
14: Tips
1. For fast results and best possible quality for game engine export it is advised to make 1 building at a time then bake each element to its own new uv/texture (4k+).
2. For fast results and medium quality, use single building creation join all elements to a single mesh then bake to 1 texture (8k+).
3. For fastest possible results simply export as is from the scene view (this method will be the fastest but will not capture any next-gen texture details or lods from blender).
4. For batch creation you can currently add up to 64 buildings at a time and follow the steps above (64 to avoid overlapping the positions in the scene view).
5. Be sure to use collections to keep things tidy and easy to process for exporting, there is also a "BlenderToUnityFBXBatchExport" script included to import into Unity.
6. For any medium to large scale production it is advised to also use the "Decimate" modifier before export to create lod variants and if needed low poly collision models ("_LOD1", "_LOD2", "_COL" etc this will greatly help the performance of your game, you can further make lower res texture versions from the bake(s)).
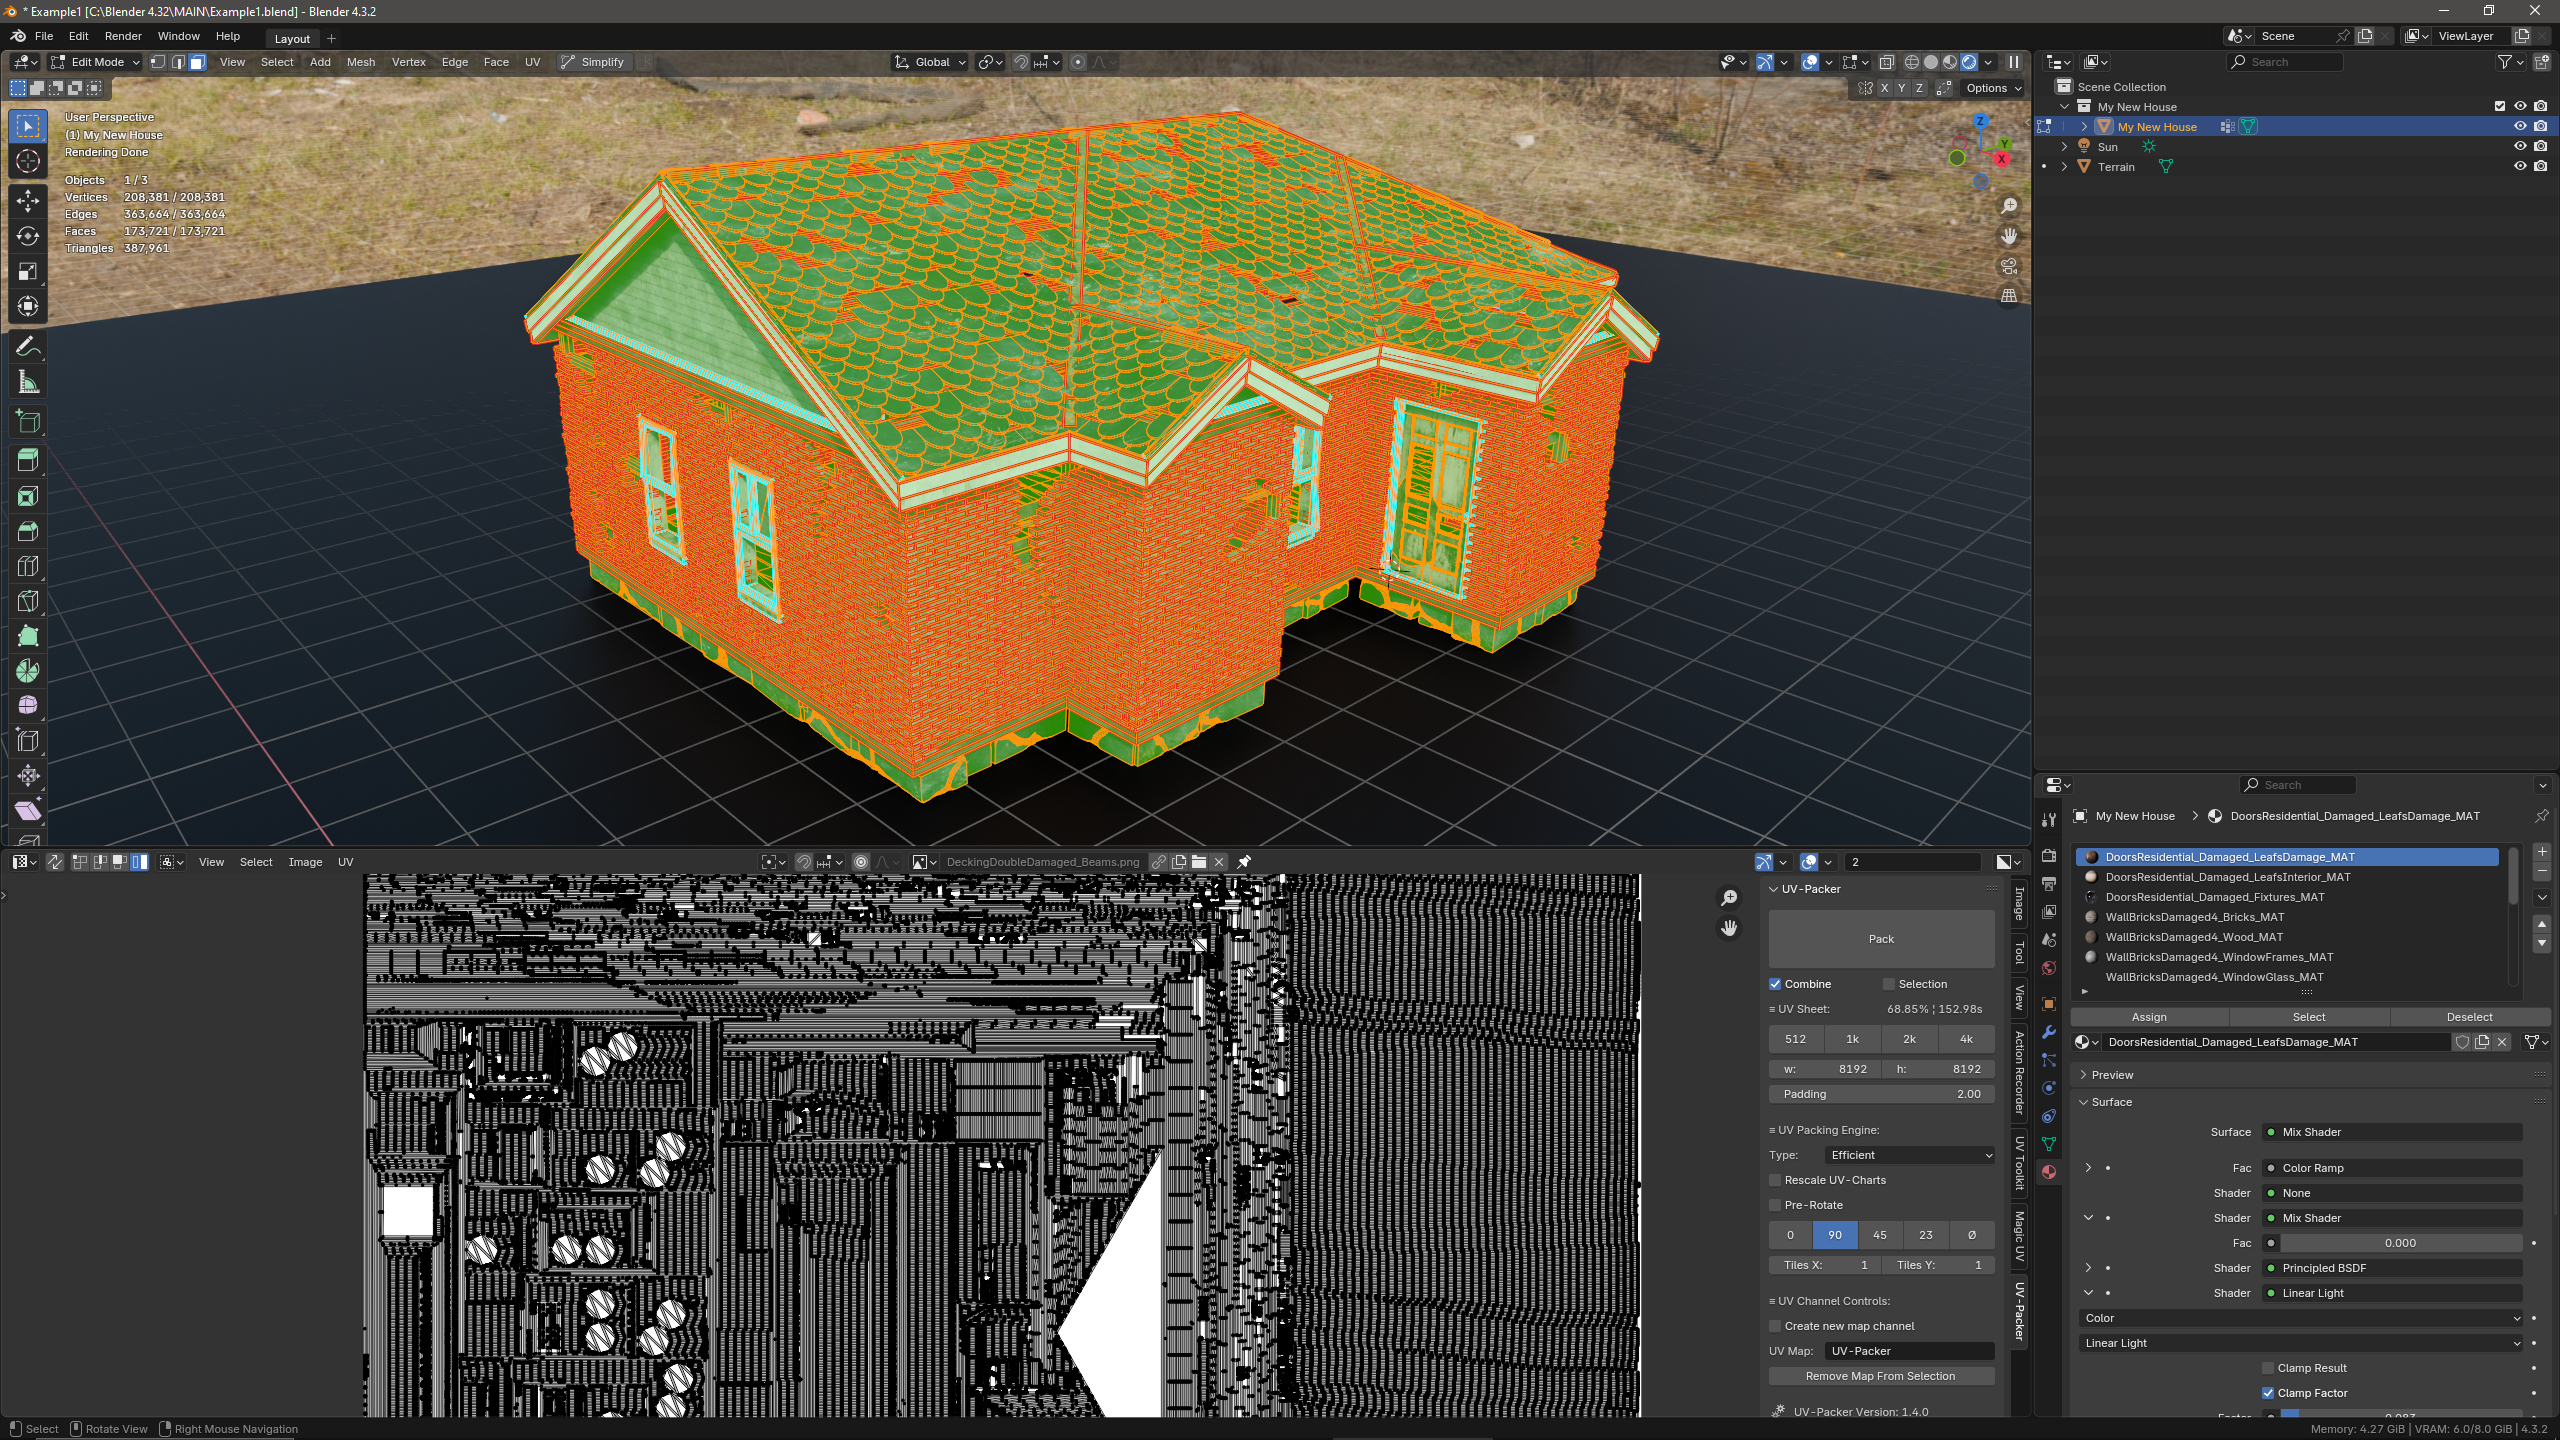
7. If any parts of the mesh need to be interactable in your game ie: doors, glass, breakable fence ect it is advised to bake and export these as seperate objects from the building.
8. To pack your new uvs/texture as tight as possible for next gen games, there is a free blender addon for this here: https://www.uv-packer.com/blender/ this will give 100% more better uv than by hand or by blender so use it (tip: untick "Rescale UV Charts" and "pre-Rotate" for fastest unwraps).
9. Try to avoid browsing the asset browser without a search input or clicking on the main root as there is many thousands of previews that will need to be loaded in blender.
15: License
Built entirely using blender and freely available CC0 textures the output product of what you create is yours to use and do freely as you see fit even sell, but you may not however re-distribute or sell the asset database in its current form as you have recieved it, only output models of buildings generated are now owned by you the creator of them.
Credit to @Afterworldstudios in your creations if you wish, thanks :)
Blender Application:
https://download.blender.org/release/Blender4.3/blender-4.3.2-windows-x64.zip
Other useful Links:
https://www.uv-packer.com/blender/
AI Used for Texture Upscaling:
AI Used for Additional Textures:
https://silkplm.com/ai-pattern-generator/
Creative Commons CC0 Texture Licenses:
Download
Click download now to get access to the following files: